Oct 17, 2023
Exploring Optical Character Recognition (OCR): An Experiment with OpenCV and PyTesseract
This blog delves into grayscale and color image processing, shedding light on accuracy and challenges and uncovering OCR's vast potential.
Author


Book a call
Table of Contents
The utility of OCR extends beyond its applications in various domains, from document digitization to text extraction in images.
In this blog, we are exploring the performance and reliability of OCR using OpenCV and PyTesseract on a diverse set of images.
The blog comprises two key phases:
- The first focuses on extracting text from grayscale images
- The second is dedicated to detecting and extracting text from color images
The results will shed light on the accuracy and challenges associated with OCR, providing insights into its potential applications and limitations.
Experimental Setup
Step 1: Library Installation
Before commencing the experiment, we installed two crucial libraries:
- OpenCV (Open Source Computer Vision Library): An open-source library specializing in computer vision and machine learning tasks, including image processing and object detection.
- Python-tesseract (Pytesseract): An optical character recognition (OCR) tool in Python, known for its ability to extract text from images.
Here’s how we go about it:
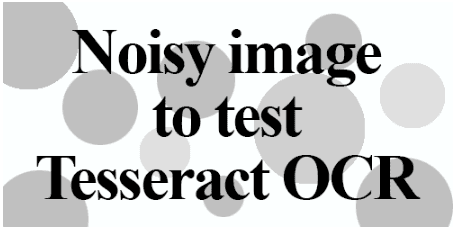
Step 2: Extracting Text from a Grayscale Image
Our journey commences with the extraction of text from a grayscale image. We'll begin by loading an input image from which we intend to extract text.
Import Libraries
Reading and Resizing the Image
We read the image and resize it to the desired dimensions.
Note: If you wish to save the resized image, you can use the Image.save() method.
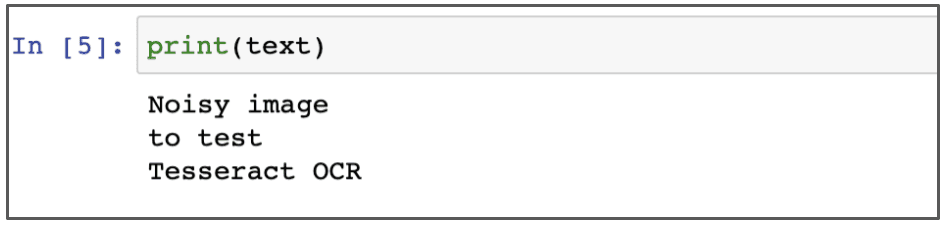
Extracting Text
We employ the image_to_string method from the Pytesseract class to extract text from the image.
Here is what the output looks like :
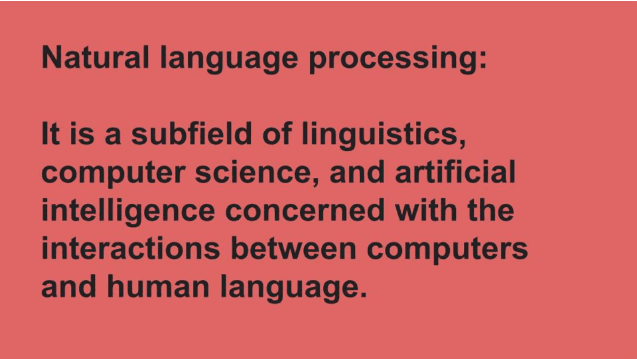
Step 3: Detecting and Extracting Text from Color Images
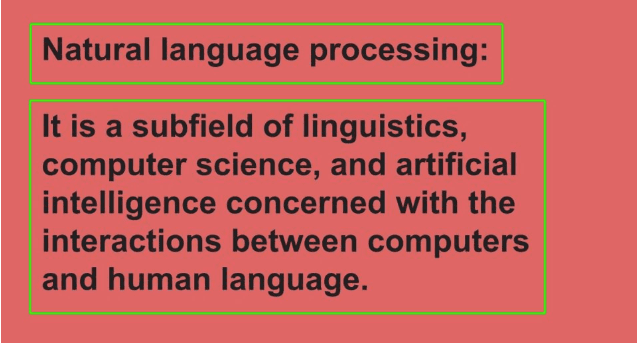
Now, we venture into the process of extracting text from color images. Take a look at the example below, showcasing the color image from which we'll be extracting text:
Here, we will draw rectangular bounding boxes around the text using OpenCV.
Importing Libraries
Image Preprocessing
We read the image and converted it to grayscale using cv2.cvtColor.
We then convert the grayscale image into a binary image. Binary images have only two possible pixel values, often 0 for black and 1 (or 255) for white. This simplifies the information and is typically achieved through thresholding, a technique for distinguishing the foreground from the background.
Step 4: Bounding Boxes and Text Extraction
We define a rectangular kernel using cv2.getStructuringElement in OpenCV.
In this function, the first argument is the grayscale image, and the second argument is our threshold value T, which we've set to 0. That's because Otsu's method automatically calculates our optimal threshold value. The third argument is the output value when a pixel passes the threshold test.
The fourth argument is the thresholding type, which is logically combined with two methods.
The cv2.threshold function returns a tuple of two values: the threshold value T and the thresholded image itself.
We the create a rectangular kernel with OpenCV's cv2.getStructuringElement function. In OpenCV, you have the option to use either the cv2.getStructuringElement function or NumPy to define your structuring element.
Dilation acts like a magnifying glass for important parts of the image, making them larger. This helps connect broken text together, especially in challenging cases. We achieve this using the cv2.dilate function, which helps define text boundaries.

Step 5: Text Detection and Cropping
We use the cv2.findContours method to identify the areas covered by white pixels in the image.
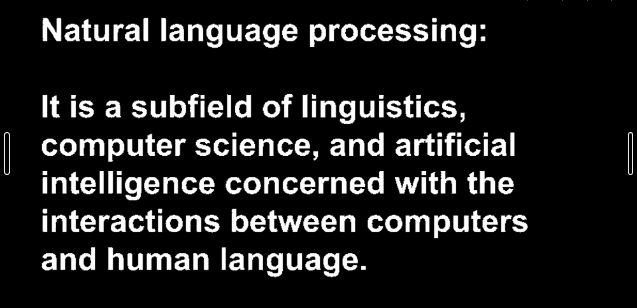
We then draw bounding boxes around each of these areas, helping us isolate and focus on each block of text. With the bounding boxes in place, we crop out these rectangular sections, making text extraction using Pytesseract more manageable.
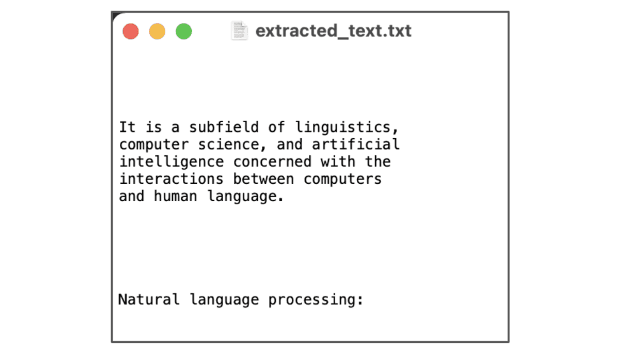
Here's the output image after drawing bounding boxes around text blocks.
And here's a snapshot of the extracted results saved in a text file.
Final Words
After extensive testing on various image types and formats, it becomes evident that OCR, while powerful, may only sometimes match the precision of certain commercial solutions at our disposal. Tesseract, however, shines when it encounters document images that exhibit:
- The crisp separation between foreground text and background.
- Proper horizontal alignment and suitable scaling.
- High-quality image resolution.
The game-changer lies in harnessing the synergy of deep learning with OCR, which can profoundly enhance OCR accuracy, even when dealing with diverse fonts. The latest release of Tesseract introduces deep learning-based OCR, a significant leap in accuracy driven by LSTM and RNNs.
Subscribe to Our Newsletter
Subscribe to RSS
Press & Media Hub RSS FeedRelated Articles.
More from the engineering frontline.
Dive deep into our research and insights on design, development, and the impact of various trends to businesses.

Jul 10, 2026
How We Built the Missing Bridge from Code to Figma

Jun 27, 2026
Building a Resilient Hybrid-Cloud Network with WireGuard HA, Route-Based Failover, and Deep Observability

Jun 19, 2026
We Built a 114-Second AWS-to-Azure Failover. Here’s What We Learned

Jun 12, 2026
Cloud-Native and Cloud-Agnostic Are Not Ideologies; They Are Business-Stage Decisions

Jun 8, 2026
Geeklego: The Open-Source Design System Built to Work With AI

May 18, 2026