How To Improve The Performance Of Your React App?
Author

Date

Book a call
A better UX is a core part of any app and yes, there are a large number of apps available in the market having awesome UX. The thing that separates them from each other is their performance.
So let’s walk through some of the concepts which will help in improving the performance of your React app.
Code splitting:
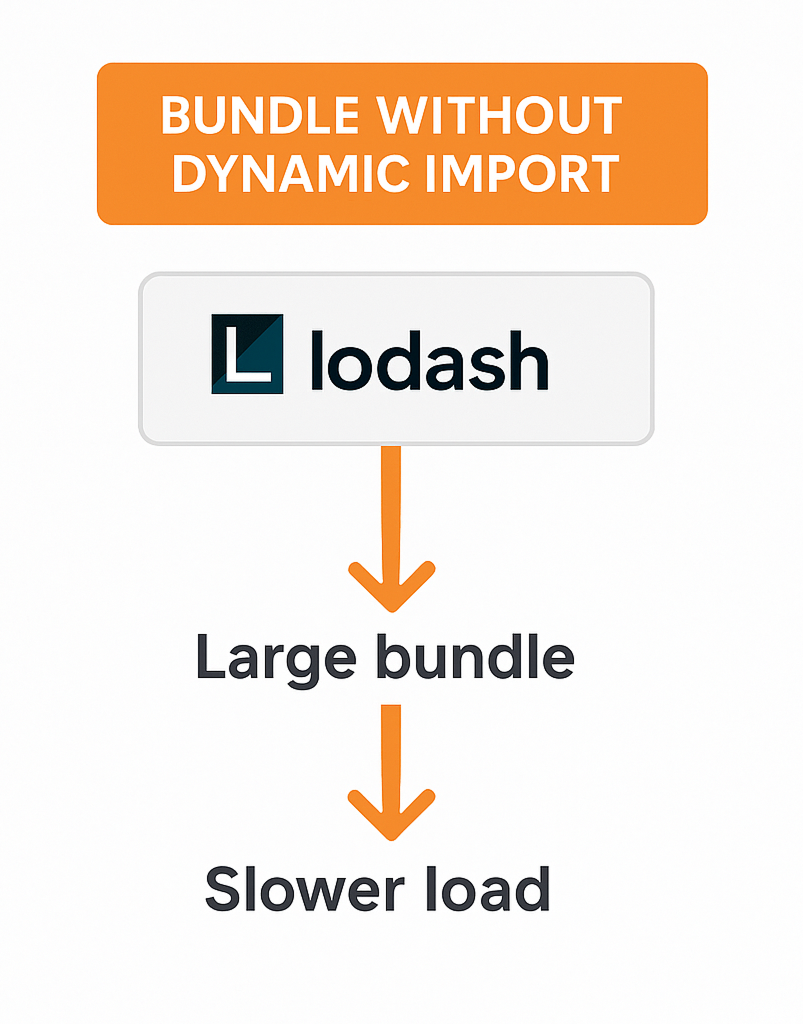
Most react apps will have their file bundled using tools like Webpack , Browserify or Rollup. The process of merging all the imported files in our app into a single file is known as Bundle. A bundle is used to load the entire app on a webpage at once. We use lots of libraries during development of our apps. These libraries contains large number of files which remain unused in our app. This increases the bundle size and hence increase the loading time of our app.
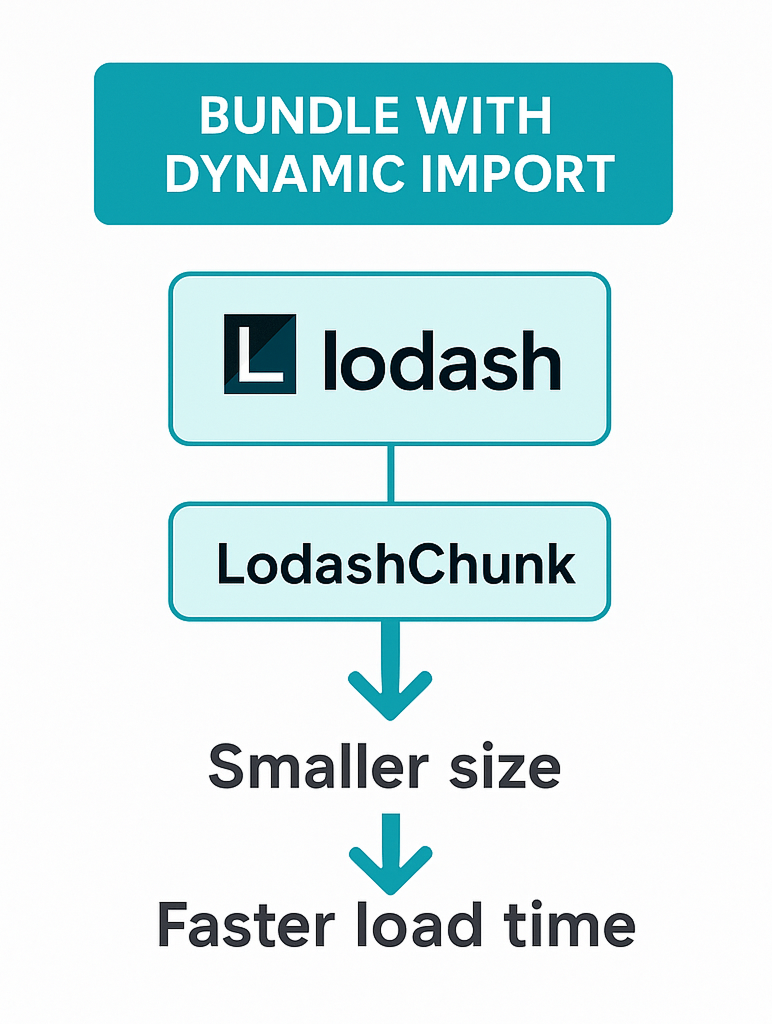
Let us suppose that we use lodash in our app. We generally use approx. 10 to 15 functions from lodash. So, instead of importing the complete library, we should use specific file imports with dynamic imports to improve the performance of our app. Dynamic import is basically a method of importing files only when needed. Dynamic Import divides the bundle into chunks that get loaded into the DOM only when they are required . Here we can see the LodashChunk bundle is created . So in this way we can divide a large bundle into small chunks and enhance the performance of our app .
Bundle with dynamic Import :
Bundle without dynamic Import :
The most common implementation of dynamic import is seen in React.lazy( ) . React.lazy() uses dynamic import to load a component lazily. As dynamic import returns a promise which resolves into a React Component .
The lazy component is generally wrapped into a Suspense component which will provide a fallback component (like loaders) till the time your lazy component get loaded.
Load time without lazyLoading :
Here we can see that some of the files are loaded but still they have to wait for other files to get loaded to render the UI on the screen, which is not a good user experience.
Load time with lazyLoading :
Here we can see that the browser will be able to render the screen even when some of the files are not loaded and will render them once they are loaded. So it will give more time to the user to interact with our app and is good for user experience.
Data Fetching with Suspense (Experimental) :
Before going further into this topic we need to understand what is Concurrent Mode ? Currently it is an experimental feature of the react which basically aims to make React apps stay responsive with different device types and on varying network speeds. Let us understand it with an example , Suppose we are on a social platform and try to move to view our profile by clicking the thumbnail . In simple react what will happen is that the user will directly forwards to the profile page and has to see a loader (even for a very small time eg. 200ms ) until the profile page get loaded but with the concurrent mode we can use useTransition hook which make the app to wait on the previous screen for some provided interval of time and if take more time than the provided time we can show a pending state like inline loaders which will help in removing the bad loading state and increase the user interaction time with our app .
useTransiton hook return two values:
startTransition - It is a function which is used to control the state change . It take timeoutMs which take waiting time in ms to stay on the previous screen .
isPending - It is boolean value which will be used to show pending indicator based on its value . If the state change or async function call take less time than the provided time then it will render new screen before the specified interval .
We can think it as that the user will see the previous DOM tree ( fallback component in case of data fetching or asynchronous processes ) while the other operations are performed on an imaginary DOM tree and once the execution is finished the imaginary tree with changes will merge with the original DOM tree .
Let us take an example to understand the Data fetching with suspense where user is on a slow connection and loading a React app. If the app contains high resolution images, it will take time to load them and during the load time the user will see a blank screen or a portion of the image which is not a good user experience. With the help of Concurrent mode, we can show the user a low quality version of the image till the time a high quality image is loaded and when it loads, we can render the high quality image which will make the app more responsive.
Data Fetching with Suspense is part of concurrent mode that helps in making our app remain responsive during an API call . It works on Render as you fetch approach. So, with this we do not have to wait for the API response to render a component. We can start rendering as soon as the network request starts.
How it works ?
An API call generally goes through three states. Either the promise is pending/resolved or it fails(error state). As rendering starts with the API call, if the API fails, we can use the ErrorBoundary Component to show any custom error if it is from its child components and the other parts of the app will remain unaffected, and if the response is pending we can render the fallback component and as soon as the promise resolves, our required component will get rendered. This way we can keep our user interface interactive even during the asynchronous API call.
Let us understand it with the image loading example .
In the above code we have a cacheImage function which calls handlePromise function by passing imagePromise .
so ,now we need to handle the promise .
handlePromise() is used to handle different states of the promise and return the result into read() . Now we will see how we can use it inside our component .
Here we will initialise the imageData by calling the imageCache() and passing the source url which will return the result into a read() . If the promise is not resolved we can show the fallback loader or a low quality image using the Suspense from react .
We can also use the SuspenseList from react that will act as a wrapper of more than one Suspense component and It will render the UI in the same order as they are in the SuspenseList . It will help us to provide nice UI where the user will see the different components in the specific order .
If you further want to explore about the Concurrent mode you can go through the React Docs.
Using Hooks to optimize our React rendering:
With the help of Hooks we can use state and all other life cycle methods without creating any class component. One of the advantages of using Hooks is that it helps us in making our code look clean and concise. We can achieve the functionality of componentDidMount() and componentDidUpdate() using a single UseEffect() hook.
In general, React will create a reference of the functions at each render, which will occupy memory and decrease performance. The useCallback and useMemo hook helps us solve this problem.
useCallback hook returns a memoized callback which will change only if the value of the dependency gets changed, otherwise it will return the previously cached value. In the above example, the new reference of addFruits() is created at each render while the a reference of addVegetable() is created only when the value of the dependency beansCounter changes.
UseMemo hook is used to return a memoized value. It is used when a complex calculation has to be performed. useMemo will only recompute the memoized value when one of its dependency gets changed. This helps us to remove redundant calculations on every render and help in optimizing the app.
Note : useCallback and useMemo hook will execute only once if the dependency list is empty and if there is no other dependency list, then they will execute at each render.
References: https://reactjs.org/docs/concurrent-mode-suspense.html
Thank you for reading.
Book a Discovery Call
Dive deep into our research and insights. In our articles and blogs, we explore topics on design, how it relates to development, and impact of various trends to businesses.


