Home Automation using Alexa & IoT: Part 1
Author

Date

Book a call
If you ever watched any Iron Man series then you must have caught a fancy to Tony Stark’s (Marvel’s fictional character) gadgets and you must’ve wondered how he controls them just through his voice.
Just think! Wouldn’t it be wonderful if you are also able to control all your home appliances just through your voice?
Seems fascinating, doesn’t it? But you must be wondering that implementing this will be a huge challenge to accomplish.
I want to tell you that at the end of this article you will be able to implement a simple model for yourself.
Let’s start the process
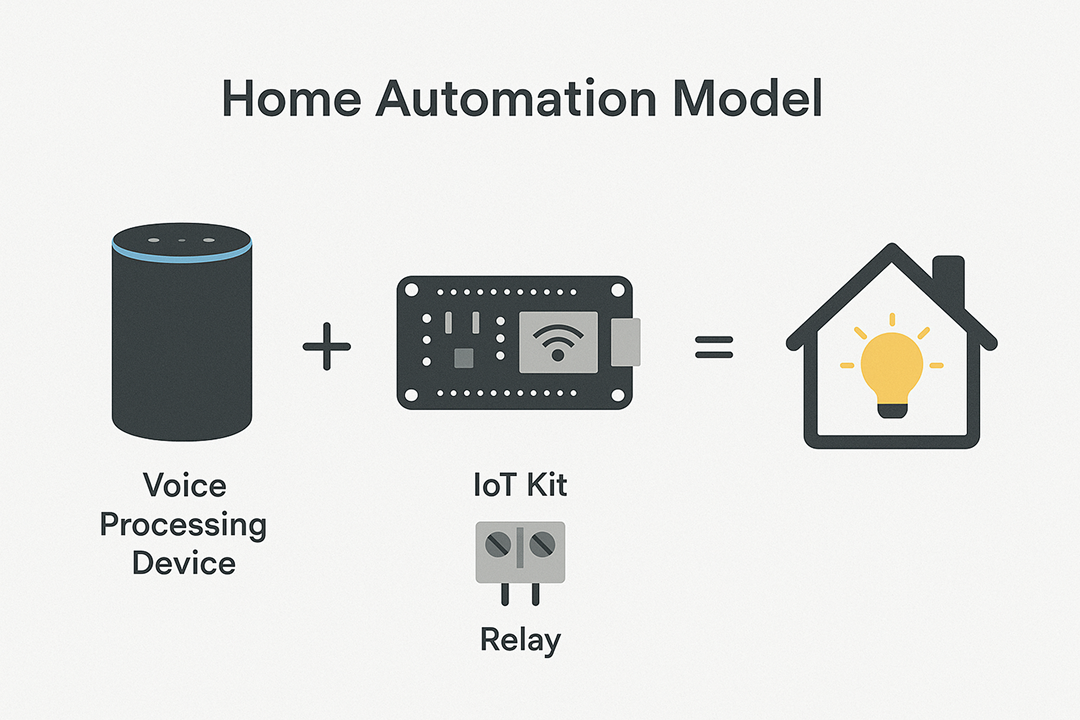
What we need to make a simple home automation model:

So this is how the flow goes on. Our first task in the process is to create a custom Alexa skill which interacts with your nodeMCU IOT Kit.
Creating An Alexa Skill
In order to manipulate our voice sample into useful instructions, we need to create a custom Skill on Amazon Alexa Cloud.
Before creating our custom skill, let us understand what Skills are.
Alexa provides a set of built-in capabilities, referred to as skills. For example, Alexa’s abilities include playing music from multiple providers, answering questions, providing weather forecasts, and querying Wikipedia.
The Alexa Skills Kit lets you teach Alexa new skills. Customers can access these new abilities by asking Alexa questions or making requests. You can build skills that provide users with many different types of abilities. For example, a skill might do any one of the following:
I hope you got a brief idea about what Alexa Skills are. Now let’s create a custom skill for ourselves.
In order to create a skill, we need an Amazon account. I hope you already have an account at amazon. If not, then go to amazon.in or amazon.com and create an account there. It’s quite simple.
Now visit the Amazon developer console, sign-in there using your Amazon credentials and complete the registration by providing your basic info.
Once registration is done and your profile is created, go to the Alexa developer console where we create our custom skill.
This is how it looks when you there for first time.
Click on the create skill button to start the skill creation process. Once clicked, it will navigate you to a different page, when you were asked to enter or select these fields:
Once done with options click on click skill, it will again navigate you to the next page where you will be asked to choose a template. We will choose Start from Scratch for now.
Once the option is selected and the Choose Button is clicked, you will be navigated to the Build Page.
Here we will provide our Invocation Name, Intents, Utterance, and Endpoint.
Before providing and building these options let us understand them.
Since you are already on the build page, you will see these options in the right panel under the heading Skill builder checklist.
Invocation Name: Click on Invocation name option from the panel. It will navigate you to a new page. Provide your skill invocation name, Once done click on Save Model button and navigate back to home screen.
Intents and Utterance: Click on Intents, Samples and Slot option. You will be navigated to a different page. On it, select Create Custom Intent option, provide the name of the intent but please note here you can’t use space, number and special character for naming, so it’s better to use Pascal Case convention for the same like ‘TurnOnTheLight’.
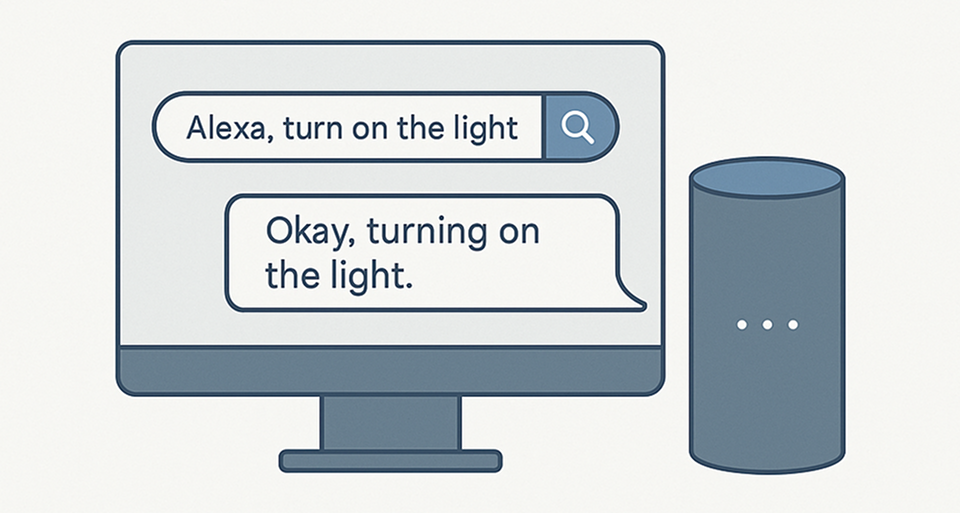
Once you are done giving it a name, click on the Create Custom Intent button. After it, you will be asked to provide Sample Utterances for this intent. Enter some sets of words or a phrase like turn on the light and once done click on plus icon.
Likewise, you can create multiple utterances and link it with your intent.
Once done, click on Save Model followed by Build Model. This will save and build your model.
Next, click on the Build tab present at the header. You will be again navigated to the build page.
From here, the most important and complex part i.e. connecting your skill with a backend will begin, but don’t worry. Just like the other tasks, this can also be done easily.
The reason why we need a backend for this is to provide response feedback and perform some actions when a particular intent is hit.
So, our next task to accomplish is to create a backend support system, where we map our intent to perform our action and return a response of the same to the user.
For creating our backend, we broadly have two options here. The first one is to use AWS services like LAMBDA where you don’t have to worry about deploying and maintaining your server.
But in case you don’t have an account in AWS or don’t want to use AWS services for back-end implementation you can go for the second option where we create our own server in Node JS and will deploy it to Heroku. You can jump to heading Using Own Custom Server if you are going for second the option. We discuss both here with code and logic. You can select any of the two options based on your suitability.
AWS
AWS provides a great platform to deploy a serverless backend. Since Alexa is one of Amazon’s products, you can find rich resources and support for the same in AWS. We will use its Lambda service for our backend support.
Before starting it, I hope you already have an account in AWS. If not you need to create an account and register yourself there.
In case you don’t have an account in AWS or don’t want to use AWS services for back-end implementation. You can go here to learn how to create your own backend endpoint.
Moving on, go to AWS Console, search for Lambda and select it from the suggestions.
Now, follow these steps:
textBox against Default Region Label and Click on the Save EndPoint button.
With the completion of the last step, our skill is now ready to use. In order to test its working, click on the test tab present in the header of the Page.
Enter the complete phrase by combining your invocation name and utterances. If it returns the right response, then your skill is working perfectly. You can also check it on your echo device but make sure that your device is connected with the same account from which you have created your skill.

But in case you don’t have an account in AWS or don't want to use AWS services for back-end implementation. You can use the second option.
Using Own Custom End-Point Server:
There are a few things that we need to create our own backend endpoint to handle an Alexa request:
Let's start with the NodeJs part. I hope your system is already configured with node and npm. If not, go to their official websites and set up them in your system. npm tool is shipped with Node, so once you install NodeJs in your system, npm will be automatically available.
Link: https://nodejs.org/en/download/
Next:
The code is very simple to understand and implement, we use Express here to create the server and once the server is created we attach alexaApp module to our server and define an end-point to handle all the requests coming from Alexa. Here, test is our endpoint name.
After which, we define the Intent and launch handler by using the intent and launch method of alexa-app the module.
As you can see in the code, it is quite easy to implement. We just need to provide the Intent name and in its callback function, we are returning the response. For the response output here, we have used res.say() here, which gives an audio output as a response against the request.
Now our implementation is ready to be deployed, for which we use Heroku. If you want, you can also use any other deployment server.
Follow this documentation to set up and deploy your server in Horuku.
Once deployed you will get a URL to access your server. It looks like this:
https://glacial-plateau-xxxx.herokuapp.com/
Now, we need to link our backend with our Alexa Skill. For this, go to the build page of your skill and click on the Endpoint option.
On the page that appears, select the HTTPS option. In the default region, paste the URL by appending the endpoint (https://glacial-plateau-xxxx.herokuapp.com/test) under the default region.
Just below that you will find the option to provide the SSL certification of your end point. Since we configured our server to accept any certificates, we will select ‘My development endpoint is a sub-domain of a domain that has a wildcard certificate from a certificate authority’ from the drop-down list.
After it, click on Save Endpoint Button to save the changes.
In order to check its working, click on the Test tab button present at the header of the page and try to invoke your skill and intent. If it returns the expected response then it means our implementation works perfectly.
Phew! With this we’re at the end of the Skill Implementation in Alexa.in the second part, we will see the IOT implementation of this entire setup and automate your home appliances.
Thank you so much for reading. I hope you found this post helpful.
Don't forget to follow me on Twitter if you want to know more about the project or just want to talk.
See you in the next part!
Book a Discovery Call
Dive deep into our research and insights. In our articles and blogs, we explore topics on design, how it relates to development, and impact of various trends to businesses.


