Jul 6, 2020
Live Streaming with Flutter and Wowza Streaming Engine
Learn how to use the Wowza Streaming Engine to create a live streaming platform.
Author

Book a call
Flutter has been around for a while now and the ecosystem has been developing at a good pace. So, when I had the task to create a live streaming demo with Flutter, it was just a matter of finding the right tools and services.
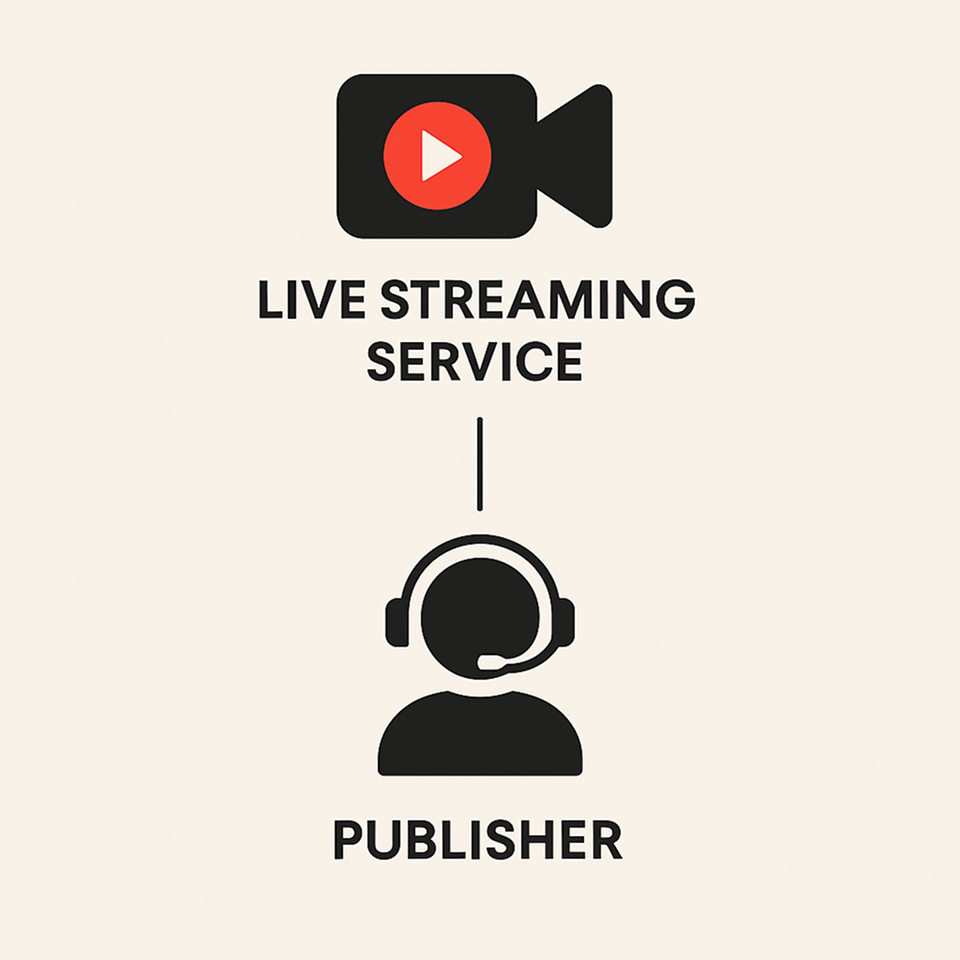
For a complete live streaming app, we need two main things:
Live Streaming Service: It will run on the server side and will be responsible for re-encoding and making the video stream coming from a publisher accessible to anyone on the internet who has the correct URL and credentials.
Publisher: Any device or app that sends the video stream to the live streaming service can be called a publisher. In our case, our Flutter app will act as a publisher.
Setting up live streaming service
I chose Wowza Streaming Engine to use in my demo as it is very easy to set up and you get a huge choice of supported publishers to choose from.
To set up the Wowza streaming engine on Google Cloud, just follow this step-by-step tutorial. After it is done, we can access the Engine Manager web console on http://[external-ip]:8088/enginemanager, where external-ip is the public IP address of your Google Cloud Compute Engine instance. Sign-in to the console with the username and address that you provided and you’ll be provided with a screen like this:
Congratulations, you now have a Live Streaming Server.
Now let’s create a stream.
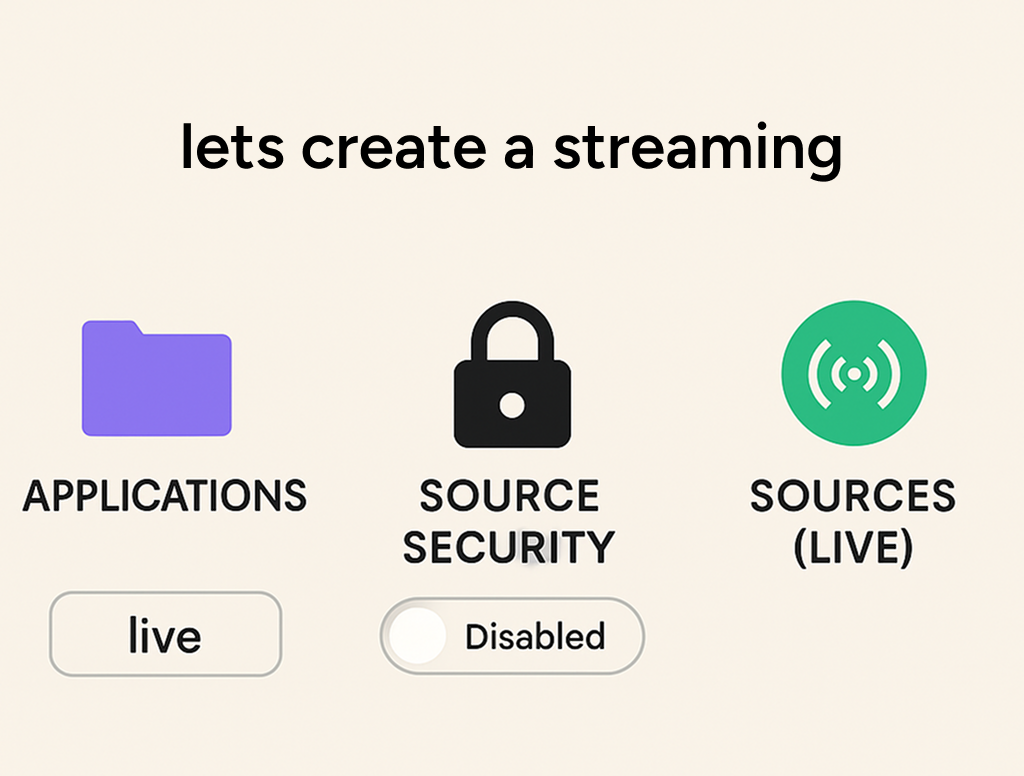
On the right under the Application Connection Settings section, you have some data that you will need while creating the publisher. Note down the following information:
And that’s it for the server side, we are now ready to create a live stream of our own.
Creating Flutter App
MaterialButton(

 child: Text("Start Stream",),

 onPressed: (){

  RTMPPublisher.streamVideo("rtmp://[Host-Server]:[Host-Port]/[Application]/myStream");

 },

),And that’s it. Your Flutter app is ready to publish. To check if it is working or not, just enter the same url rtmp://[Host-Server]:[Host-Port]/[Application]/myStream in any video player that supports RTMP streaming and you can see it live. Personally, I prefer to use HLSPlayer. You can paste the above link in the RTMP player tab there and now you have a complete live streaming application.
Here are a few points to keep in mind:
That’ll be all. Peace.
Book a Discovery Call
Subscribe to Our Newsletter
Subscribe to RSS
Press & Media Hub RSS FeedRelated Articles.
More from the engineering frontline.
Dive deep into our research and insights on design, development, and the impact of various trends to businesses.

Jul 10, 2026
How We Built the Missing Bridge from Code to Figma

Jun 27, 2026
Building a Resilient Hybrid-Cloud Network with WireGuard HA, Route-Based Failover, and Deep Observability

Jun 19, 2026
We Built a 114-Second AWS-to-Azure Failover. Here’s What We Learned

Jun 12, 2026
Cloud-Native and Cloud-Agnostic Are Not Ideologies; They Are Business-Stage Decisions

Jun 8, 2026
Geeklego: The Open-Source Design System Built to Work With AI

May 18, 2026