Table of Contents
Mastering React Techniques and Best Practices
Author

Date

Book a call
In the ever-evolving landscape of web development, React has emerged as a powerful and widely adopted library for building user interfaces. In this blog, we delve into the key aspects of React, explore its benefits, and then focus on two crucial topics: optimizing React performance and mastering state management through custom hooks.
Understanding React
Before we dive into the details, let us quickly recap why React has become a go-to choice for developers:
- Component-Based Architecture: React's component-based architecture allows for modular and reusable code, making development more efficient and maintainable.
- Declarative Syntax: With React, developers can express how the UI should look based on the application's state, leading to more predictable and readable code.
- Virtual DOM: React's virtual DOM efficiently updates only the necessary parts of the actual DOM, reducing rendering time and improving performance.
- Active Community and Industry Adoption: React boasts a vibrant community and widespread industry adoption, ensuring continuous support, updates, and a plethora of resources.
Best Practices for Optimizing React Performance
1. Use React's Production Build
Always use React's production build in a live environment to benefit from optimized performance.
2. Code Splitting and Memoization
Implement code splitting and leverage React.memo or useMemo to enhance application speed by avoiding unnecessary re-renders.
3. Virtualization
Implement a virtualization library to render only the visible parts of the UI, reducing the initial load time.
4. Strict Mode
Enable strict mode during development to catch issues early and ensure code quality.
5. State Management
Consider using state management libraries like Redux, Redux Toolkit, or MobX for larger applications to ease the process of handling state.
6. Image Compression
Compress high-quality images to enhance loading times, especially for applications with extensive image content.
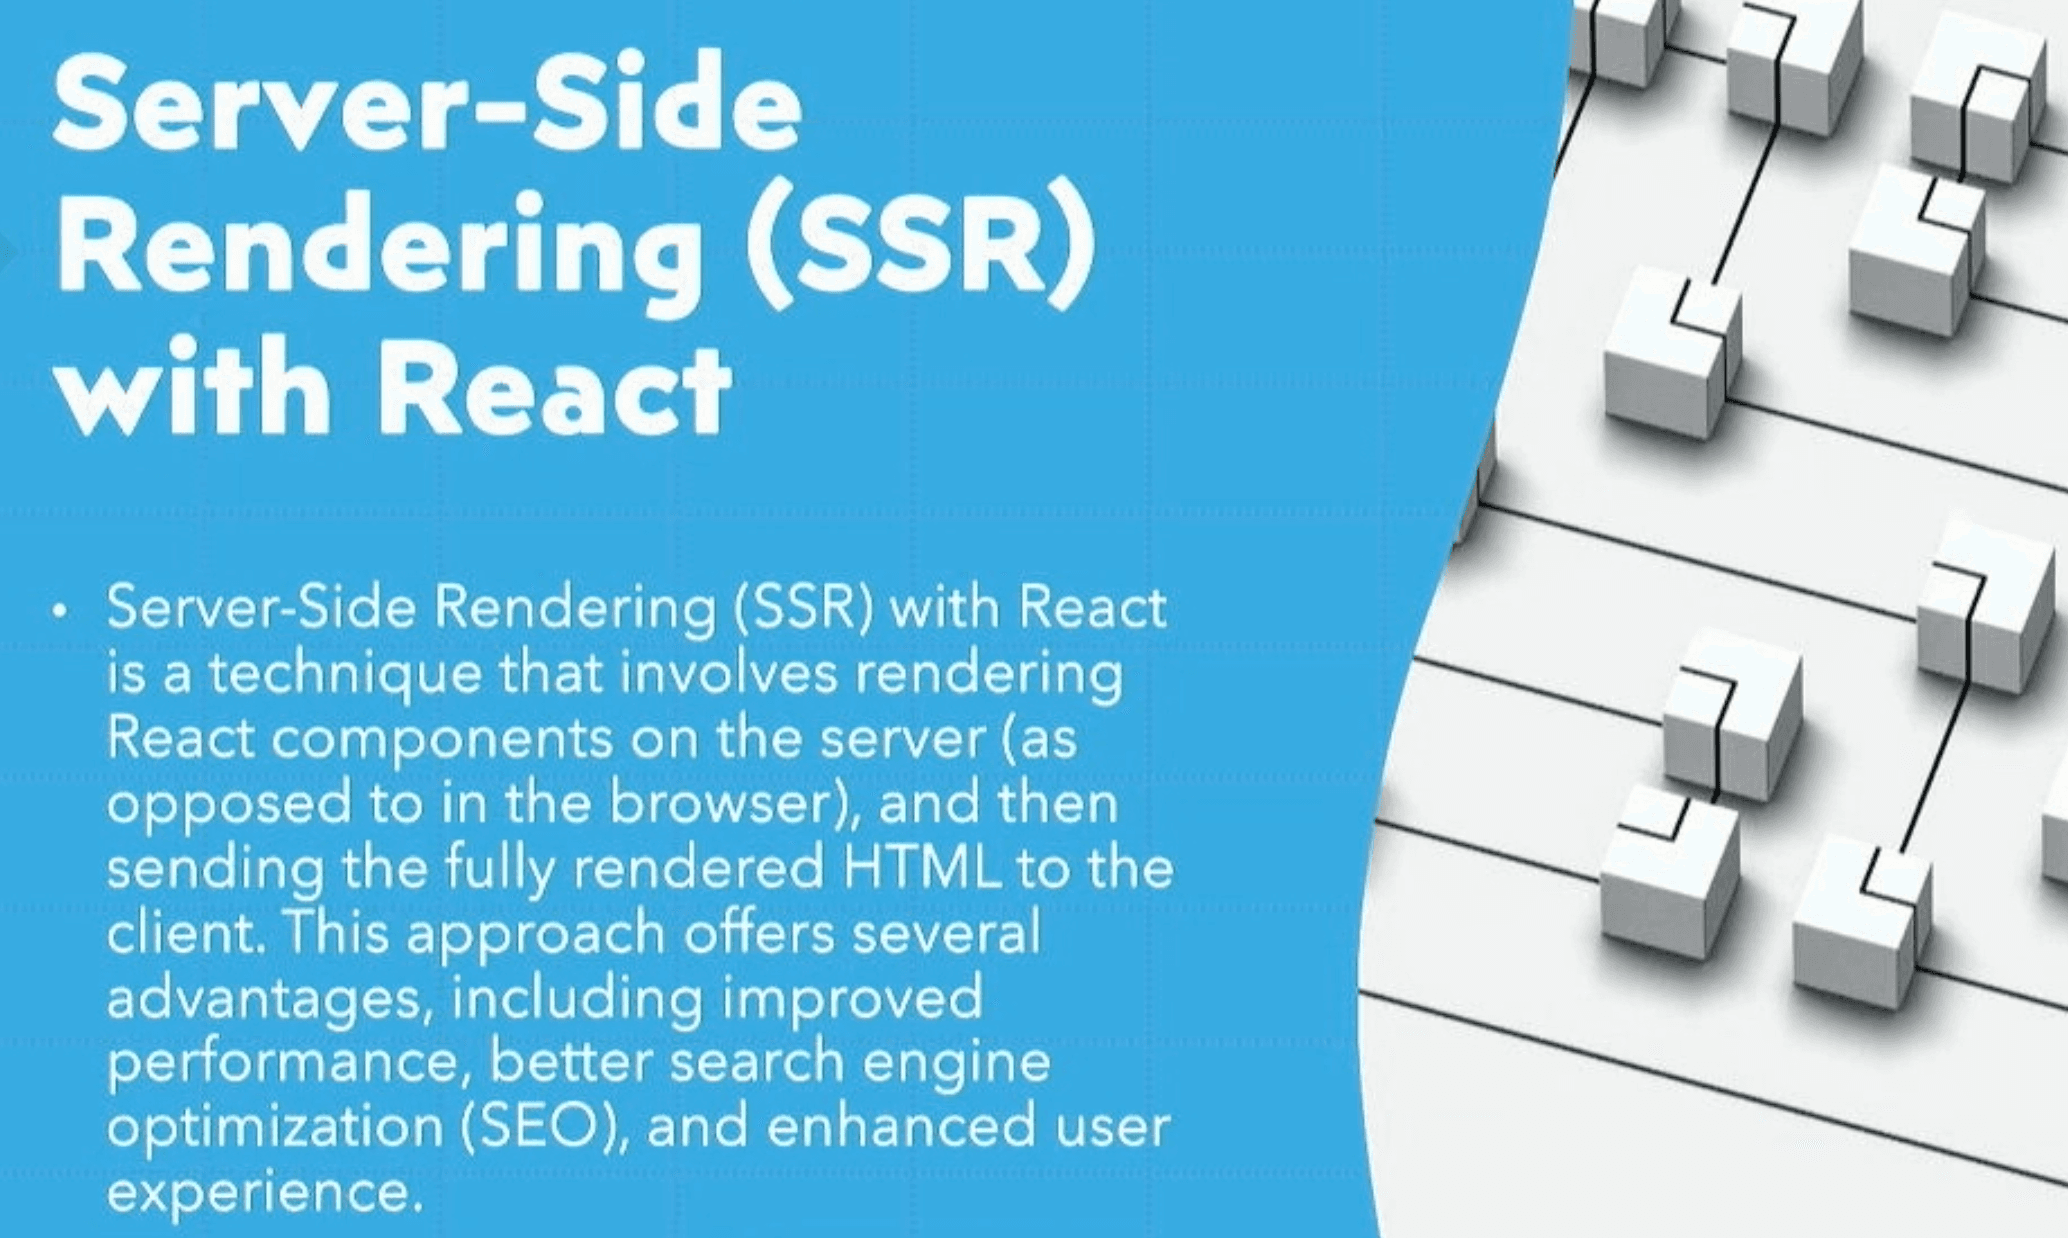
7. Server-Side Rendering (SSR)
Implement SSR to improve performance by rendering components on the server and sending preloaded HTML to the client.
8. Routing
Incorporate routing libraries for efficient navigation within your React application.
9. Linters and Husky
Use linters to enforce coding standards, and combine them with Husky to prevent code commits until linting processes are successful.
Deep Dive into Server-Side Rendering

Server-side rendering offers several benefits, including improved performance, SEO friendliness, and progressive enhancement. Here is a step-by-step guide on implementing SSR:
- Set Up Node.js Server: Establish a Node.js server for your React application.
- Create React Application: Use tools like Create React App to set up your React project.
- Add Server-Side Rendering: Implement SSR by adding libraries like
react,react-dom,react-router, andexpress. - Create Server-Side Entry Point: Develop a server-side entry point, commonly named
server.js. - Update Client-Side Code: Adjust the client-side code to make it SSR-aware.
- Handle Routing: Manage routing on both the server and client sides, using libraries like React Router.
- Webpack Configuration: If using Webpack, configure it appropriately for SSR.
- Run Your Application: Execute
npm run buildand start the Node.js server to run your SSR-enabled React application.
While SSR offers improved performance, challenges like complexity, resource intensity, and development/debugging difficulties may arise.
State Management in React: Choosing the Right Tool
State management is crucial for building robust applications. React offers various state management libraries, each with its strengths. Here are some popular ones:
1. Redux Toolkit
Redux Toolkit simplifies the process of using Redux by providing a set of conventions and helper functions. It is an excellent choice for those transitioning from Redux.
2. MobX
MobX offers a more reactive and minimalistic approach to state management. It is suitable for those who prefer simplicity and reactivity.
3. Recoil
Developed by Facebook, Recoil is known for its compatibility with React. It shines when handling complex cross-component rendering scenarios.
4. Zustand
Zustand is a minimalistic state management library with a small footprint, making it ideal for simple projects that require a quick setup.
5. Redux
Redux remains a popular choice, especially for larger applications. It provides a centralized store and strict data flow, ensuring maintainability.
Mastering React Hooks
React Hooks, introduced in version 16.8 revolutionized functional components by enabling the use of state and other React features. Let us explore some essential hooks:
1. useMemo
useMemo memoizes computations, preventing unnecessary recalculations. It is beneficial for optimizing performance, especially when dealing with complex calculations.
2. useCallback
useCallback memoizes functions, ensuring they only recompute when their dependencies change. It is useful for preventing unnecessary function re-creations.
3. useContext
useContext provides access to the entire context of the application, allowing components to consume values from the context without prop drilling.
4. Custom Hooks
Custom hooks, created with a use prefix, allow developers to encapsulate and reuse logic across components. They enhance code reusability and maintainability.
Conclusion
Mastering React involves understanding its core principles, optimizing performance, effectively managing state, and leveraging the power of hooks. With a solid foundation in these aspects, developers can build scalable, performant, and maintainable React applications. As you navigate the React ecosystem, continuously explore best practices, stay updated on new features, and adapt your approach to the evolving landscape of web development. Happy coding!
Please check out the entire talk below ⬇️
Dive deep into our research and insights. In our articles and blogs, we explore topics on design, how it relates to development, and impact of various trends to businesses.


