
Have you ever wished for a single app where you could play multiple games? Imagine the convenience and excitement of switching between your favorite games without needing separate apps. Today, we're diving into how to integrate Unity games into a React Native application, making this dream a reality. With some foundational knowledge of React Native and an understanding of NativeModules, you'll be ready to embark on this exciting journey. Let's get started!
Problem
Integrate unity game in React Native.
Pre-requisite
- Know the basics of React Native
- Know about how React Native application interacts using NativeModules
Objectives
- Users can play multiple games on a single platform
- To provide a seamless experience while playing the game
Before diving into the topic, let's understand some concepts.
What is Unity?
Unity is a cross-platform game engine developed by Unity Technologies. It can create three-dimensional(3D) and two-dimensional (2D) games, interactive simulations, and other experiences.
What are NativeModules?
The NativeModule system exposes instances of Java/Objective-C/C++ (native) classes to JavaScript (JS) as JS objects, allowing you to execute arbitrary native code from within JS.
Solution
Let's get our hands dirty.
Unity side
- Clone the unity project from the below URL :
https://gitlab.com/rohit-projects1/universal_unity_games/-/tree/master
Then open the project in Unity and click File → Build Settings.
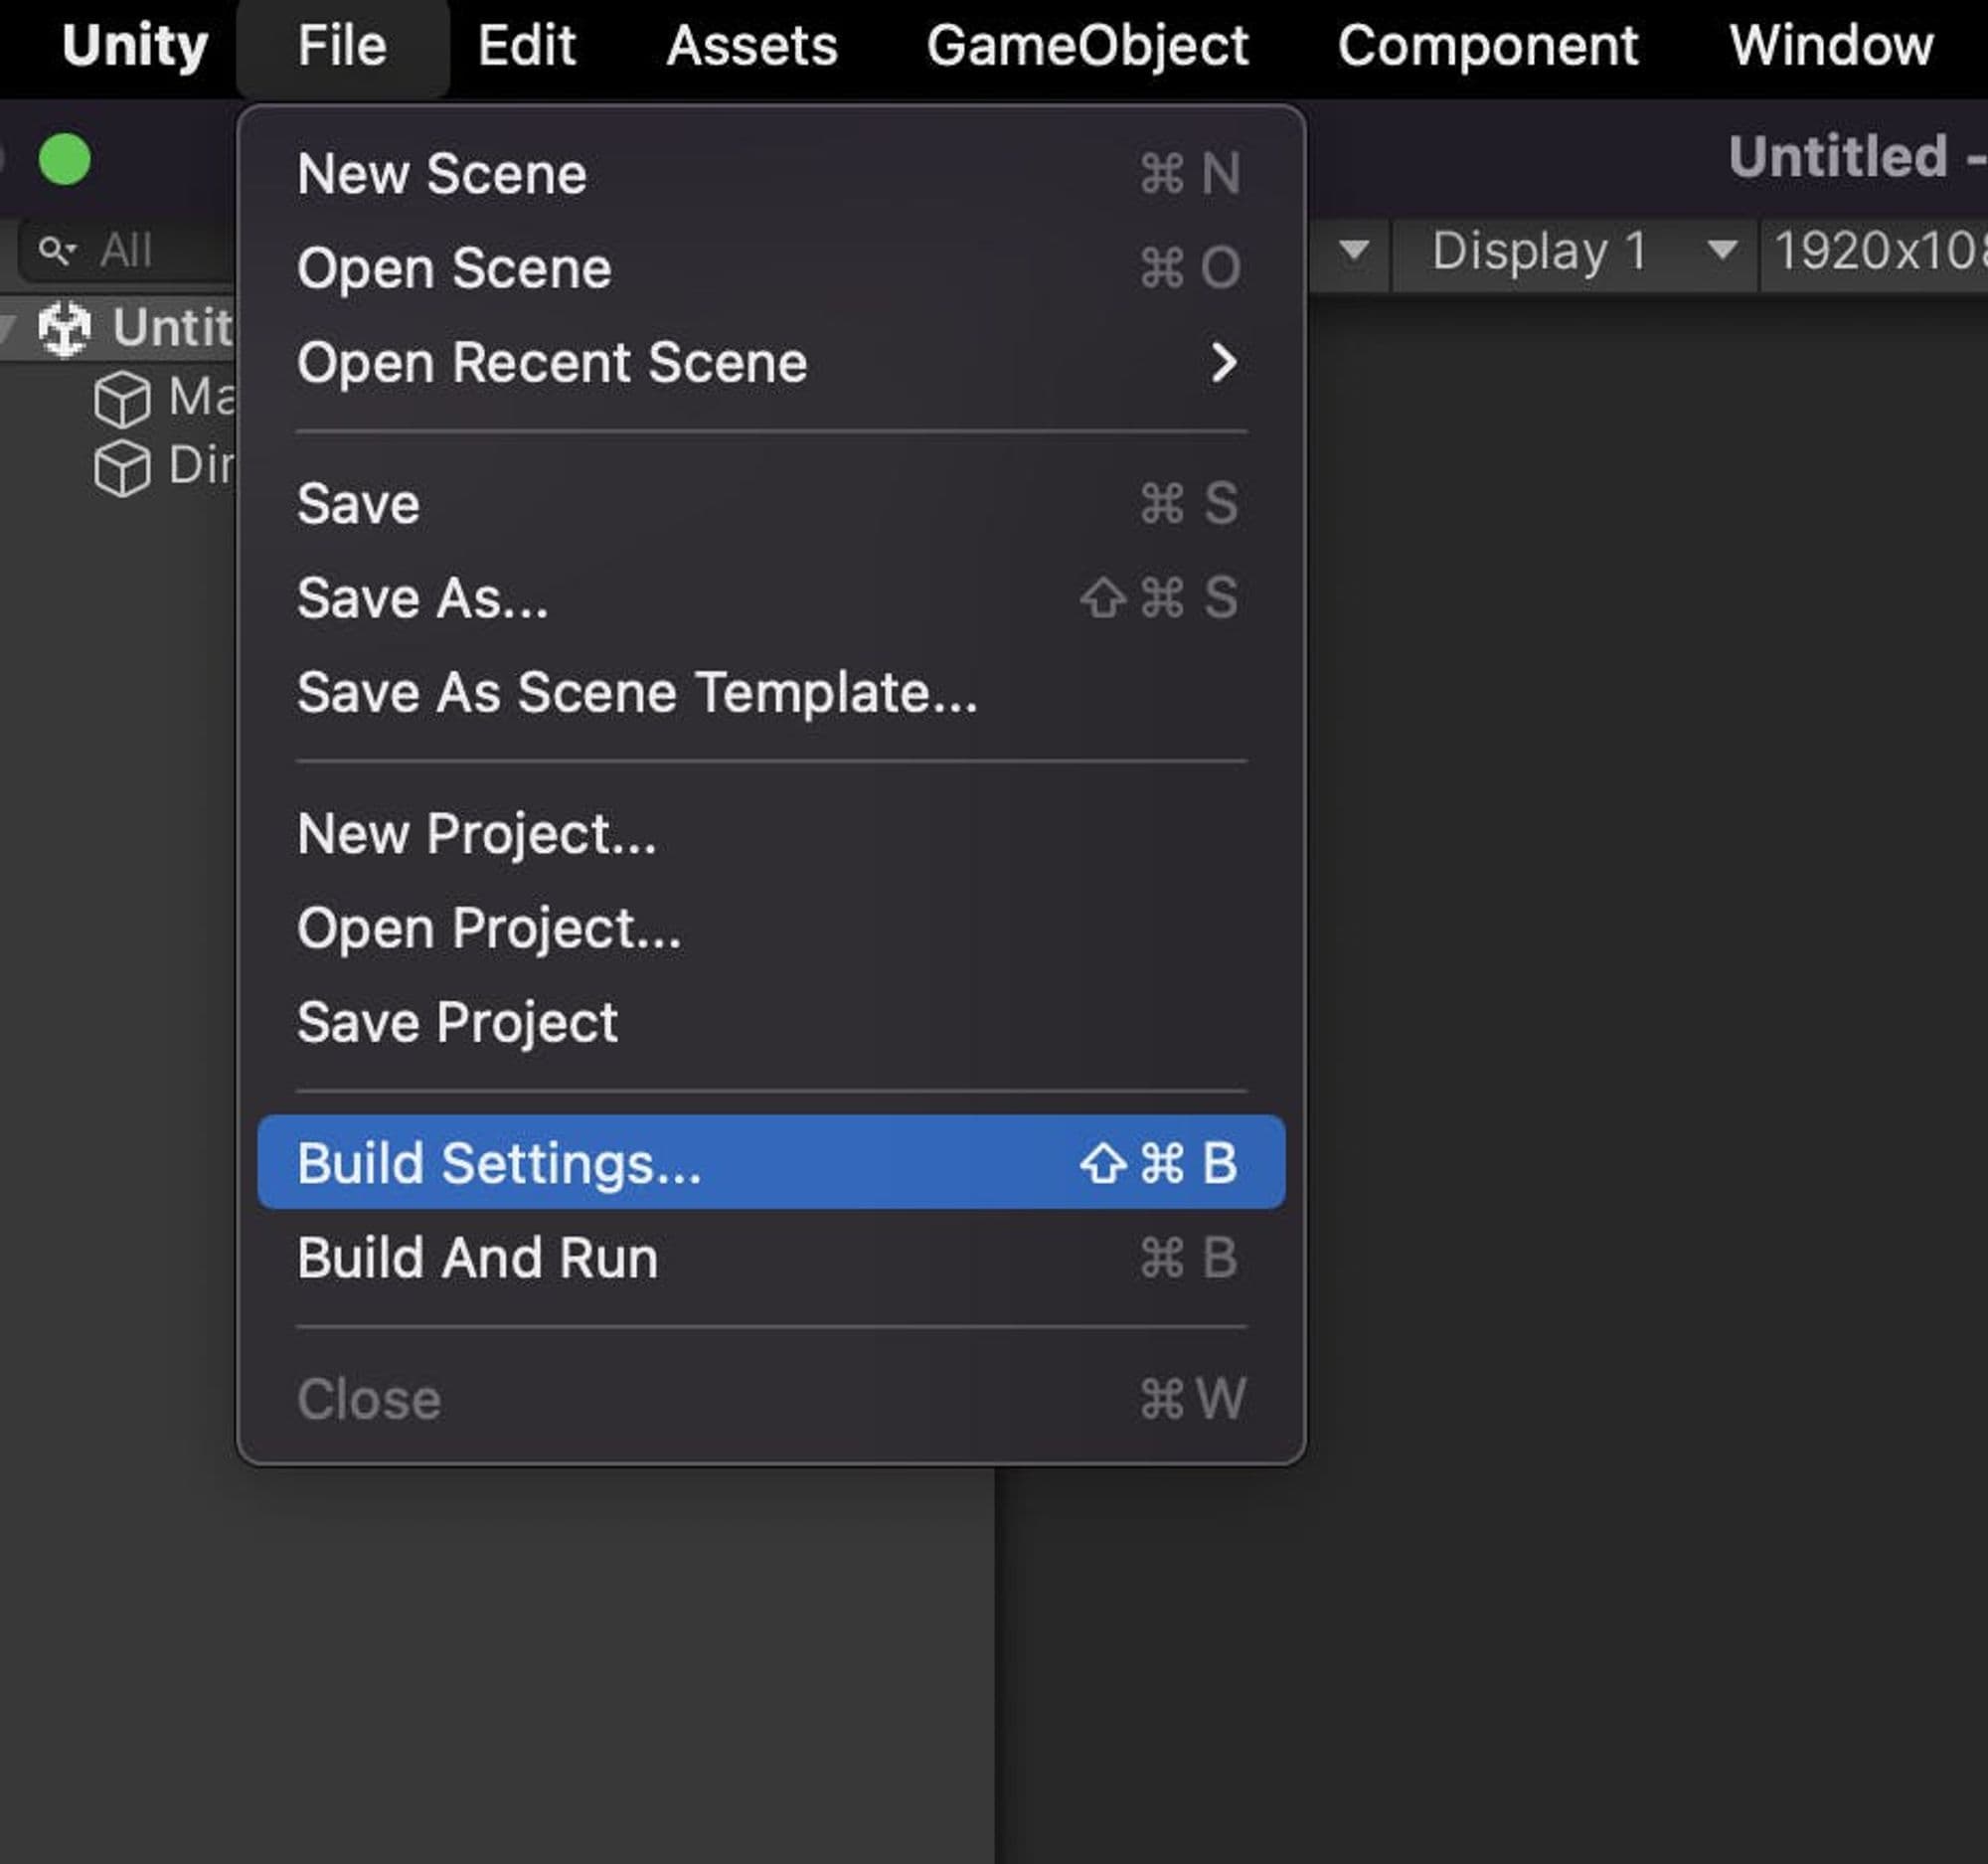
Switch to the android platform and check the export project and symlink sources option.
Click on Player settings on the bottom left and make sure that particular checks are checked as per the screenshot below.
Make sure you use IL2CPP in the Scripting Backend and select the target architectures as shown below.
Also, confirm that the strip engine code is checked.
- That’s it. Now go back to build settings and click Export. Select the
buildsfolder inside the project, and you will see that the Android folder will be built.
Note: Ignore the Adapter performance settings if you get the warning while exporting.
Bonus
- If you want to play the game directly in Unity. It’s easy
Go to Assets → Scenes → Double click on TicTacToe
In unity only, you will below interface. Click on Game, select the aspect ratio and just click the play button ▶️. That’s it.
React Native Side :
First, let's create a new React Native app.
npx react-native init AwesomeTSProject --template react-native-template-typescript
For integrating the unity game, we need to install a package named @azesmway/react-native-unity. Refer to the this link.
Code Explanation :
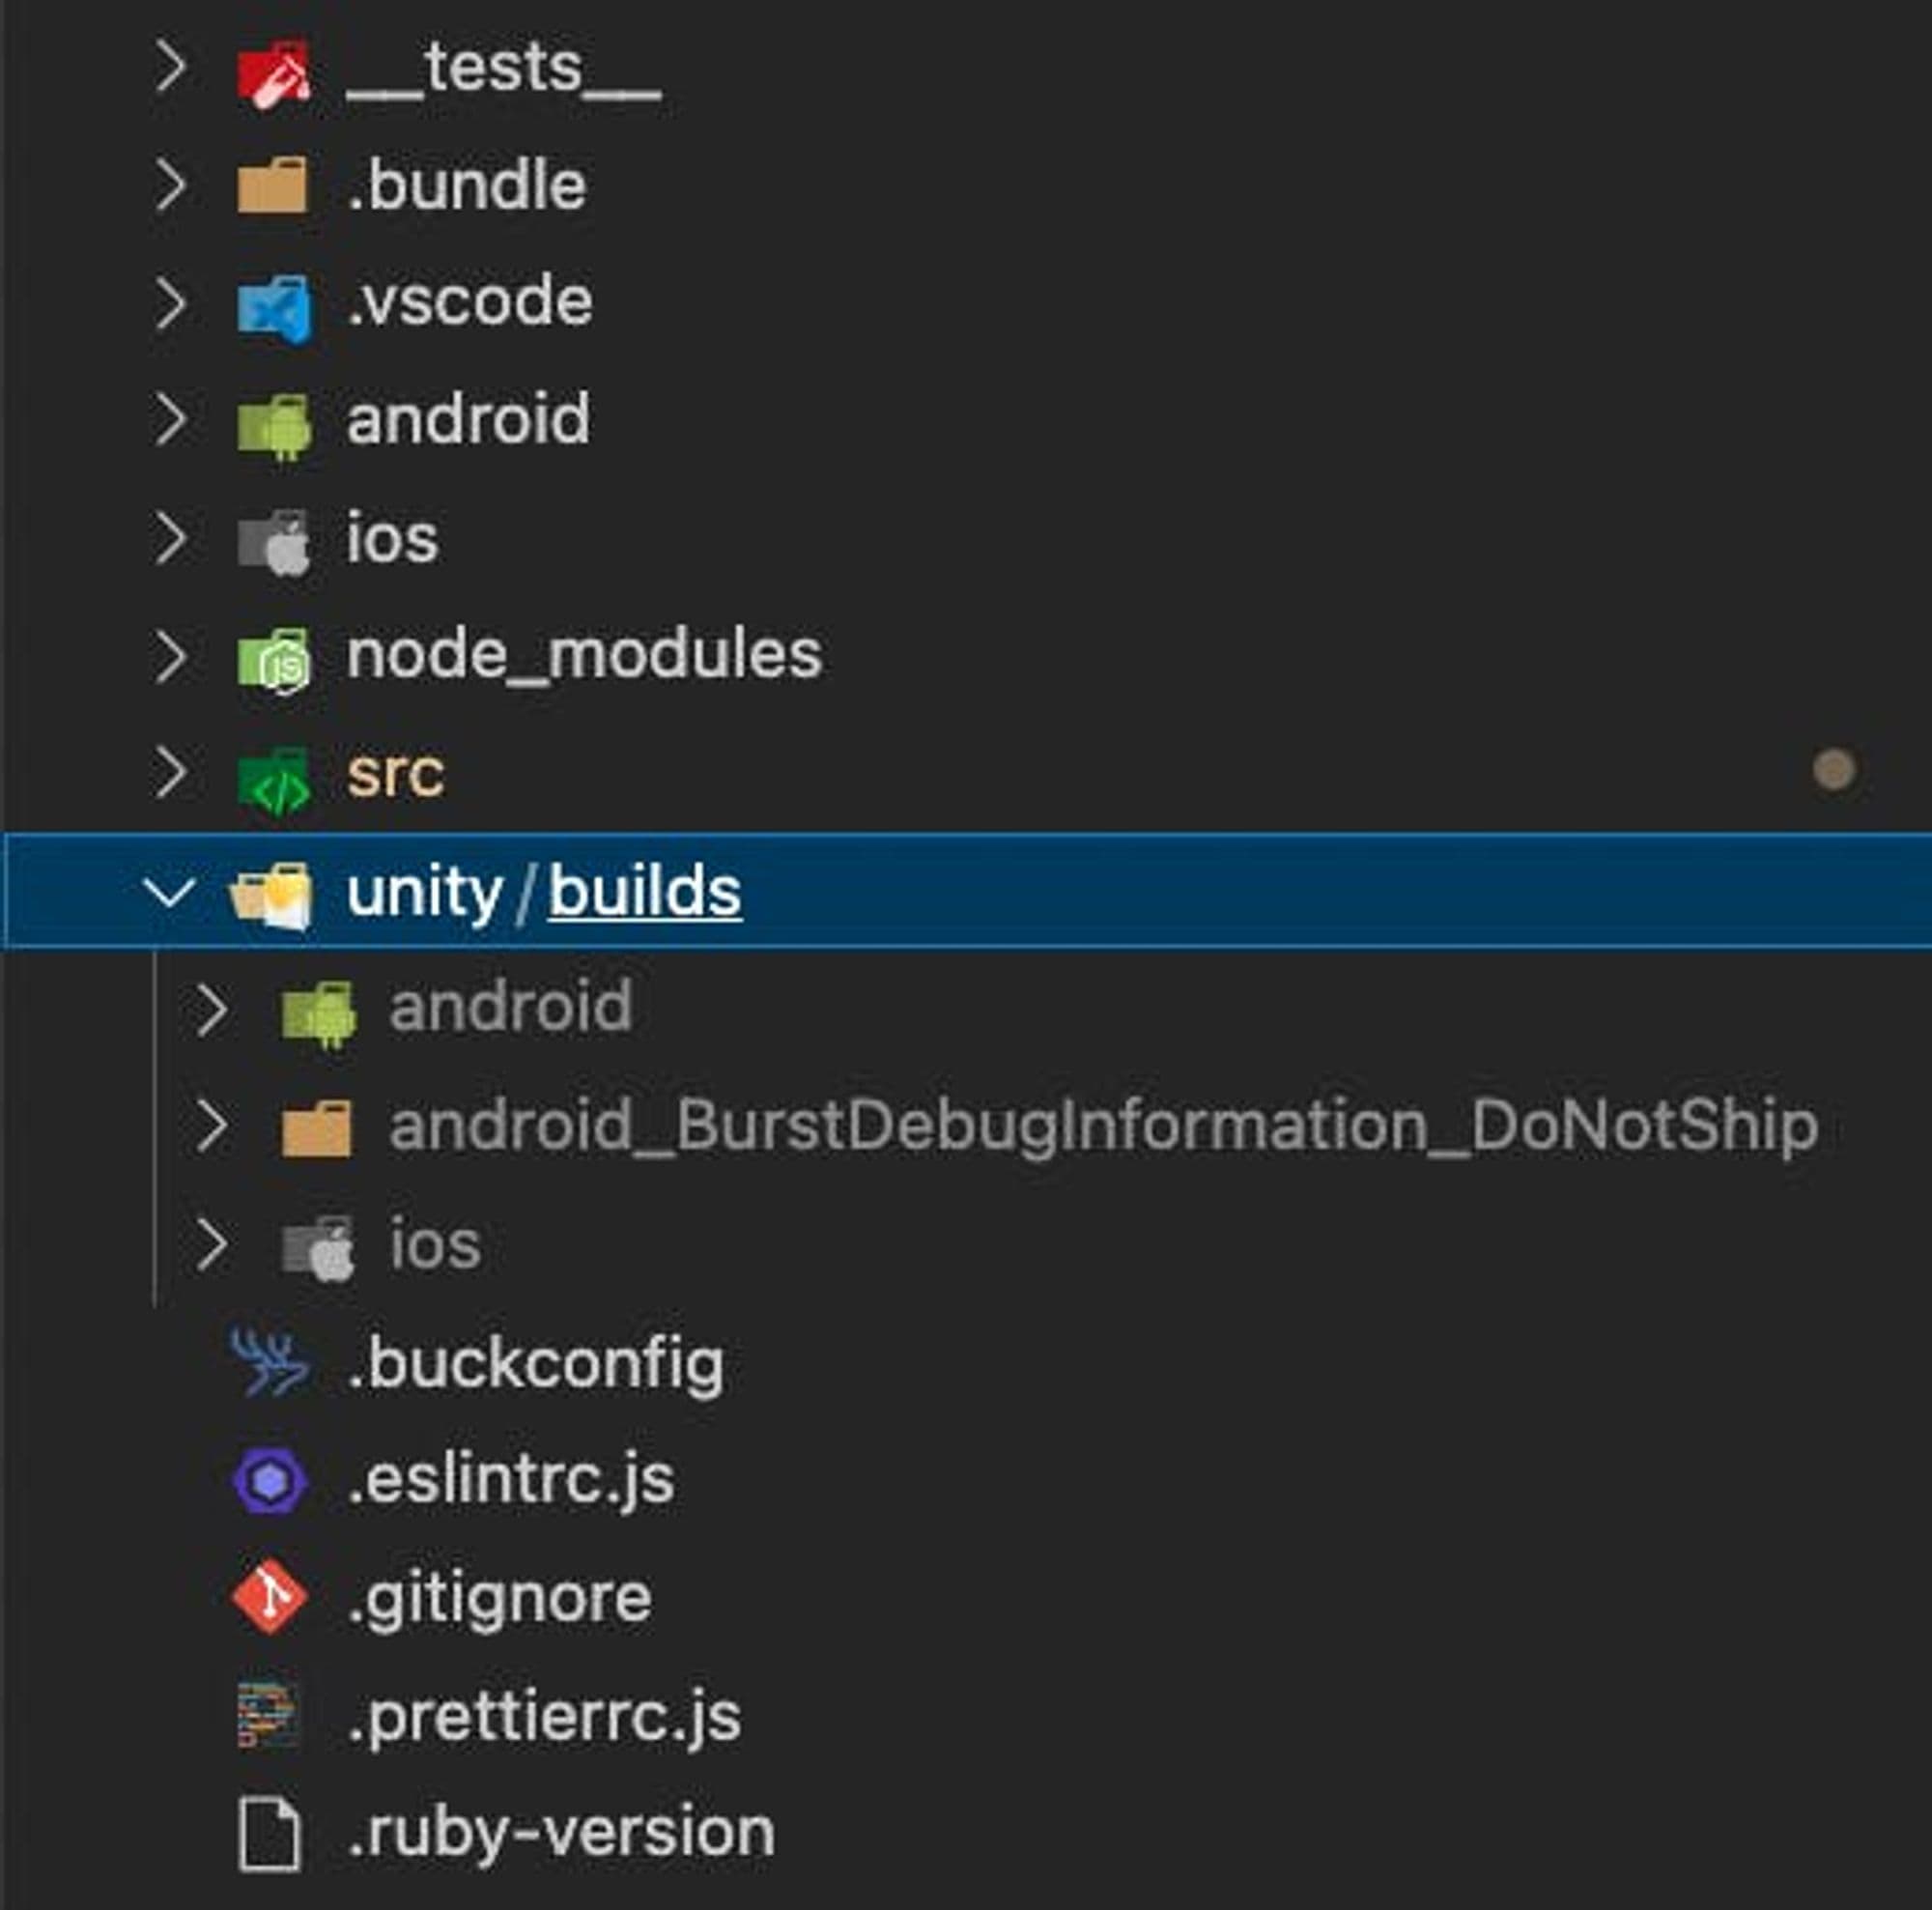
- Create a unity folder and also builds a subfolder as seen in the below screenshot. Now copy and paste the android folder generated from the unity.
First, create a reference to the unity view :
const unityRef = useRef<UnityView>();To display the unity view, we use the UnityView component provided by the package, and We can get a message from unity to RN by callback of the function onUnityMessage(message) :
<UnityViewref={unityRef}fullScreen={true}onUnityMessage={result => {console.log('onUnityMessage', result.nativeEvent.message)}}/>Simple, right?!
To send a message to the unity application/game we use postMessage() function.
unityRef.current.postMessage(message.gameObject,message.methodName,message.message);To send a message from Unity to React Native, we use the AndroidJavaClass object. Please refer to the ButtonPressed() function below. For more details, please refer to the package mentioned above.
COPYCOPYusing System;
using System.Collections;
using System.Collections.Generic;
using System.Runtime.InteropServices;
using UnityEngine.UI;
using UnityEngine;

public class NativeAPI {
#if UNITY_IOS && !UNITY_EDITOR
  [DllImport("__Internal")]
  public static extern void sendMessageToMobileApp(string message);
#endif
}

public class ButtonBehavior : MonoBehaviour
{
  public void ButtonPressed()
  {
    if (Application.platform == RuntimePlatform.Android)
    {
      using (AndroidJavaClass jc = new AndroidJavaClass("com.azesmwayreactnativeunity.ReactNativeUnityViewManager"))
      {
        jc.CallStatic("sendMessageToMobileApp", "The button has been tapped!");
      }
    }
    else if (Application.platform == RuntimePlatform.IPhonePlayer)
    {
#if UNITY_IOS && !UNITY_EDITOR
      NativeAPI.sendMessageToMobileApp("The button has been tapped!");
#endif
    }
  }
}
You can see the demo video: here
Conclusion
By integrating Unity games into a React Native app, you're not just merging two powerful technologies—you're enhancing the gaming experience with seamless transitions and unified access. This guide provides the essential steps to achieve this integration, offering a single platform for multiple games. As you explore and implement these techniques, you'll discover new possibilities in game development and user engagement. Dive in and transform your app into a versatile gaming hub!