Table of Contents
Subscriptions Using react-native-purchases by RevenueCat
Author

Date
Book a call
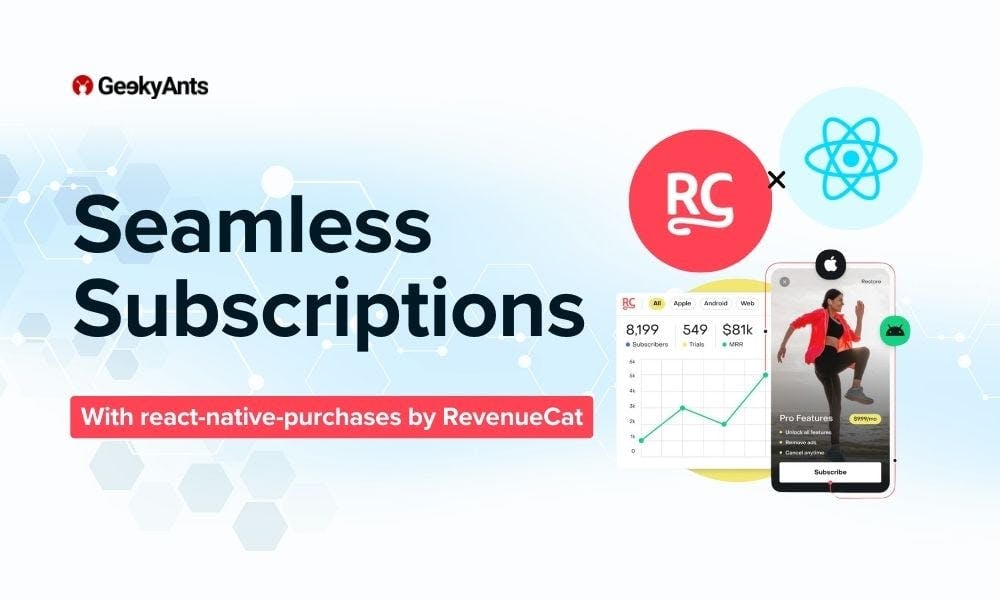
Subscriptions and in-app purchases in mobile applications play a crucial role in the revenue generation strategies for businesses and developers. Subscriptions offer a steady stream of income by providing users with access to premium content or features for a recurring fee, ensuring predictable revenue, and fostering long-term customer relationships. On the other hand, in-app purchases allow developers to monetize their apps by offering virtual goods, upgrades, or additional functionalities within the app, enhancing user experience while generating revenue. Both models help businesses to maximize their profitability while delivering value to their customers.
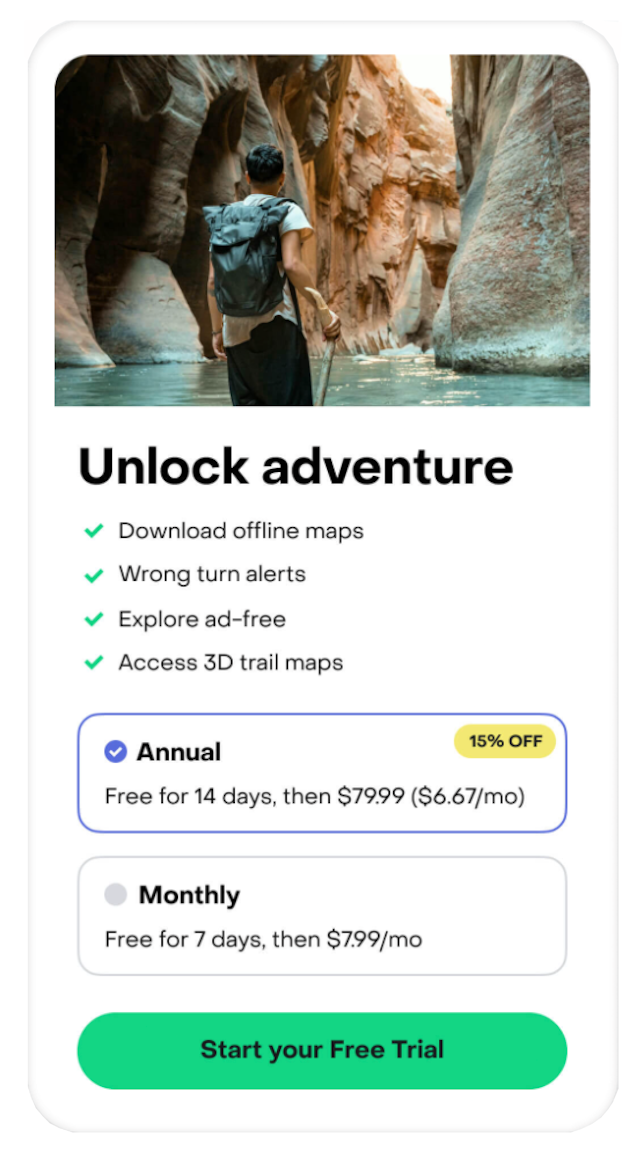
Subscriptions and in-app purchases are two different ways users can spend money to access additional features or content beyond the basic functionality offered by the app itself.
Subscription: Users pay a recurring fee(usually monthly or yearly) for ongoing access to specific features or content, similar to a membership.
In-App Purchase(IAP): A one-time purchase within the app to unlock specific features, content, or items.
Why are Subscriptions and In-App Purchases Needed?
For Developers
- Sustainable Revenue: Subscriptions provide predictable income, making maintaining and developing the app easier.
- Monetizing Free Apps: Many apps are free to download but rely on subscriptions or in-app purchases for revenue.
- Flexible Pricing: Offers can be tailored to different user needs and budgets.
- Increased User Engagement: Subscriptions encourage regular app usage and potentially higher lifetime value from users.
For Users
- Access to Premium Features: Subscribers get exclusive content, advanced functionalities, or ad-free experiences.
- Flexibility: In-app purchases allow users to pay for specific content they want without a recurring commitment.
- Convenience: Everything is managed within the app, eliminating the need to visit external websites or stores.
Now that we have seen how subscriptions and in-app purchases work and why they are needed, next, we will look at how we can implement subscriptions in our React Native project.
Libraries for Subscriptions in React Native
We have many popular libraries with which we can implement subscriptions in react native. One of the widely used libraries is react-native-iap, which many developers widely use. However, implementing subscriptions using this library can be very tricky because setting up react-native-iap is very complex, and validating receipts in react-native-iap is very difficult. On the other hand, react-native-purchases is very easy to set up and handles most of the things automatically. So, let us see how we can implement subscriptions in a React Native app using the react-native-purchases package provided by RevenueCat.
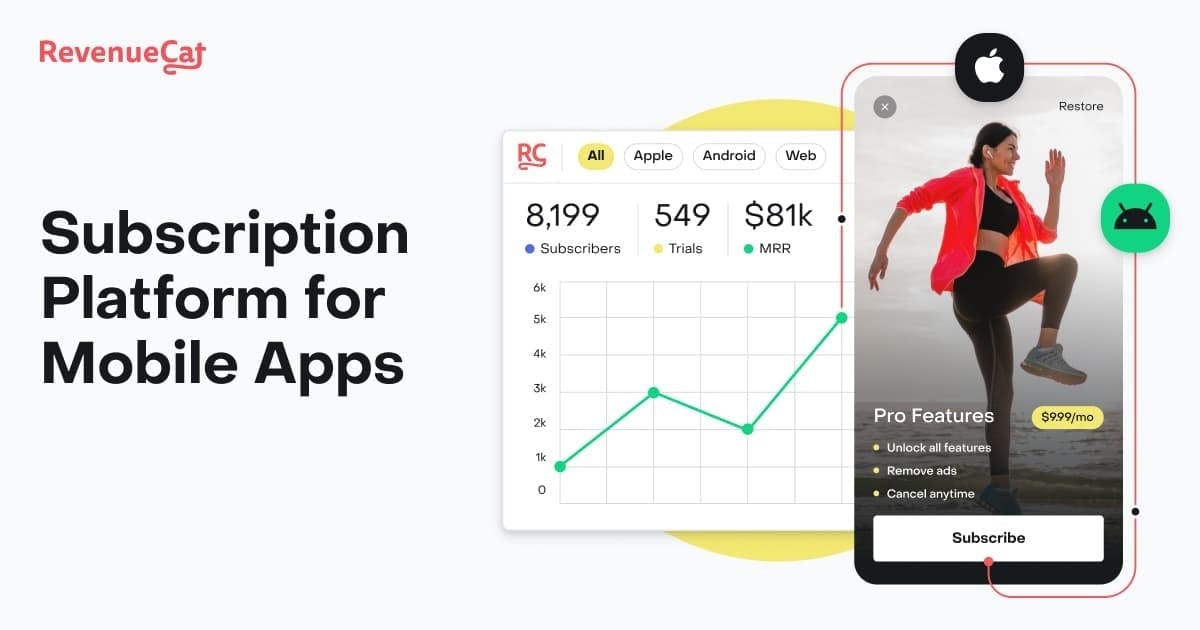
RevenueCat provides a backend and a wrapper around StoreKit and Google Play Billing to simplify implementing in-app purchases and subscriptions. With their SDK, you can build and manage your app business on any platform without having to maintain IAP infrastructure.
Please Note: RevenueCat is not free and charges some amount, please head over to their pricing page for more info.
Implementing Subscriptions in React Native
Installing the react-native-purchases Library
You can head over to the SDK Quickstart page of their documentation in order to set up the basic structure of the project on their platform. After doing that, you can follow the steps below:
To begin, run the following command in your terminal to install the package using npm:

For iOS, one additional step needs to be done. If you have installed the library using Auto-linking, then all you need to do is run the below command:

Initial Configuration of Purchases SDK
Let us initialize the Purchases SDK with the appropriate keys for Google and iOS. You can find the keys from the apps you have created in your project in the RevenueCat dashboard. Below is the code that needs to be added to the top level of your app, I recommend adding it to your App.tsx file.
The setLogLevel property here helps RevenueCat’s SDK, logging important information and errors to help you understand what is going on behind the scenes.
The app_user_id field in .configure is how RevenueCat identifies users of your app. You can provide a custom value here or omit it for RevenueCat to generate an anonymous ID.
Identifying Customers
We can attach subscriptions to different users in a single app by identifying them from a unique id. The response returned by Purchases SDK can be used to check the subscription-related details for that particular customer.
To get more insights about this, you can check out here.
The below code can be added in a file, which gets called every time an app runs in a logged in state. For example, LoaderScreen.tsx.
If we are coming to this code for the first time, we have to pass some unique_id about our customer here, for example, email or user_id, and the Purchases SDK will log in the customer on its side with these credentials. If we are coming to this code already having some subscription data for this customer, then we can handle it for different scenarios. You can have a look at checking subscription status here.
Displaying Products
If you have done the product configuration correctly, which is stated on the SDK Quickstart page, then we can show the subscription related data directly from the stores into our app.
We have to use the getOfferings API of Purchases SDK to get data.
This code can be added in the Subscription.tsx file, where you intend to show the related data to buy the subscription.
To know more about how displaying products works, please have a look here.
Purchasing Products
We will use the purchasePackage API of Purchases SDK to purchase the subscriptions. The same code can be added to your Subscription.tsx file.
Please Note: This is just a basic purchase, in my case, we don’t have any entitlements set up, we only have products and offerings set up. If you have entitlements as well set up, you can add more conditions to the purchase, for example, you can look at the RevenueCat’s making purchases documentation.
Understanding Subscriptions Testing in React Native
iOS
- To check the subscription info, you can head to the AppStore section in device settings.
- We can also reset the already consumed trial period from here, which is not possible in case of android.
- We can change the subscription renewal period from the default 5 minutes to a minimum of 3 minutes and a maximum of 30 minutes.
- Your subscription can be renewed 12 times automatically and then gets canceled, but the number here is totally random, it can be less or more than this.
Android
- A testing email needs to be added under the ‘License Testing’ section in the Google Play console.
- We can see our subscription in Play Store account settings.
- You can look at renewal periods provided by Google for testing here.
- At max, a subscription can only be renewed 6 times, so in my case, as it was for a monthly subscription and the testing time period for it is 5 minutes, my subscription will automatically be canceled after 30 minutes.
Conclusion
Subscriptions in React Native play a pivotal role in enhancing the real-time capabilities of mobile applications. As we have explored throughout this article, we are able to understand how we can implement react-native-purchases into our application to provide subscription ability to our app.
I also suggest trying out the react-native-iap library to implement subscriptions and in-app purchases into your app, as this is also widely used among many developers. Below are some related references you can have a look at in order to implement subscriptions in your React Native app:
- Expo In-App Purchase Tutorial
- React Native In-App Purchases and Subscriptions with RevenueCat & Expo
- Add Subscriptions To Your React Native Apps Using RevenueCat
- In-App Purchase in React Native: A Comprehensive Guide
- Implement React Native in-app purchases for Android Apps
Although this is one of the implementations for the subscriptions, you should not be limited to this only. There is always space for experimentation.
Happy coding! 🚀
Related Articles
Dive deep into our research and insights. In our articles and blogs, we explore topics on design, how it relates to development, and impact of various trends to businesses.

