Table of Contents
Integrate Payment Gateway - RazorPay with Laravel
Author

Date

Book a call
Introduction
In this tutorial, you will learn how to integrate RazorPay in your Laravel 8 application. Read on to know the essential steps for the integration.
Steps to Integrate RazorPay with Laravel
Let’s get started. Follow the steps below, and you are good to go!
Step 1 - Install the Laravel 8 Application
Go to the directory you want to install your project in the terminal and run the below command to install new Laravel project
Step 2 - Connect Database to an Application
In this step, open your project folder in vs. code and open .env and add your database name, user, and password like this.
Step 3 - Add RazorPay Credentials
If you already have Razorpay account, login into the Razorpay dashboard or create a new Razorpay account. Then go to settings from the left sidebar, and you will see the API KEYS tab.
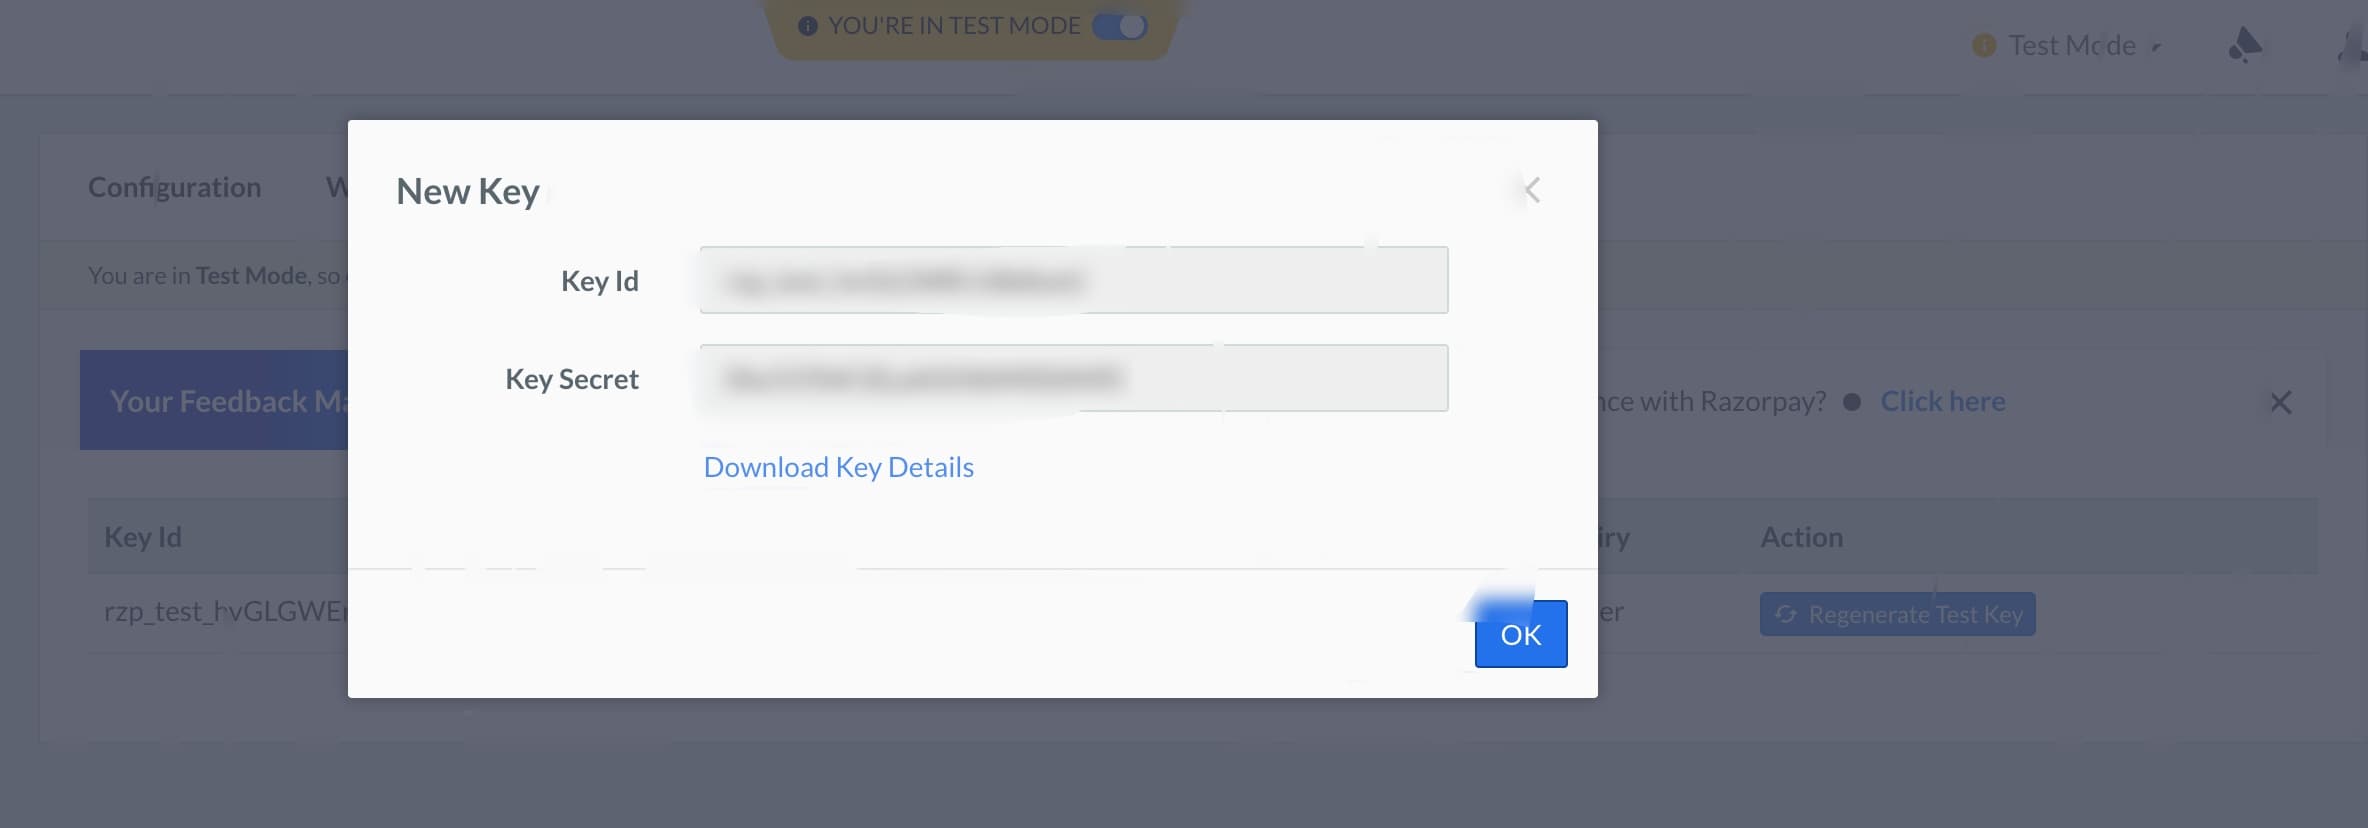
Open that tab and generate a new key. Copy those keys, and paste them into your .env

Step 4 - Install the Composer Package of RazorPay
Now, could you install the composer package of Razorpay? To install that, get the root directory of your project in the terminal and run the below command.
Step 5 - Create Route
Open web.php and create a new route.
Step 6 - Create Migration and Model
Now, you need to create migration for new table payments to store the response of razorpay API. Also, create a model Payment for the same. Run this below command
Copy this code in the migration file and run php artisan migrate
Step 7 - Create Controller
Now, create a controller using this command and write the below code. In the controller, we will write the logic for Razorpay API call and store the response in our database.
Step 8 - Create View File
Create Laravel blade file and add the below code in that file and call that file with the help of the view function from the controller.
Now run this below command and open this URL http://127.0.0.1:8000/product
Conclusion
This was a tutorial on integrating Razorpay into your Laravel 8 application. You can try it out and let us know how it went!
Related Articles
Dive deep into our research and insights. In our articles and blogs, we explore topics on design, how it relates to development, and impact of various trends to businesses.


