Nov 7, 2023
Building a Live Location Sharing and Tracking App Using gluestack-ui with Expo React Native and Google Maps API
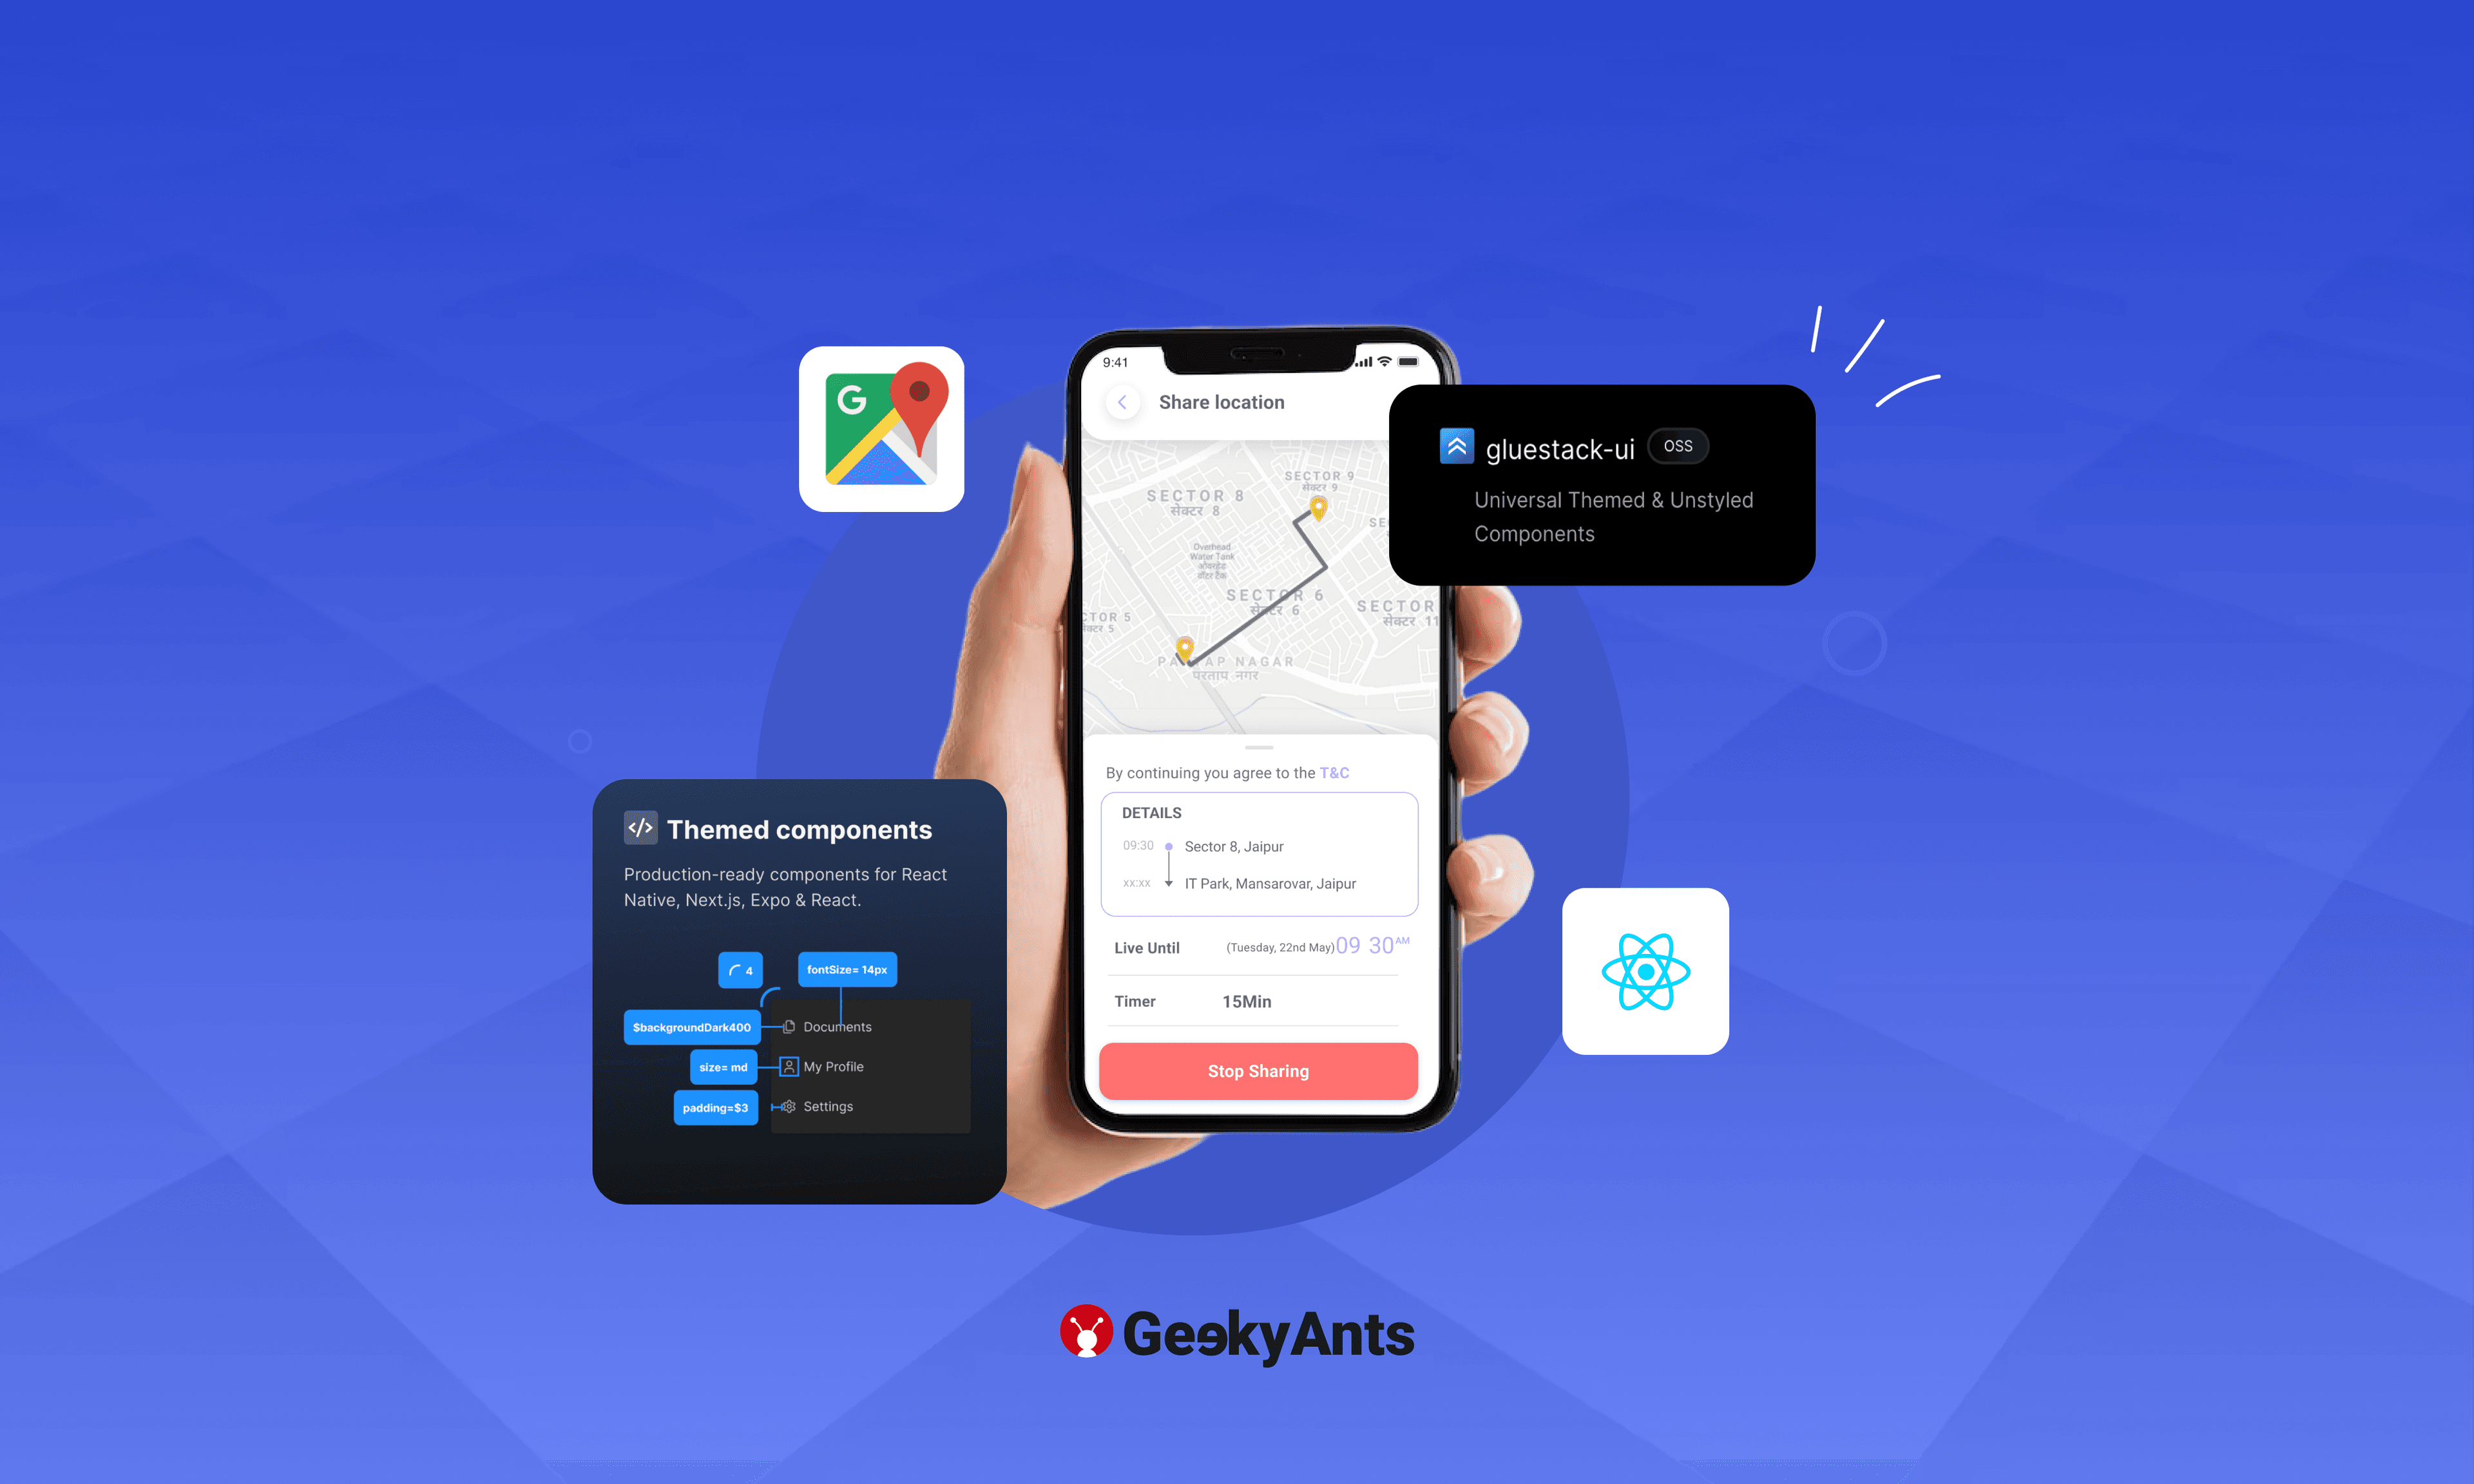
This step-by-step guide with code examples shows you how to build a live location sharing & tracking app using gluestack-ui with expo React Native and Google Maps API.
Author

Book a call
Table of Contents
In this era of technology, location-based applications have become increasingly popular. From ride-sharing services to tracking the whereabouts of your loved ones, location-sharing and tracking apps have become an indispensable part of our lives.
In this tutorial, we will walk you through the process of building a live location-sharing and tracking app using gluestack-ui with Expo React Native and Google Maps API.
Prerequisites
Before we get started, make sure you have the following prerequisites:
- Node.js and npm are installed on your system.
- React Native development environment set up. You can follow the official React Native documentation to set it up.
Setting up the Project
Let us start by creating a new React Native project and installing the necessary dependencies.
Select the name for the app; for this tutorial, I am going with the liveLocationApp.
Next, we will install the required libraries for our project. As we are using Expo, we are going to need
1. Expo MapView - For more installation info, please go to docs.
2. Expo Locations - For more installation info, please go to docs.
For expo-location, we need to do some configuration in your app.json/app.config.js
Before working on the code, we need the Google API key to use the maps API.
Google Maps API Setup
To use Google Maps in your React Native app, you must set up a Google Cloud project and obtain an API key. Here is how to do it:
- Go to the Google Cloud Console.
- Create a new project or select an existing one.
- Enable the "Maps JavaScript API" and "Places API" for your project.
- Create an API Key for your project.
Once you have the API key, restrict it to only work with your app's domain or package name for security.
To use Google Maps on iOS devices, we need to attach the obtained API key in our app.json/app.config.js file.
Building the Live Location Tracking Feature
We will start by building the live location tracking feature of our app. We will create a simple UI with a map to show the user's location.
Let us create a UI to display the maps and the marker for the user location.
Style for the UI:
Building the Live Location Sharing Feature
We need a back-end for this feature. For this project, we are using the Spring Boot back-end.
We have some APIs from our backend.
- Push Location - To push the user updated location to back on a specific interval.
- Share Location - To share the user location on a targeted user Email.
- Get Locations Shared to User - To fetch all the user lists whose locations are shared with the user (return an array of the object).
- Stop Location - To stop the location sharing for the specific user by passing the targeted Email.
Now we have the user's live location when the app is in the foreground we need to pass the location to the back-end service by using the push-location API.
We need to call the function in our app.tsx file inside useEffect.
We are pushing the user location in every 10-second interval to the back-end.
Sharing the Location to User Email
We need to take input for the targeted user email for the user:
Now call the Share Location API to start sharing the location from the back-end:
Now, as we are done with the sharing part, we have to check for any location that is shared with us. We will call the API Get Location shared with the User to get the array of the shared location. To listen to the live location of other users, we need to implement the web-socket for real-time update. For this, we are using sockjs-client and stopmjs. We need to install this package:
Now we have to fetch the list of the shared location to you.
After getting the list, we have to start the socket and subscribe for their location.
To display the marker for every user we need to loop through the list allRecievedLocations.
Check out the output for the app here:
For full source code please visit GitHub.
Summing Up
We hope this tutorial equips you with the knowledge and skills to create a powerful live location-sharing and tracking app, opening up possibilities for a wide range of applications in today's technology-driven world.
For more experiments, follow us on Twitter @geekyantslabs.
Subscribe to Our Newsletter
Subscribe to RSS
Press & Media Hub RSS FeedRelated Articles.
More from the engineering frontline.
Dive deep into our research and insights on design, development, and the impact of various trends to businesses.

Jul 10, 2026
How We Built the Missing Bridge from Code to Figma

Jun 27, 2026
Building a Resilient Hybrid-Cloud Network with WireGuard HA, Route-Based Failover, and Deep Observability

Jun 19, 2026
We Built a 114-Second AWS-to-Azure Failover. Here’s What We Learned

Jun 12, 2026
Cloud-Native and Cloud-Agnostic Are Not Ideologies; They Are Business-Stage Decisions

Jun 8, 2026
Geeklego: The Open-Source Design System Built to Work With AI

May 18, 2026