


Client Side Routing?
Client Side Routing is the ability to move between different parts of an application when a user enters a URL or clicks an element (link, button, icon, image etc) within the application. It's the process through which the user is navigated to different pages on a web application.
It allows us to build a single-page web application with navigation without the page refreshing as the user navigates.
In layman's terms, the performance on the Frontend of a website is directly affected by things, like the number of pages loaded initially, the amount of data fetched and displayed and the time taken to switch from one page to another.
Client-side rendering and routing give a subtle sense performance of your application and it's essential to use the power of your Frontend framework to your advantage.
Up until this point, assuming that you have dealt with simple projects that do not require transitioning from one view to another, you are yet to interact with Routing in Svelte using Page.Js.
Page is a small client-side routing library that can be used when building single page applications (SPAs). It has a simple API which is inspired by Express. It utilises the HTML5 history API under the hood, which is what allows you to build smooth user interfaces while still having linkable URLs for different pages of the app.
Setting Up Our Environment
To start, we need to install Page.js. Open up your terminal in the root directory of your svelte project and run the following:
npm install pageWe will also need to make a some changes to our scripts in the package.json file to ensure that a page that we've navigated to before reloads. Open up your package.json and edit the following line in scripts:
"start": "sirv public"To append the --single option in start script, add:
"start": "sirv public --single"The scripts are now ready.
You can also go to src/main.js and remove props from that file as we are not using them. Now your main.js would look like this →
import App from './App.svelte'

const app = new App({
	target: document.body
})

export default app
Router Setup
Now, let's create some components that we will render as routes. Go to your src folder, make a new directory named routes and then add the following files:
Blog.svelteHome.sveltePrivate.svelteSignleBlog.svelteSignleBlog.sveltePageNotExists.svelte
These files have components which will be rendered as routes.
// Blog.svelte

<script>
  import { onMount } from "svelte";

  const apiUrl = "https://jsonplaceholder.typicode.com/posts/";
  let data = [];

  onMount(async () => {
    const response = await fetch(apiUrl);
    data = await response.json();
  });
</script>

<h1>Blog</h1>

{#each data as item}
  <div>
    <h5>
      <a href="/en-ie/blog/{item.id}">{item.title}</a>
    </h5>
  </div>
{/each}
// Home.svelte
<div>Home Page</div>// Private.svelte
<h1>Private Route</h1>
<p>You are logged in!</p>// SignleBlog.svelte
<script>
import { onMount } from "svelte";
export let params;
const apiUrl = "https://jsonplaceholder.typicode.com/posts/";
let data = [];
onMount(async () => {
const response = await fetch(apiUrl + params.id);
data = await response.json();
});
</script>
<h1>{data.title}</h1>
<p>{data.body}</p>// PageNotExists.svelte
<div>Page does Not Exists</div>Now make a route.js file in src folder and import all the routes that you have defined in your app, and then render these routes through array.
Make sure to give each route a:
- path (Link to open route in your app)
- component (Component to be rendered)
- auth (This would define whether route is private or public. Its' value will be true for private routes)
// routes.js

import Home from './routes/Home.svelte'
import Blog from './routes/Blog.svelte'
import SingleBlog from './routes/SingleBlog.svelte'
import Private from './routes/Private.svelte'
import PageNotExists from './routes/PageNotExists.svelte'

export default [
	{
		path: '/',
		component: Home
	},
	{
		path: '/blog',
		component: Blog
	},
	{
		path: '/blog/:id',
		component: SingleBlog
	},
	{
		path: '/private',
		component: Private,
		auth: true
	},
	{
		path: '*',
		component: PageNotExists
	}
]
Now, it's time to render all the routes and their respective params (if any provided in their url). For example: SingleBlog component above has id as params.
Now, go to your app.svelte file and add the following lines of code:
<nav>
  <a href="/en-ie">Home</a>
  <a href="/en-ie/blog">Blog</a>
  <a href="/en-ie/private">Private</a>
</nav>
This will be the header of our app and will be rendered on all (private and public) routes because it contains links to all routes.
Post that, write the following lines of code below the header:
<main>
  <svelte:component this={page} {params} />
</main>
The svelte:component element renders a component dynamically using the component constructor specified as the this property. When the property changes, the component is destroyed and recreated. If this is false, no component is rendered.
You can read more about svelte:component from here: https://svelte.dev/docs#svelte_component
Now, create script tags at the top of file and import router from page and routes from routes.js. This is how it will look like:
<script>
  import router from "page";
  import routes from "./routes";
</script>
Now add the variables page, params and user to the script tag like this:
<script>
  ...

	let page = null;
  let params = {};
  let user = false;
</script>
Finally, add the logic to render the routes in the script tag:
<script>
	...

  routes.forEach(route => {
	// Loop around all of the routes and create a new instance of
  // router for reach one with some rudimentary checks.
    router(
      route.path,
			// Set the params variable to the context.
      // We use this on the component initialisation
      (ctx, next) => {
        params = { ...ctx.params };
        next();
      },
			// Check if auth is valid. If so, set the page to the component
      // otherwise redirect to login.
      () => {
        if (route.auth && !user) {
          router.redirect("/");
        } else {
          page = route.component;
        }
      }
    );
  });

	router.start();
</script>
In the above lines of code, first we loop around all the routes defined in the routes.js, create a new instance of route() for any paths defined and then pass through any variables such as id which were defined in our array.
Finally, we check to see if authentication is required and if the user object exists. If not valid, we redirect to the login page. If so, we set the page variable to the component and then pass this through.
To add more routes in future, simply edit routes.js by importing the new component and creating a new child in the array.
Once you have all your routes defined, you need to start the router, which is done with another call to page as router.start().
This is how your app.svelte would look like:
<script>
  import router from "page";
  import routes from "./routes";

  let page = null;
  let params = {};
  let user = true;

  routes.forEach(route => {
    router(
      route.path,
      (ctx, next) => {
        params = { ...ctx.params };
        next();
      },
      () => {
        if (route.auth && !user) {
          router.redirect("/");
        } else {
          page = route.component;
        }
      }
    );
  });

  router.start();
</script>

<nav>
  <a href="/en-ie">Home</a>
  <a href="/en-ie/blog">Blog</a>
  <a href="/en-ie/private">Private</a>
</nav>

<main>
  <svelte:component this={page} {params} />
</main>
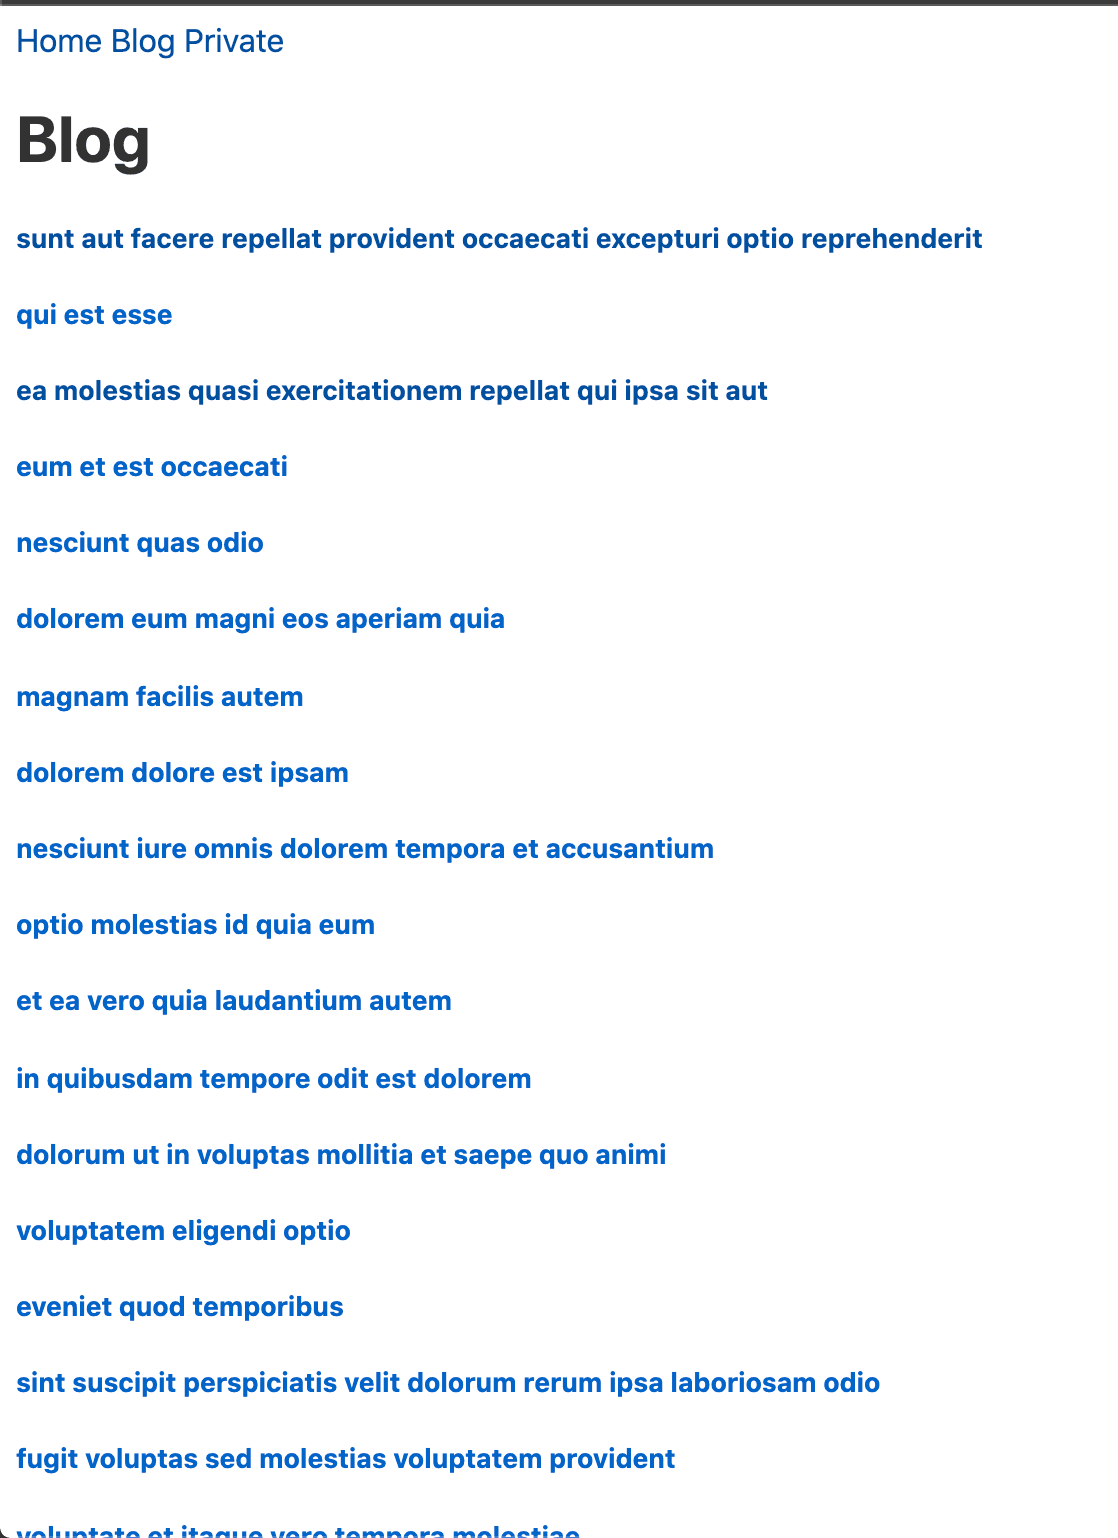
Your /blog route is now officially set up and would look like this (by clicking on links in the blog page, you can go to a single blog page).
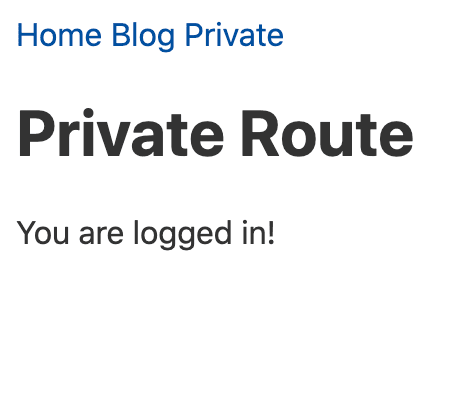
An unauthenticated user will not be able to access a private route. If you want to access a private route, you can manually do this by setting user variable as true in App.svelte file. This is how it looks like:
...and that's it! You have successfully routed different pages in a simple SPA.
Thsi is the link to my repo:
https://github.com/aryankush25/svelte-routing-boilerplate.
you can find the code for each styling pattern in the corresponding branches.
Thank you for reading. I hope this article has helped you understand routing in Svelte and how you can create SPAs fast and efficiently.







