

Editor’s Note:This article was written and updated in October 2026 by Sathavalli Yamini, Technical Writer, based on the original technical implementation by Sidharth Pansari, Senior Software Engineer I, who serves as the subject matter expert for this article. The original article was published in July 2025. This refresh updates browser compatibility, AI model guidance, security considerations, and production requirements while retaining the original tutorial structure and implementation approach.
Introduction — Let's Make Your App Talk
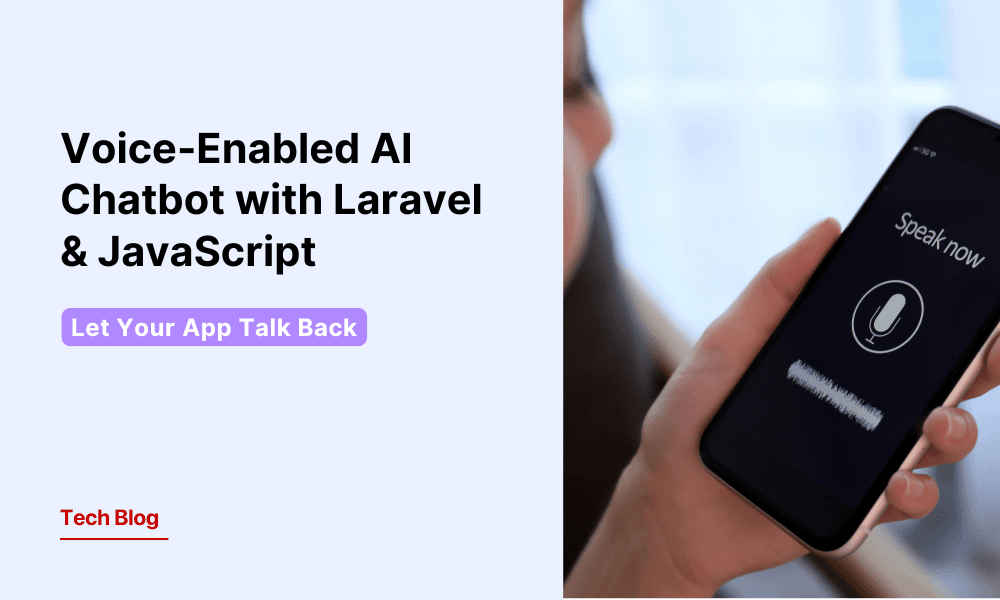
A voice-enabled AI chatbot needs three core capabilities: speech recognition to capture what the user says, an AI model to generate a response, and speech synthesis to read that response aloud. In this tutorial, we will connect these components using Laravel for the backend, vanilla JavaScript for the frontend, the Web Speech API for browser-based speech recognition, and OpenAI for response generation.
The result is a voice interaction flow where a user speaks to the application, Laravel sends the transcript to the AI model, and the browser reads the generated response aloud.
The implementation does not require a frontend framework. Browser support for speech recognition remains a key consideration before using this approach in production.
What's the Challenge?
The tricky part is getting all three systems to talk to each other:
- The browser needs to hear your voice and turn it into text using the Web Speech API.
- The backend needs to process that text and generate a response via OpenAI.
- The browser needs to speak the response out loud using SpeechSynthesis.
You'll have to deal with:
- Browser compatibility
- Microphone permissions
- Network delays
- OpenAI rate limits
The architecture has three main boundaries to manage: browser speech recognition, backend AI processing, and browser speech output. Each part needs error handling so the interface can recover when speech recognition, the network, or the model request fails.
Voice Chatbot Architecture at a Glance
Stage | Component | Responsibility |
Capture | Web Speech API | Convert the user's speech into text |
Send | JavaScript | Send the transcript to Laravel |
Process | Laravel + OpenAI | Submit the transcript and receive the model response |
Return | Laravel | Return the response to the browser as JSON |
Speak | SpeechSynthesis | Read the AI response aloud |
Control | Application logic | Handle permissions, errors, limits, and user interaction |
Step 1: Setting Up the Laravel Backend
Let's get the backend ready to receive voice input and send it to OpenAI.
Install Required Package
We'll use Laravel's HTTP client to talk to OpenAI. To make it smoother, we'll use the official OpenAI PHP SDK:
composer require openai-php/laravelThen, in your .env file, add your OpenAI API key:
OPENAI_API_KEY=sk-xxxxxxxxxxxxxxxxxxxxThat's it. We're ready to hit OpenAI's API.
The Controller
We created a controller called VoiceChatbotController. It has two methods:
index() — loads the main page
handle() — receives the transcript and sends it to OpenAI
<?php

namespace App\Http\Controllers;

use Illuminate\Http\Request;
use Illuminate\Support\Facades\Http;

class VoiceChatbotController extends Controller
{
    public function index()
    {
        return view('voice-chatbot');
    }

    public function handle(Request $request)
    {
        $text = $request->input('text');
        $apiKey = env('OPENAI_API_KEY');

        if (!$apiKey) {
            return response()->json(['error' => 'OpenAI API key not configured'], 500);
        }

        try {
            $response = Http::withHeaders([
                'Authorization' => 'Bearer ' . $apiKey,
            ])->post('https://api.openai.com/v1/chat/completions', [
                'model' => 'gpt-4o',
                'messages' => [
                    ['role' => 'user', 'content' => $text],
                ],
            ]);

            if ($response->successful()) {
                $reply = $response->json('choices.0.message.content');
                return response()->json(['reply' => $reply]);
            } else {
                return response()->json(['error' => 'Failed to get response from OpenAI'], 500);
            }
        } catch (\Exception $e) {
            return response()->json(['error' => 'Internal server error'], 500);
        }
    }
}
Model and API note: This code retains GPT-4o and the Chat Completions endpoint used in the original implementation. For a new implementation, review OpenAI's current model and API documentation before choosing the production setup.
Routes
Set up the routes to serve the chatbot view and handle the API request.
In your web.php:
use App\Http\Controllers\VoiceChatbotController;

Route::get('/', [VoiceChatbotController::class, 'index']);
Route::get('/voice-chatbot', [VoiceChatbotController::class, 'index'])->name('voice-chatbot');
In your api.php:
use App\Http\Controllers\VoiceChatbotController;

Route::post('/chat', [VoiceChatbotController::class, 'handle'])->name('api.chat');
That's it for Step 1!
Your backend is now:
- Ready to receive spoken input as plain text
- Talking to OpenAI using GPT-4o
- Returning an AI-generated reply as JSON
Next up, we'll work on capturing the user's voice in the browser and sending it to this endpoint.
Step 2: Capturing Voice in the Browser (Using Web Speech API)
The frontend includes the HTML structure, speech recognition setup, and controls required to capture voice input.
Browser support note: SpeechRecognition does not have consistent support across major browsers. Check compatibility for the browsers your application supports and provide another input method where speech recognition is unavailable. Some browser implementations can use a server-based recognition service, which means audio may leave the user's device for processing. Account for this behavior when defining privacy and consent requirements.
HTML Structure
First, let's create the complete HTML structure in your voice-chatbot.blade.php:
<!DOCTYPE html>
<html lang="en">
<head>
    <meta charset="UTF-8">
    <meta name="viewport" content="width=device-width, initial-scale=1.0">
    <meta name="csrf-token" content="{{ csrf_token() }}">
    <style>
        body {
            font-family: Arial, sans-serif;
            max-width: 600px;
            margin: 50px auto;
            padding: 20px;
            text-align: center;
            background: linear-gradient(135deg, #667eea 0%, #764ba2 100%);
            min-height: 100vh;
            color: white;
        }

        .container {
            background: rgba(255, 255, 255, 0.1);
            backdrop-filter: blur(10px);
            border-radius: 20px;
            padding: 40px;
            box-shadow: 0 8px 32px rgba(0, 0, 0, 0.1);
        }

        button {
            padding: 15px 30px;
            margin: 10px;
            font-size: 16px;
            cursor: pointer;
            border: none;
            border-radius: 50px;
            transition: all 0.3s ease;
            font-weight: bold;
        }

        #startBtn {
            background: #4CAF50;
            color: white;
        }

        #stopBtn {
            background: #f44336;
            color: white;
        }

        button:disabled {
            opacity: 0.6;
            cursor: not-allowed;
        }

        #status {
            margin: 20px 0;
            font-size: 18px;
        }

        #output {
            margin: 30px 0;
            padding: 20px;
            border: 2px solid rgba(255, 255, 255, 0.2);
            border-radius: 15px;
            min-height: 100px;
            background: rgba(255, 255, 255, 0.05);
            text-align: left;
            white-space: pre-wrap;
            font-size: 16px;
            line-height: 1.6;
        }
    </style>
</head>
<body>
    <div class="container">
        <h1>🎤 Voice Chatbot</h1>

        <div>
            <button id="startBtn" onclick="startListening()">▶️ Start Listening</button>
            <button id="stopBtn" onclick="stopListening()" disabled>⏹ Stop Listening</button>
        </div>

        <div id="status">Click Start to begin...</div>
        <div id="output"></div>
    </div>

    <script>
        // JavaScript will go here...
    </script>
</body>
</html>
This gives us a beautiful glassmorphism design with proper button states and feedback areas.
Setting Up Speech Recognition
Now let's add the core JavaScript inside the <script> tag:
const recognition = new (window.SpeechRecognition ||
window.webkitSpeechRecognition)();

recognition.lang = 'en-US';
recognition.interimResults = false;
recognition.continuous = false;

let transcript = '';
Let's break that down:
- We create a recognition object using the browser's built-in speech recognition.
- lang = 'en-US' sets the language to English (you can change this later).
- interimResults = false means we only care about the final result.
- continuous = false means it stops listening after a single sentence or phrase.
Essential Utility Functions
These functions handle UI updates and button states:
function updateStatus(message) {
    document.getElementById('status').innerText = message;
}

function updateOutput(message) {
    document.getElementById('output').innerText = message;
}

function resetButtons() {
    document.getElementById('startBtn').disabled = false;
    document.getElementById('stopBtn').disabled = true;
}
Button Control Functions
Here are the functions that control recording:
function startListening() {
    transcript = '';
    updateOutput('');
    recognition.start();
}

function stopListening() {
    recognition.stop();
}
Speech Recognition Event Handlers
Now for the actual speech recognition magic:
recognition.onstart = function() {
    document.getElementById('startBtn').disabled = true;
    document.getElementById('stopBtn').disabled = false;
    updateStatus('🎤 Listening... Speak now!');
};

recognition.onresult = function(event) {
    transcript = event.results[0][0].transcript;
    updateOutput(`You said: ${transcript}`);
    updateStatus('Processing...');
};

recognition.onerror = function(event) {
    updateStatus(`Error: ${event.error}`);
    resetButtons();
};

recognition.onend = function() {
    if (!transcript) {
        updateStatus('No speech detected. Click Start to try again.');
        resetButtons();
        return;
    }

    updateStatus('Speech captured! Ready to send to AI...');
    resetButtons();
};
This handles:
- Button state management - Proper disable/enable during recording
- Visual feedback - Clear status messages throughout the process
- Speech capture - Stores what the user said
- Error handling - Graceful handling of speech recognition issues
At This Point…
You now have a complete, professional-looking interface that can: Start and stop voice capture with proper button states, Transcribe what you say with visual feedback, Store the transcript for processing.
Display clear status messages and results Look beautiful with modern glassmorphism design
Step 3: Complete Voice-to-AI-to-Speech Flow
Now it's time to connect everything together. We'll modify the recognition.onend function to:
- Send the transcript to Laravel
- Get the AI response
- Speak it back to the user
The Complete Implementation
Replace the simple recognition.onend from Step 2 with this complete version:
recognition.onend = async function () {
    if (!transcript) {
        updateStatus('No speech detected. Click Start to try again.');
        resetButtons();
        return;
    }

    try {
        updateStatus('Sending to AI...');

        const response = await fetch('{{ route("api.chat") }}', {
            method: 'POST',
            headers: {
                'Content-Type': 'application/json',
                'Accept': 'application/json',
                'X-CSRF-TOKEN':
document.querySelector('meta[name="csrf-token"]').getAttribute('content')
            },
            body: JSON.stringify({ text: transcript })
        });

        const data = await response.json();

        if (data.error) {
            updateOutput(`Error: ${data.error}`);
            updateStatus('Error occurred. Try again.');
        } else {
            updateOutput(`You said: ${transcript}\n\nAI replied:
${data.reply}`);

            const utter = new SpeechSynthesisUtterance(data.reply);
            speechSynthesis.speak(utter);

            updateStatus('Response received! Click Start for another conversation.');
        }
    } catch (error) {
        updateOutput(`Error: ${error.message}`);
        updateStatus('Something went wrong. Try again.');
    }

    resetButtons();
};
Security Note
Don't forget to include the CSRF token meta tag in your blade template:
<meta name="csrf-token" content="{{ csrf_token() }}">Keep the OpenAI API key on the Laravel backend rather than exposing it in frontend JavaScript.
Let's Break Down What Happens
- Capture: User speaks, speech is transcribed
- Send: Transcript is sent to Laravel via POST request
- Process: Laravel sends text to OpenAI and gets AI response
- Receive: JavaScript gets the AI reply as JSON
- Speak: Browser uses SpeechSynthesis to read the reply aloud
- Reset: UI resets for next conversation
What You've Built
Congratulations! You now have a complete voice interaction system:
- User clicks Start and speaks
- Transcript captured and sent to Laravel
- Laravel sends to OpenAI and gets a reply
- Browser speaks the AI's answer back
That's a full end-to-end voice interaction — from mic to model to mouth.
For a production example of voice-based AI, GeekyAnts built an AI-powered interview platform that combines real-time voice interaction, speech recognition, transcription, AI responses, and text-to-speech for candidate screening. This shows how the same interaction pattern can extend beyond a tutorial into a larger application workflow.
Production Note
Production requirements extend beyond the interaction shown in this tutorial. Model and tooling choices should account for response quality, latency, cost, language support, and deployment requirements. Data controls should define how audio and transcripts are processed, stored, accessed, and deleted.
Evaluation should cover transcription quality, model responses, supported languages, background noise, latency, and failure cases. Guardrails should restrict sensitive actions and unsupported requests.
Observability should track latency, API failures, speech-recognition errors, model errors, and usage without recording sensitive content by default. Human review should remain part of workflows where AI responses can affect customers, regulated processes, or business decisions.
Conclusion: Moving a Voice AI Chatbot Toward Production
This tutorial establishes the core architecture of a voice-enabled AI chatbot. The browser captures speech, Laravel handles the server request, an AI model generates a response, and browser speech synthesis converts the response into audio.
Moving this pattern into production requires browser fallbacks, input validation, API security, latency management, data controls, model evaluation, and error handling. These controls determine how the application behaves across browsers, network conditions, languages, and user scenarios.
The same architecture can support customer service, accessibility interfaces, internal tools, and other conversational products. Teams building these systems can connect the voice layer with AI agents, backend APIs, business systems, and application workflows.
Bonus Ideas You Can Try
If you want to take this even further, here are some ways to level up:
1. Add Roles or Personalities
Let the AI behave like a tutor, assistant, or support agent using system messages in OpenAI's API.
'messages' => [
    ['role' => 'system', 'content' => 'You are a helpful medical assistant.'],
    ['role' => 'user', 'content' => $text],
],
2. Support Multiple Languages
Use recognition.lang = 'hi-IN' or 'es-ES' for Hindi, Spanish, etc. You can also translate results using OpenAI or Google Translate APIs before reading them aloud.
Test each supported language across speech recognition, AI response generation, and speech synthesis. Support in one component does not establish the same level of performance across the complete voice workflow.
3. Add Memory or Context
Right now, your bot responds statelessly. But you could maintain a history of messages and pass them all in the API call for a more conversational experience.
If conversation history contains personal or business information, define what the application stores, where it stores the data, who can access it, and when the data should be deleted.
4. Secure It for Production
- Limit usage with rate-limiting middleware
- Cache responses
- Avoid exposing sensitive API tokens in the frontend
The production controls described earlier should extend these safeguards with input validation, access controls, data-retention rules, monitoring, and testing.
That's a Wrap!
This tutorial connects speech recognition, AI response generation, Laravel, and browser speech synthesis in one voice interaction flow. Before moving the feature into production, test the complete workflow across target browsers, languages, network conditions, and expected user scenarios.