

Hey, fellow game designers! If you're anything like me, you're probably obsessed with both gaming and designing, and at some point, you’ve thought, “I could totally design a game.” Well, guess what? You absolutely can! And with Figma, it's easier than you might think, even if you’re a beginner. Let me share some of what I’ve learned along the way, plus some game-changing (pun intended) features from Figma Conf 2024 that can help streamline your process.
Step 1: Setting Up Your Game’s Visual Identity
Before jumping into characters and environments, start with the fundamentals—your game’s visual identity. Figma’s design tools are perfect for this.
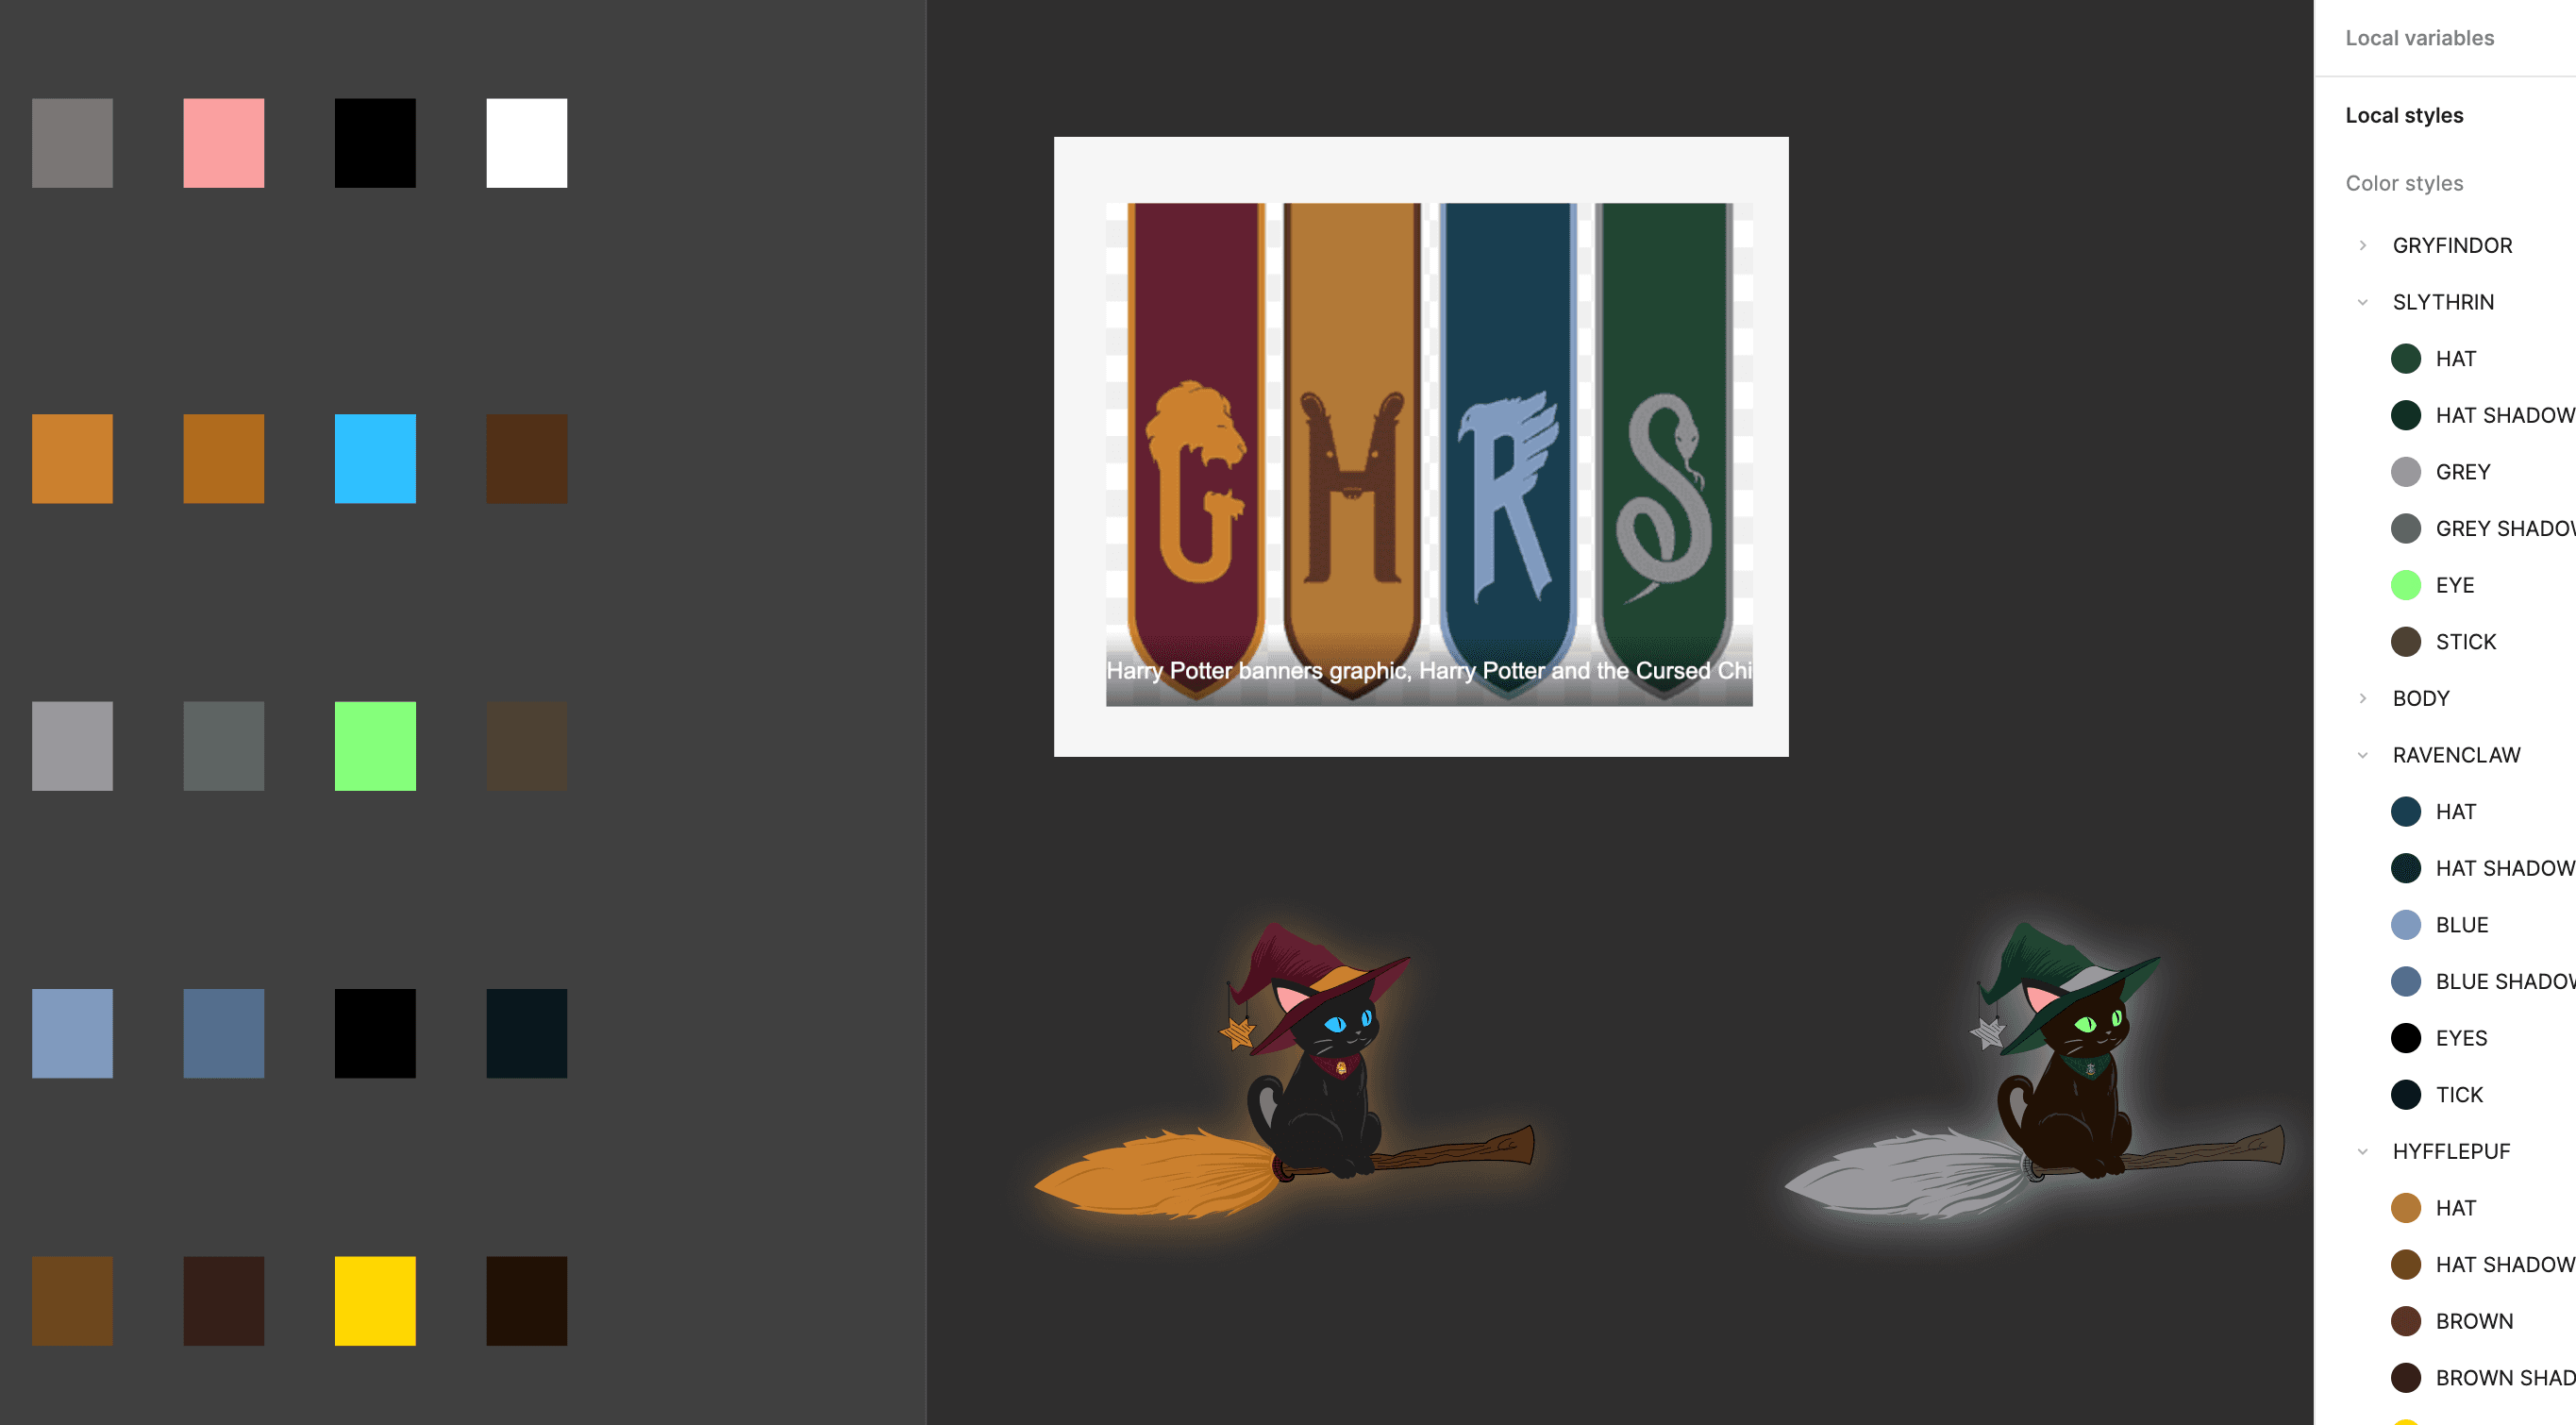
- Create a Style Guide: Use Figma to define your game’s color palette, typography, and basic UI components. Having a solid style guide will help ensure everything stays consistent.
- Design Logos and Icons: Start with simple shapes and use Figma’s vector editing tools to design your game’s logo, icons, and other branding elements.
Personal Tip: Early in my process, I used to skip making a style guide, thinking I could just "feel it out" as I went. Trust me, having a style guide upfront saves you tons of time and helps avoid the trap of constant tweaking later.
Step 2: Crafting Your Game’s Characters
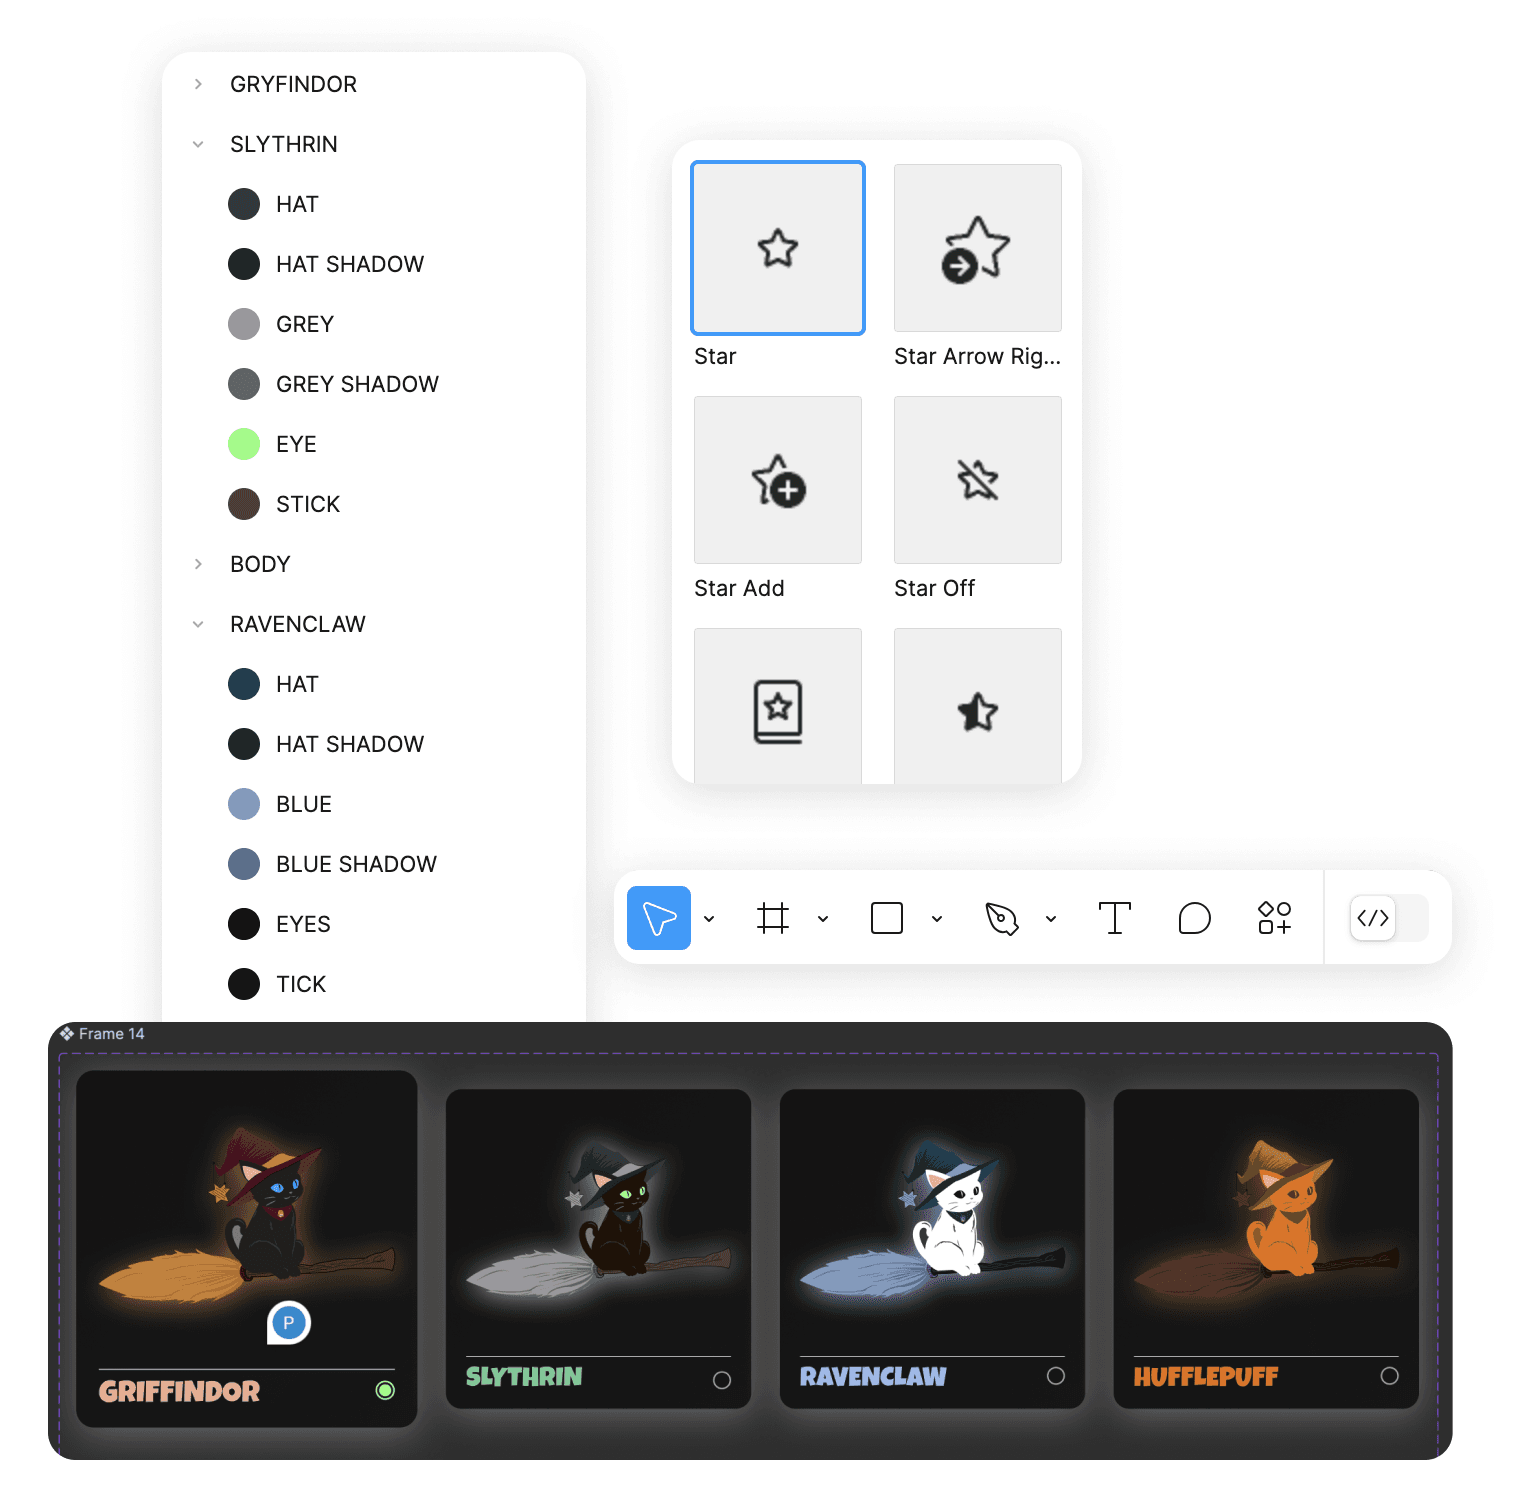
Characters are the soul of any game. With Figma’s versatile design tools, creating detailed characters becomes much more manageable.
- Sketch and Iterate: Start with rough sketches directly in Figma. The pen tool is your best friend for outlining characters, and Figma's vector editing makes refining shapes a breeze.
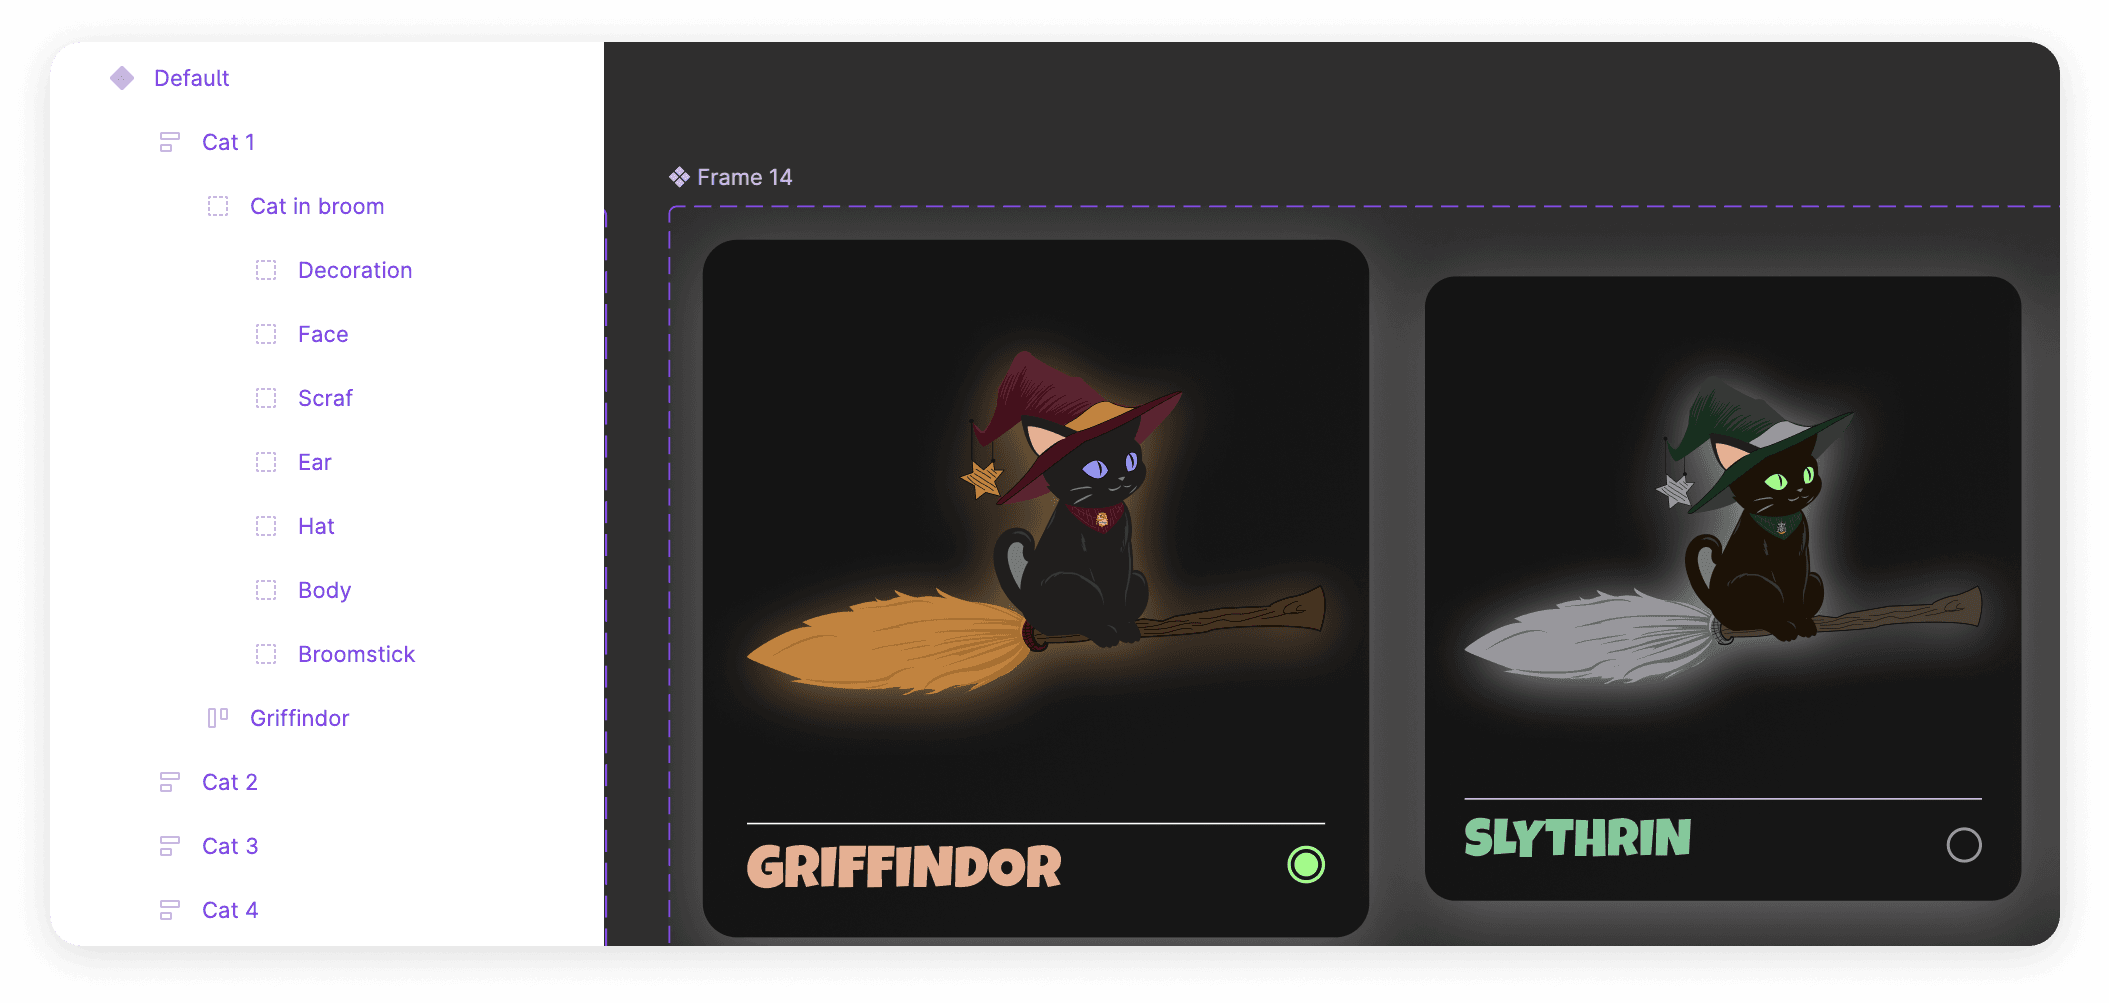
- Layering for Detail: Break down characters into layers for clothing, armor, accessories, etc. Layering allows for easy changes and adds depth to your characters.
Personal Anecdote: When I was working on my first character design, I realized how crucial layers were. Adding armor or accessories as separate layers made it so much easier to experiment without ruining the base design. A small tweak like adjusting the shoulder plate, for instance, became a five-second fix rather than a frustrating overhaul.
- Prototyping for Animations: Figma’s prototyping tools can help you create basic animations for your characters. This feature is great for visualizing movement and transitions before you get into full-blown development.

Step 3: Designing the Game Environment
Just as important as the characters are the worlds they inhabit. Figma lets you create detailed game environments and level layouts.
- Build Out Levels: Design your level layouts using Figma’s frame tool to create platforms, obstacles, and interactive elements.
- Incorporate Assets: Import textures and background elements to build the world your characters will move through. Use layers and masks to position these elements correctly.
- Prototyping Playtests: One thing I’ve found immensely useful is creating interactive prototypes of the game environment to simulate gameplay. This gives you a feel for how the game works without any code. During one of my projects, I realized the character jumps were too far apart after testing in Figma, allowing me to make quick layout adjustments before real development even started.

Step 4: Developing the UI/UX
A great game needs an intuitive and visually appealing user interface. Figma’s collaborative features and design libraries make UI/UX design a breeze.
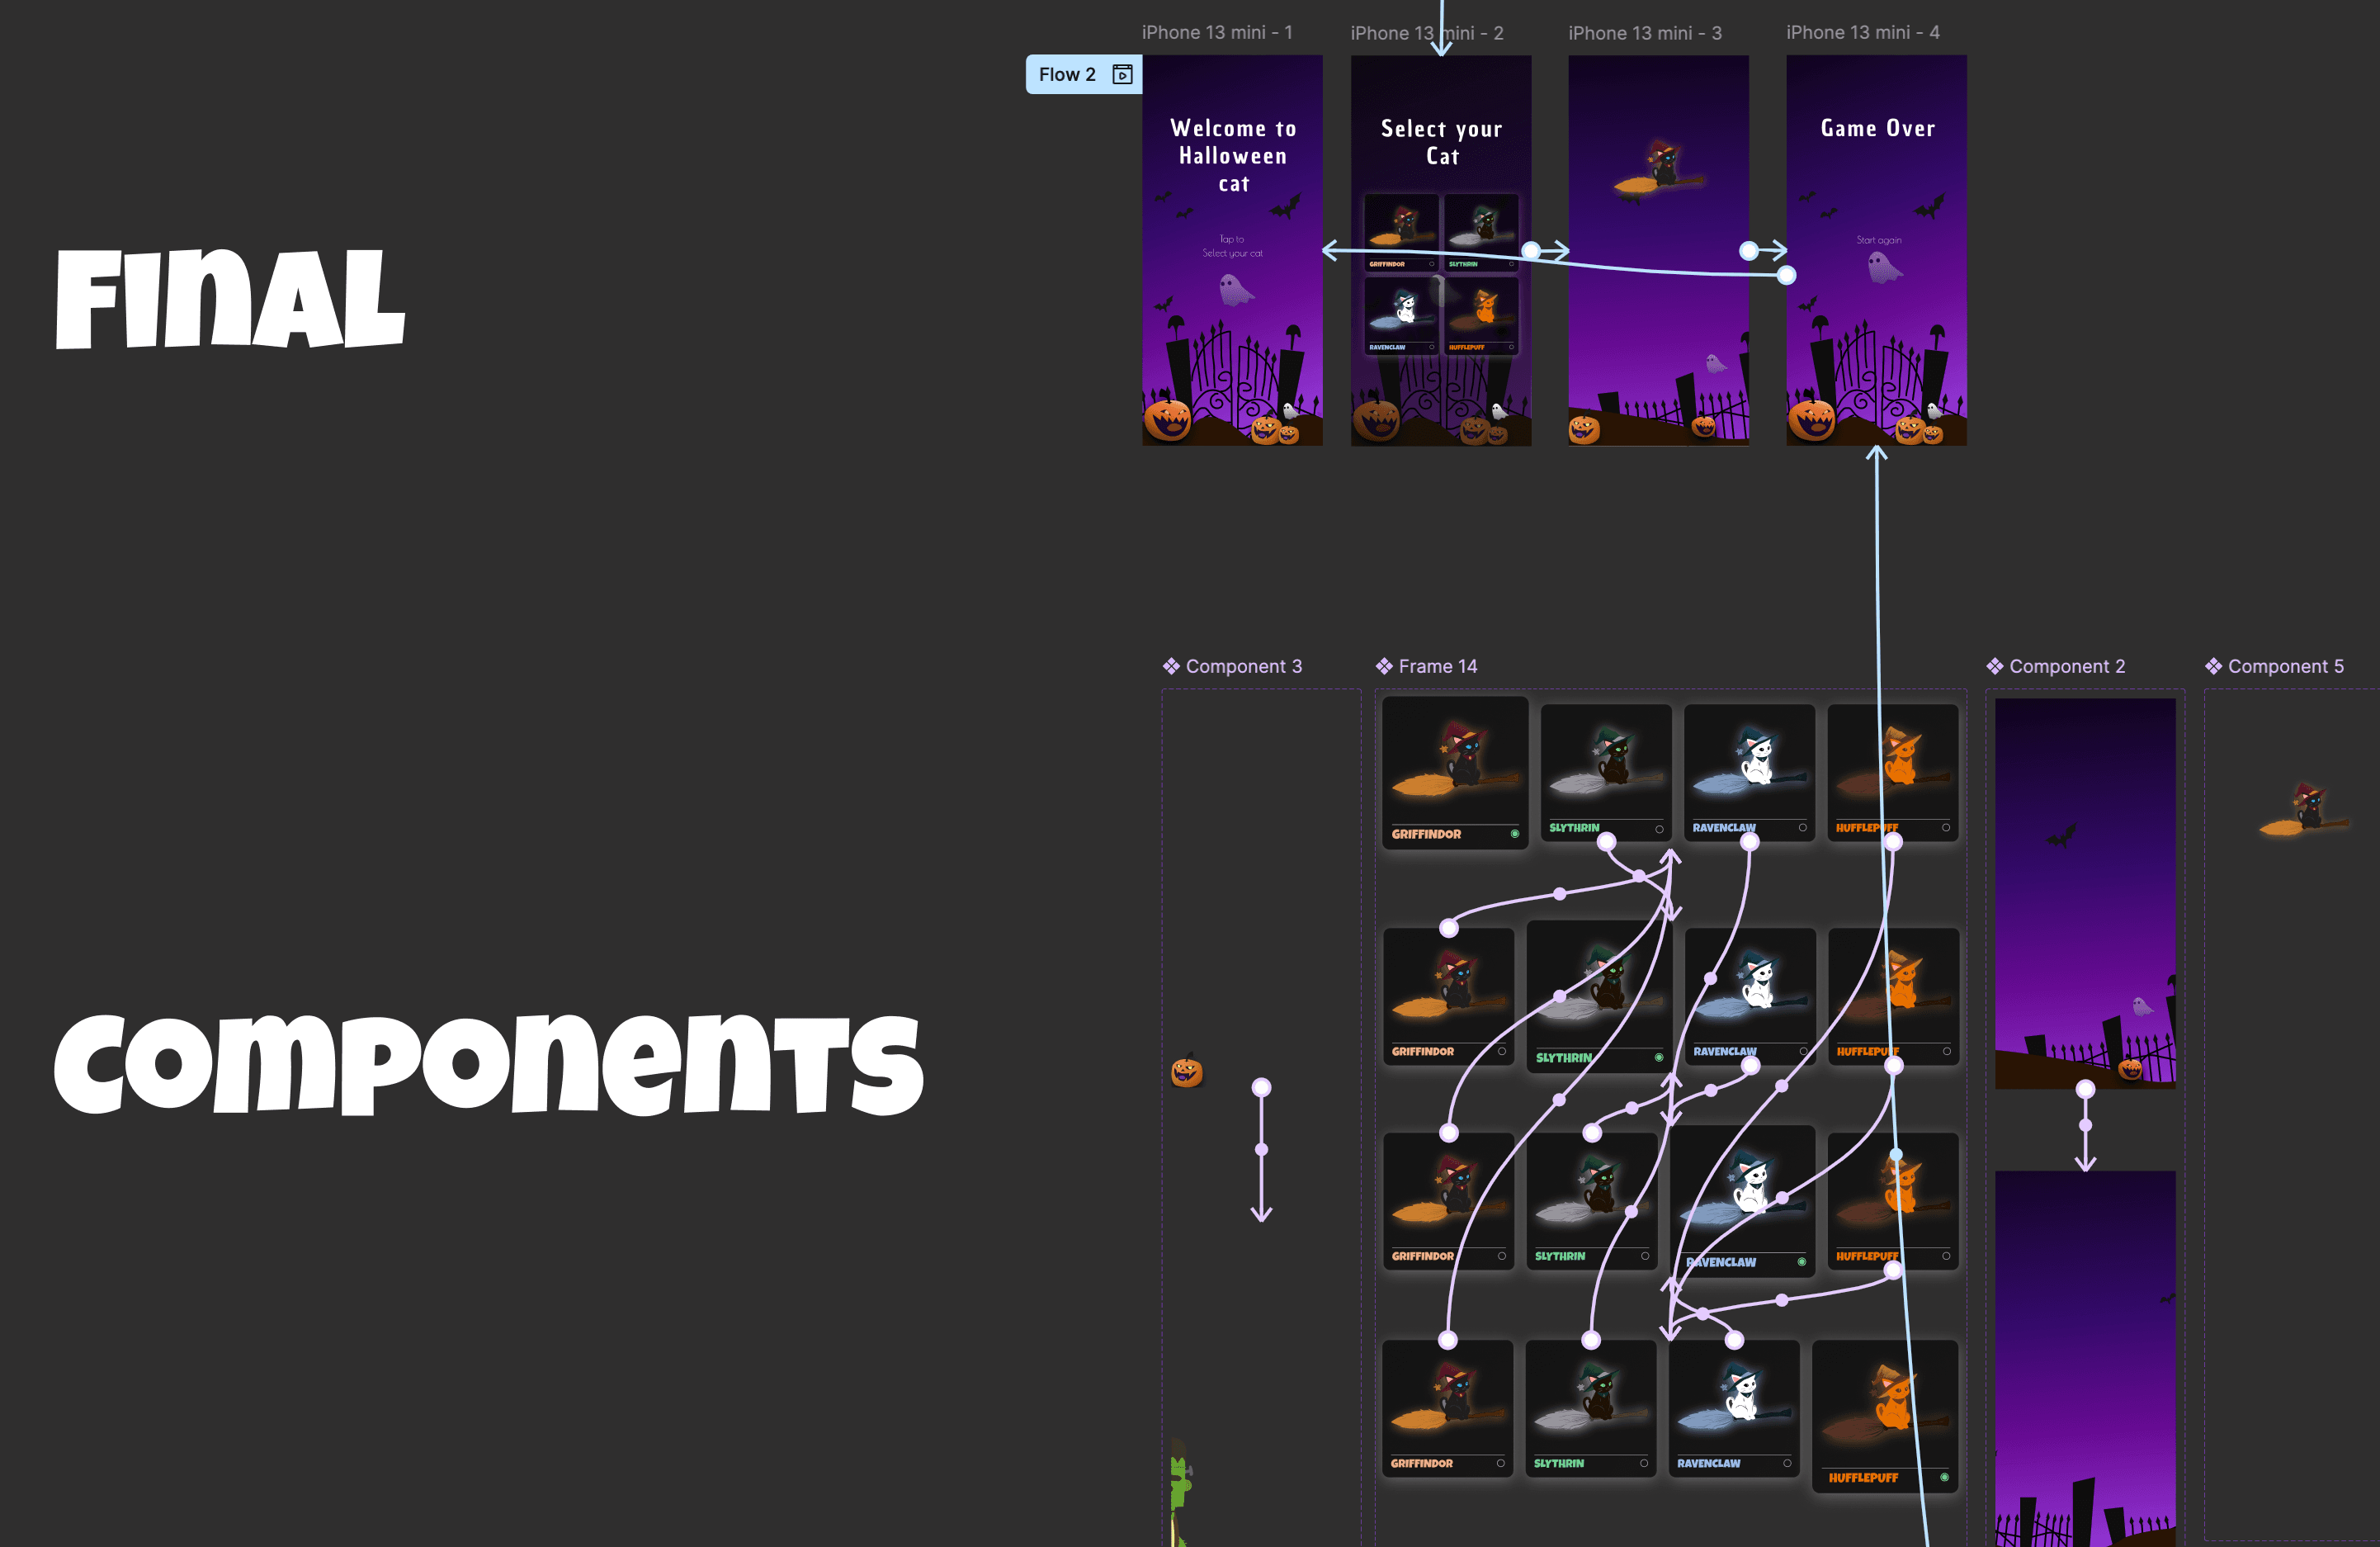
- Design Menus and HUDs: Use Figma to create the heads-up display (HUD), menus, and other interface elements. Design each screen and connect them using Figma’s prototyping tools.
- Test User Flows: Prototype the entire user journey—from the main menu to in-game interactions. This allows you to test the flow and make necessary adjustments before development.
- Leverage Design Libraries: Figma’s shared libraries are perfect for maintaining consistency across different UI components, especially when collaborating with team members.
Step 5: Iteration and Feedback
Game design is an iterative process, and Figma’s features support this by making it easy to test, tweak, and improve your designs.
- Version Control: Keep track of changes with Figma’s version history. This allows you to experiment with different ideas and revert to previous versions if needed.
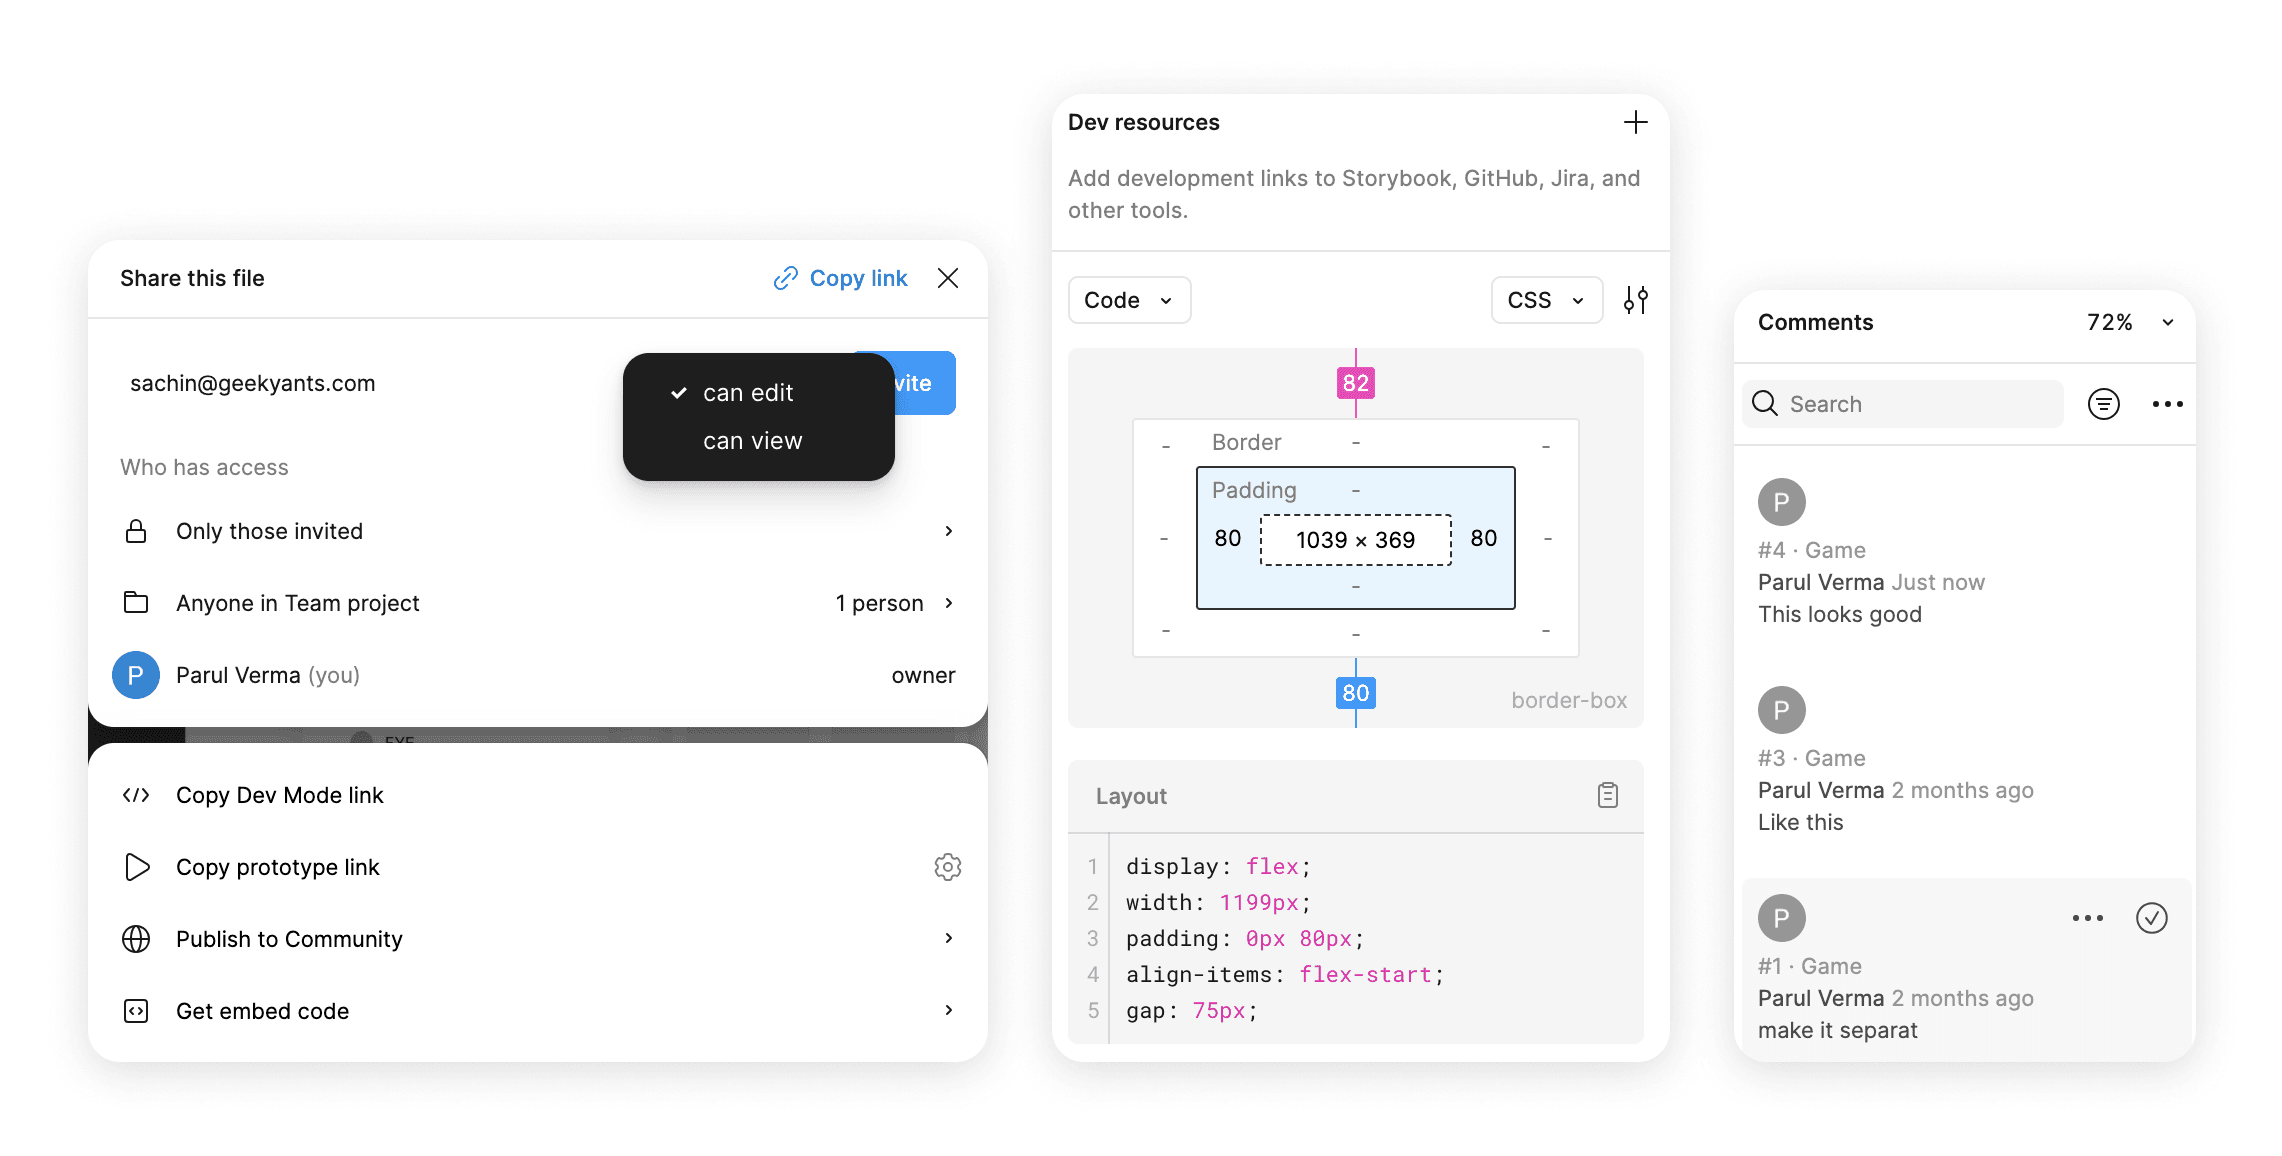
- Collect Feedback: Share your designs with teammates or stakeholders using Figma’s collaboration tools. Gather feedback directly on the design, making the revision process smoother and more efficient.
- Prototyping Playtests: Before writing a single line of code, create interactive prototypes that mimic gameplay. Conduct playtests to gather insights on mechanics and usability.
Step 6: Managing Team Dynamics in Game Design
When you're collaborating with others on a game project, effective teamwork is crucial. Figma makes managing design handoffs, assets, and feedback smooth.
- Design Handoffs: Once designs are ready for developers, Figma’s developer handoff features make it easy to share assets, styles, and specs.
- Asset Management: Use Figma’s shared libraries and components to keep everyone on the same page, ensuring that characters, environments, and UI elements are consistent across the board.
- Feedback Integration: Real-time feedback in Figma helps integrate suggestions and critiques instantly, ensuring that changes are made efficiently.
Personal Tip: I’ve worked with remote teams, and Figma’s collaborative features have been a lifesaver. We were able to leave comments, suggest changes, and implement feedback—all in real time. No endless email threads or confusion.
Step 7: Utilize Figma Conf 2024’s New Features
Figma continues to evolve, and with the latest features announced at Figma Conf 2024, designing games has become even more streamlined and accessible. These tools don’t just save time; they also enhance creativity and collaboration, making the whole design process much smoother.
- Figma Slides: Presenting your game ideas is a big part of the process, and Figma Slides is a game-changer (pun intended). Instead of jumping between different apps, you can create presentations right inside Figma. And the best part? You can embed interactive prototypes directly into your slides, so stakeholders can experience your game’s feel and flow right away. It’s a seamless way to showcase your game concepts and get feedback faster.
- AI-Powered Design Suggestions (Coming Soon): This feature is a designer's dream! Imagine AI stepping in to help with those tedious, repetitive tasks—like auto-arranging UI elements or suggesting button placements based on your previous designs. It could also analyze your layout and provide insights on how to improve the user experience or optimize game mechanics. This frees up more time for you to focus on the fun, creative parts of designing your game. You’ll be able to work smarter, not harder!
- Improved Developer Hand-offs: One of the biggest challenges in game design is ensuring that what you envision gets translated into code correctly. Figma's updated developer handoff tools now make it easier than ever to share exact specs, styles, and components with your developers, reducing miscommunication and making sure your game looks exactly as you designed it.
- What This Means for Game Design: These new features essentially remove mundane tasks, let you focus on the creative vision, and give you more control over every step of the process. You’re empowered to prototype, present, and collaborate more effectively. It’s never been easier to turn your game ideas into reality!
Step 8: Designing for Multiple Platforms
With gaming expanding across platforms, from mobile to desktop, it’s critical to ensure your game looks and feels great everywhere.
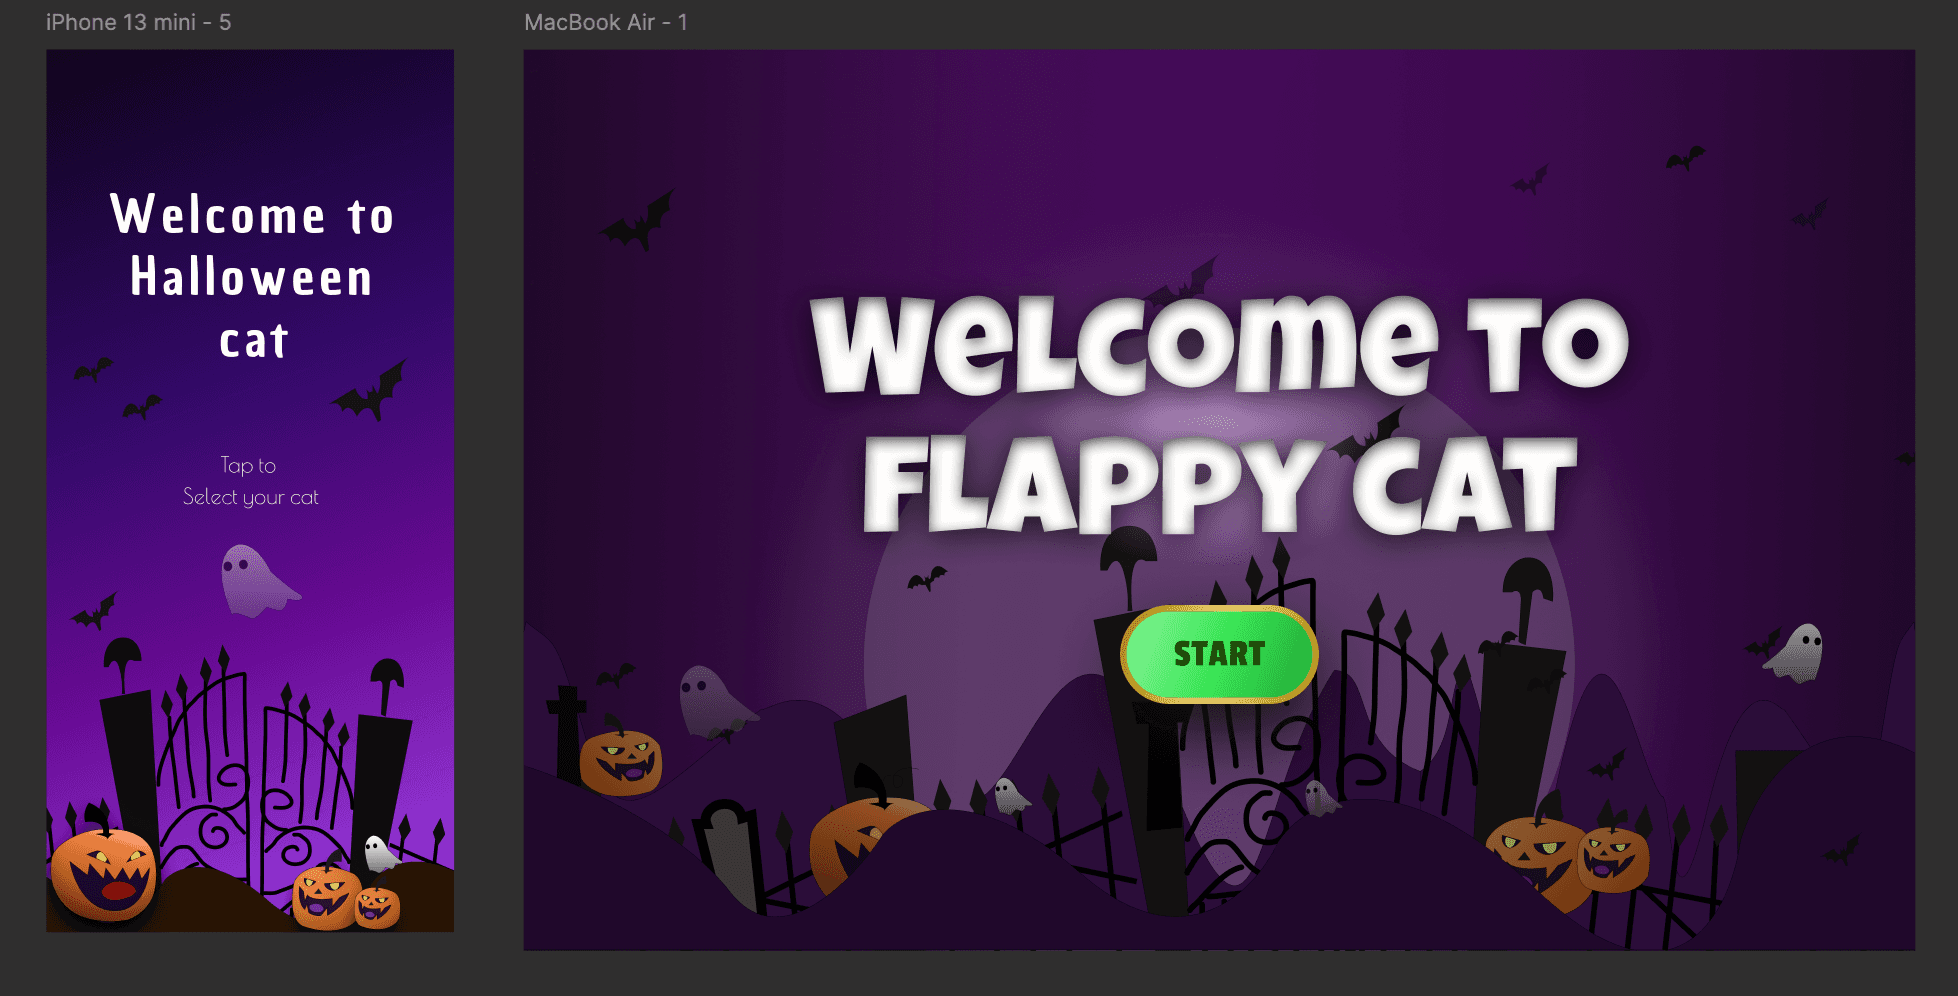
- Responsive Design: Use Figma’s responsive design features to adapt your game UI across different screen sizes. Set up frames for various device sizes and ensure your game looks great on all platforms.
- Test Across Devices: Since Figma is cloud-based, you can test your designs on different devices and see how they perform. Make sure you’re providing a seamless experience across all platforms.
Final Thoughts: Bringing It All Together
Designing your first game is a rewarding experience, and Figma provides all the tools you need to make it happen. Whether you’re creating characters, environments, or entire UI systems, Figma streamlines the process. Plus, with upcoming AI tools and seamless collaboration features, it’s only going to get better from here. So, fire up Figma and start crafting your dream game today!







