


Introduction
In the world of web development with Flutter, crafting intuitive and seamless user experiences is paramount. Flutter, Google's open-source UI toolkit, empowers developers to build beautiful and high-performance applications for mobile, web, and desktop from a single codebase. However, despite its versatility and robustness, Flutter web presents some challenges out of the box, one of which is that scrolling via arrow keys is not enabled by default. This seemingly small limitation can hinder user navigation and disrupt the fluidity of interactions. In this article, we delve into the intricacies of this issue and explore practical solutions to empower developers to enable arrow key scrolling effortlessly within their Flutter web applications.
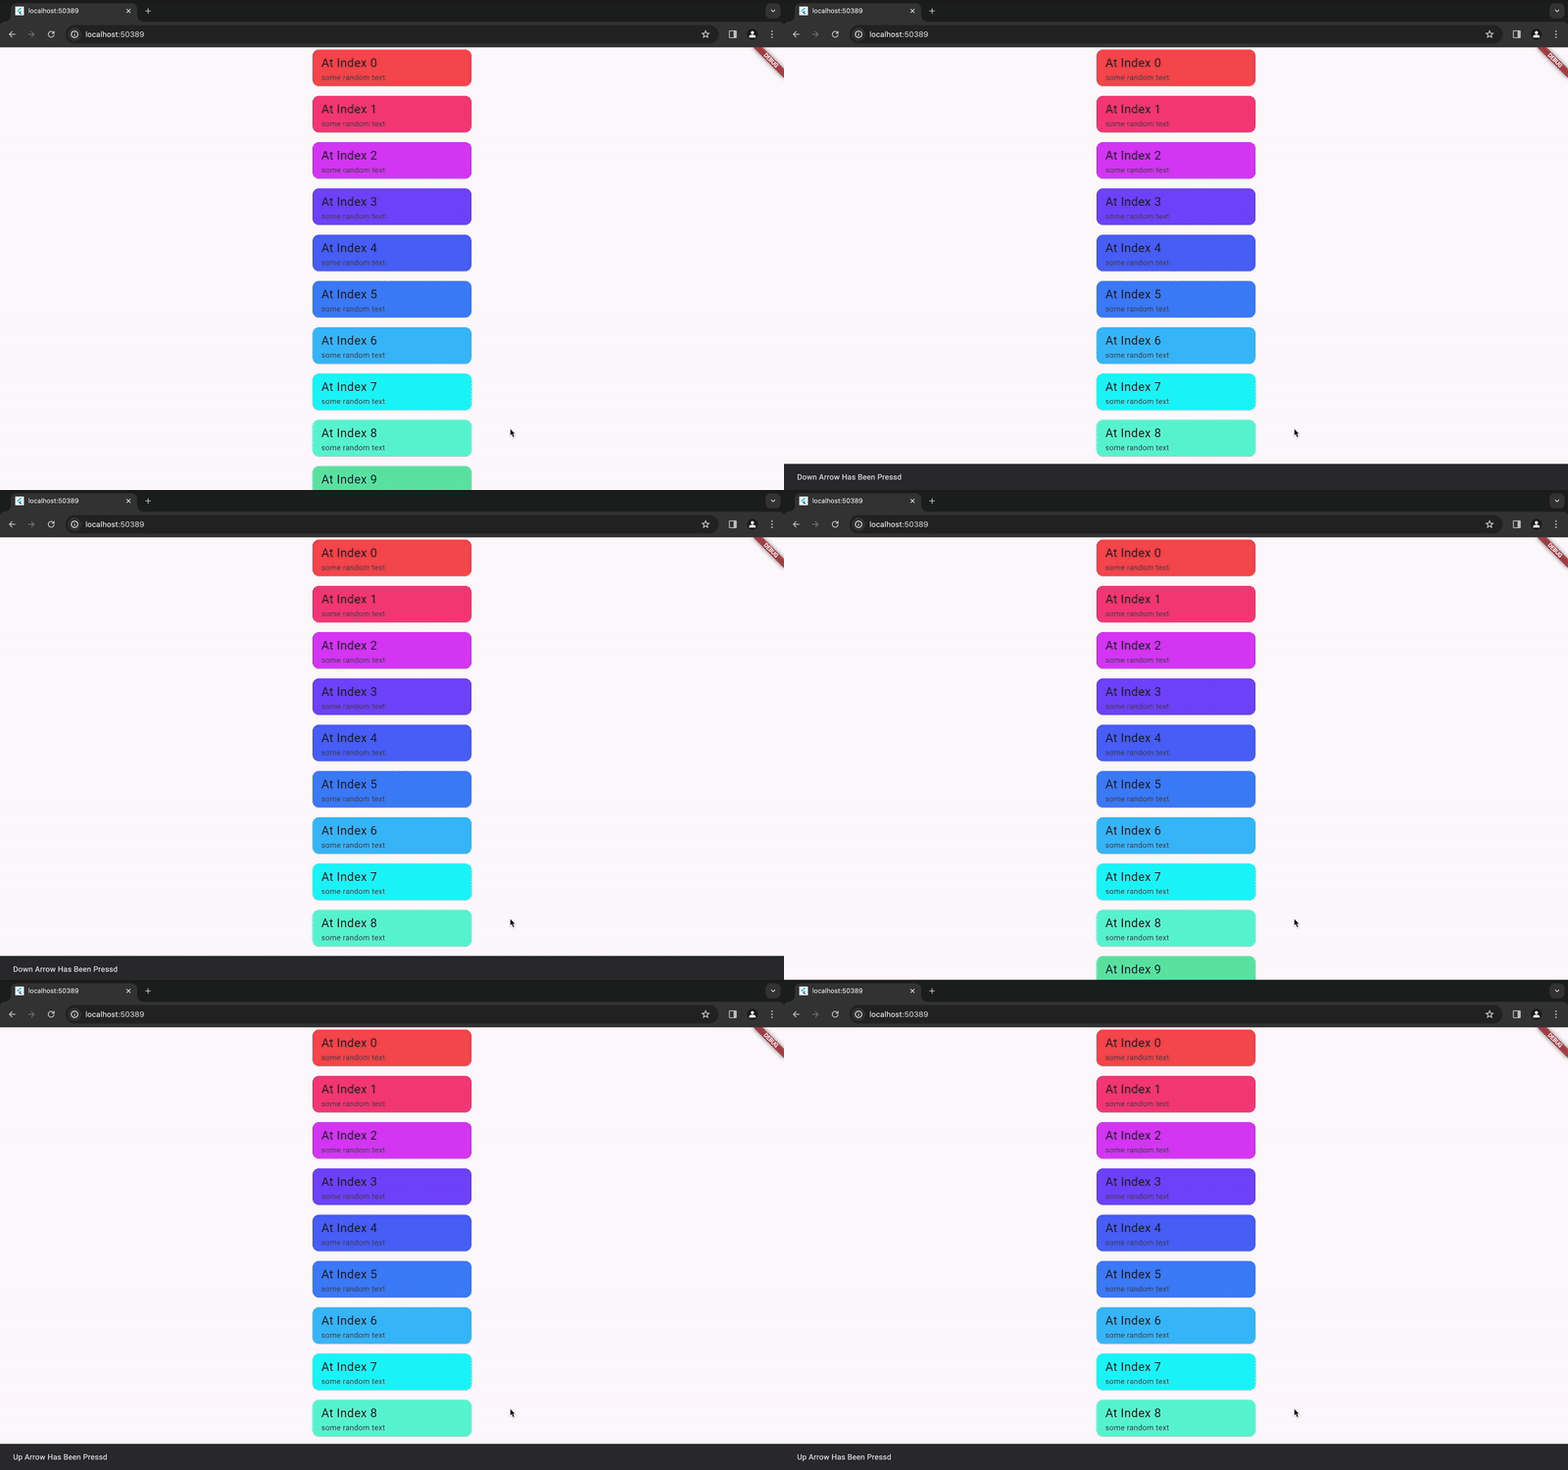
The default behavior is shown below:
Solution 1: Enabling Keyboard Arrow Key Scrolling with "primary" ListView
In this approach, we tackle the challenge of enabling keyboard arrow key scrolling in Flutter web by leveraging the "primary" property within the ListView widget. By setting "primary" to true, we designate the ListView as the primary scroll view within its parent widget hierarchy. This configuration facilitates scrolling using the keyboard arrow keys, providing a straightforward solution for scenarios where a single scroll view is sufficient and nested scrolls are not required.
To implement this approach, simply set the "primary" property to true within the ListView widget, allowing users to navigate through the content seamlessly using keyboard arrow keys.
class Example1 extends StatelessWidget {
  const Example1({super.key});

  @override
  Widget build(BuildContext context) {
    return Scaffold(
      body: SafeArea(
          child: ListView.separated(
              primary: true,
              itemBuilder: (context, index) {
                return ListViewItem(index: index);
              },
              separatorBuilder: (context, index) => const SizedBox(
                    height: 10,
                  ),
              itemCount: 200)),
    );
  }
}

class ListViewItem extends StatelessWidget {
  final int index;
  const ListViewItem({super.key, required this.index});

  @override
  Widget build(BuildContext context) {
    return UnconstrainedBox(
      alignment: Alignment.center,
      child: SizedBox(
        width: 300,
        height: 75,
        child: Card(
          child: ListTile(
            title: Text(
              "At Index $index",
              style: const TextStyle(fontSize: 22),
            ),
            subtitle: const Text("some random text"),
          ),
        ),
      ),
    );
  }
}
Solution 2: Enabling Keyboard Arrow Key Scrolling with GestureDetector and FocusScope
In this approach, we utilise the GestureDetector and FocusScope widgets to implement keyboard arrow key scrolling within the ListView in Flutter web applications. This method offers a flexible and intuitive solution for enabling keyboard-based navigation, enhancing the user experience across various web interfaces.
Implementation Details:
GestureDetectorIntegration: We start by encapsulating theListViewwithin aGestureDetectorwidget. This allows us to detect user input gestures, such as taps, which we leverage to manage focus within theListView.FocusScopeManagement: Next, we introduce aFocusScopewidget to manage the focus state of theListViewdynamically. By creating and maintaining aFocusScopeNodeinstance, we gain fine-grained control over the focus behavior, ensuring that theListViewresponds appropriately to user interaction.- Setting Primary Property: Within the
ListView,we dynamically set the "primary" property based on the focus state of theListView. When theListViewgains focus, we set "primary" to true, indicating that it should become the primary scroll view within its parent widget hierarchy. This enables smooth and intuitive scrolling using the keyboard arrow keys, enhancing accessibility and usability.
class Example2 extends StatefulWidget {
  const Example2({super.key});

  @override
  State<Example2> createState() => _Example2State();
}

class _Example2State extends State<Example2> {
  late FocusScopeNode _focusNode;

  @override
  void initState() {
    _focusNode = FocusScopeNode();
    super.initState();
  }

  @override
  void dispose() {
    _focusNode.dispose();
    super.dispose();
  }

  @override
  Widget build(BuildContext context) {
    return Scaffold(
      body: SafeArea(
        child: GestureDetector(
          onTap: () {
            _focusNode.requestFocus();
            setState(() {});
          },
          child: FocusScope(
            node: _focusNode,
            child: ListView.separated(
                primary: _focusNode.hasFocus,
                itemBuilder: (context, index) {
                  return ListViewItem(index: index);
                },
                separatorBuilder: (context, index) => const SizedBox(
                      height: 10,
                    ),
                itemCount: 200),
          ),
        ),
      ),
    );
  }
}

class ListViewItem extends StatelessWidget {
  final int index;
  const ListViewItem({super.key, required this.index});

  @override
  Widget build(BuildContext context) {
    return UnconstrainedBox(
      alignment: Alignment.center,
      child: SizedBox(
        width: 300,
        height: 75,
        child: Card(
          child: ListTile(
            title: Text(
              "At Index $index",
              style: const TextStyle(fontSize: 22),
            ),
            subtitle: const Text("some random text"),
          ),
        ),
      ),
    );
  }
}
Solution 3: Implementing Keyboard Arrow Key Scrolling with KeyboardListener and ScrollController
In this method, we leverage the KeyboardListener and ScrollController widgets to monitor keyboard inputs and adjust scrolling behaviour dynamically within the ListView in Flutter web applications. By detecting arrow key events and animating the scroll position accordingly, we provide users with an intuitive and responsive scrolling experience, enhancing usability and accessibility.
Implementation Details:
KeyboardListenerIntegration: We begin by encapsulating theListViewwithin aKeyboardListenerwidget. This widget allows us to listen for keyboard events and respond to user inputs effectively. By specifying an autofocus focus node, we ensure that theListViewreceives keyboard input focus by default, enabling seamless interaction.ScrollControllerManagement: Next, we instantiate aScrollControllerto manage the scroll position of theListViewprogrammatically. This controller enables us to animate the scroll position in response to arrow key events, facilitating smooth and fluid scrolling behavior.- Adjusting Scroll Position: Within the
KeyboardListener'sonKeyEvent callback, we capture keyboard events and adjust the scroll position of theListViewdynamically. By detecting arrow key inputs, we calculate the desired scroll offset and use theScrollControllerto animate the scroll position accordingly, ensuring a responsive and intuitive scrolling experience for users.
class Example3 extends StatefulWidget {
  const Example3({super.key});

  @override
  State<Example3> createState() => _Example3State();
}

class _Example3State extends State<Example3> {
  late ScrollController _controller;
  late FocusNode _focusNode;

  @override
  void initState() {
    _focusNode = FocusNode();
    _controller = ScrollController();
    super.initState();
  }

  @override
  void dispose() {
    _focusNode.dispose();
    _controller.dispose();
    super.dispose();
  }

  @override
  Widget build(BuildContext context) {
    return Scaffold(
      body: SafeArea(
        child: KeyboardListener(
          autofocus: true,
          focusNode: _focusNode,
          onKeyEvent: (value) {
            if (_controller.position.outOfRange) {
              return;
            }
            final offset = _controller.offset;
            if (value.physicalKey.debugName == "Arrow Down") {
              _controller.animateTo(offset + 50,
                  duration: const Duration(milliseconds: 500),
                  curve: Curves.linear);
            }
            if (value.physicalKey.debugName == "Arrow Up") {
              _controller.animateTo(offset - 50,
                  duration: const Duration(milliseconds: 500),
                  curve: Curves.linear);
            }
          },
          child: ListView.separated(
            controller: _controller,
            itemBuilder: (context, index) {
              return ListViewItem(index: index);
            },
            separatorBuilder: (context, index) => const SizedBox(
              height: 10,
            ),
            itemCount: 200,
          ),
        ),
      ),
    );
  }
}

class ListViewItem extends StatelessWidget {
  final int index;
  const ListViewItem({super.key, required this.index});

  @override
  Widget build(BuildContext context) {
    return UnconstrainedBox(
      alignment: Alignment.center,
      child: SizedBox(
        width: 300,
        height: 75,
        child: Card(
          child: ListTile(
            title: Text(
              "At Index $index",
              style: const TextStyle(fontSize: 22),
            ),
            subtitle: const Text("some random text"),
          ),
        ),
      ),
    );
  }
}
By using the above solutions, we can achieve the following:
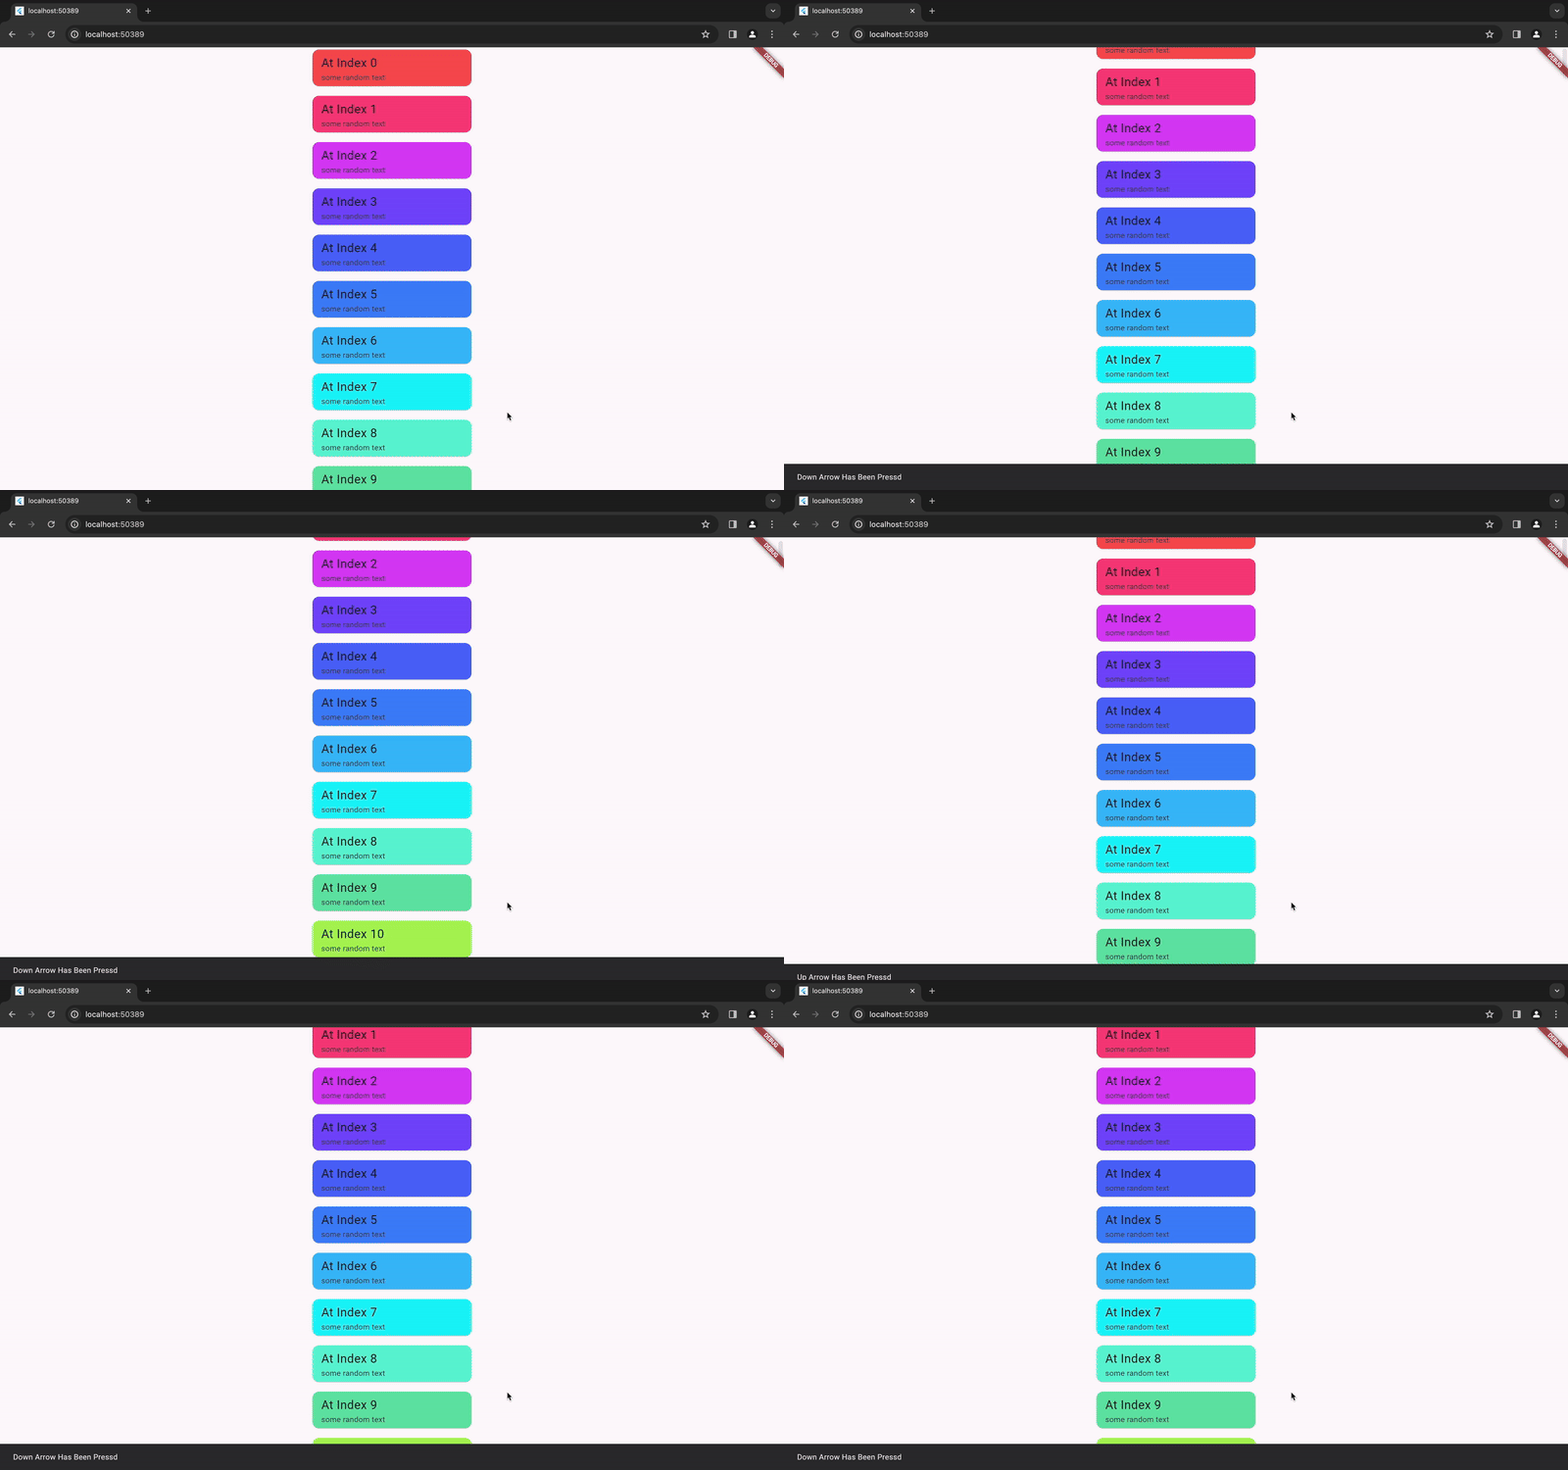
Note: While the above discussed solutions are good for a single scroll view, they are not as effective for nested scrolling. For nested scrolling, the below solution can be used.
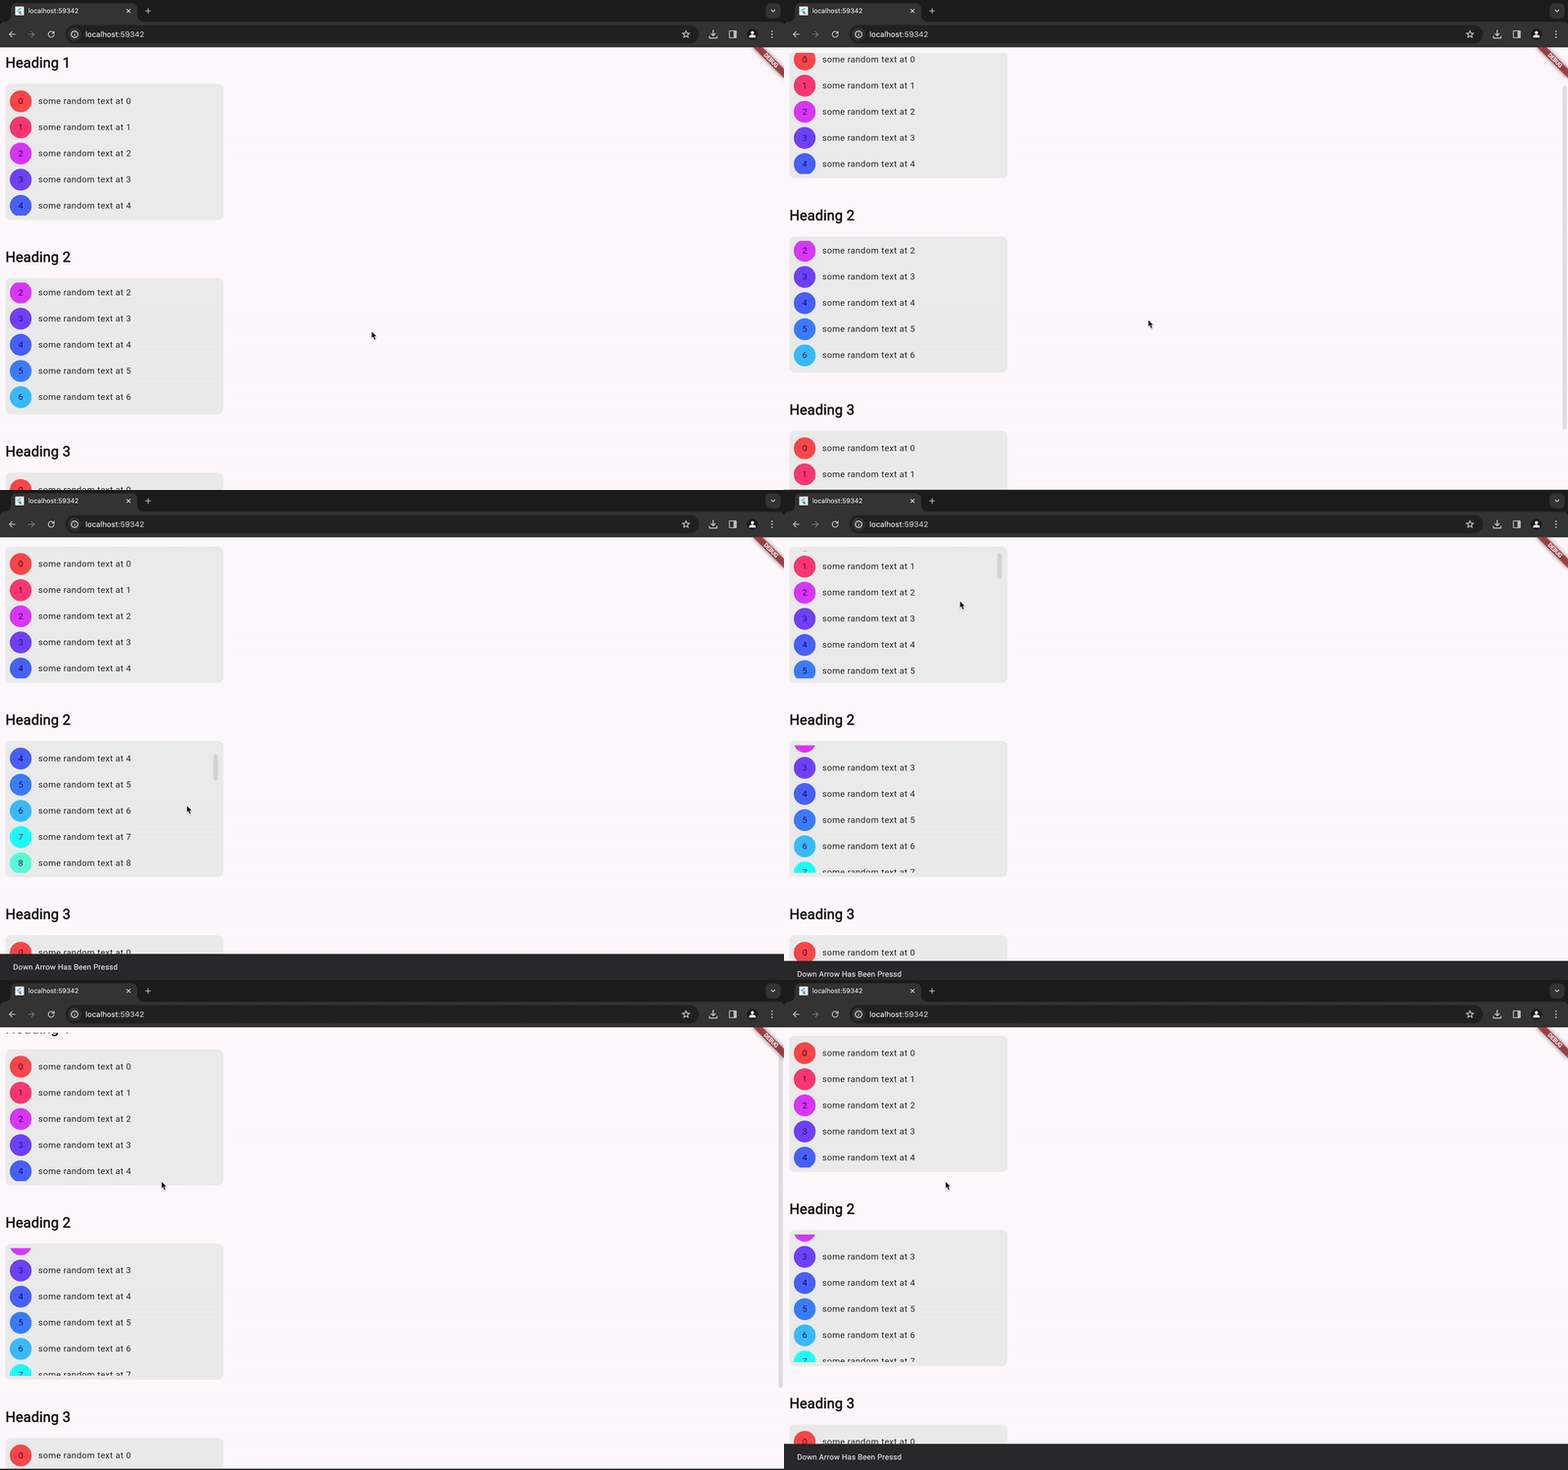
Solution 4: Utilizing FocusableActionDetector for Keyboard Arrow Key Scrolling
In this approach, we harness the power of FocusableActionDetector to detect keyboard presses and ScrollController to scroll accordingly within the ListView in Flutter web applications. By defining shortcuts and actions for arrow key events, we enable seamless keyboard-based scrolling, enhancing user interaction and accessibility.
Implementation Details:
FocusableActionDetectorIntegration: We begin by encapsulating theListViewwithin aGestureDetectorandFocusableActionDetectorcombination. This setup allows us to detect keyboard events and trigger corresponding actions in response to arrow key inputs.- Defining Shortcuts and Actions: Within the
FocusableActionDetector, we define shortcuts for arrow key events (e.g.,arrowUp,arrowDown) and associate them with callback actions. These actions invoke custom functions to adjust the scroll position of theListViewdynamically, facilitating smooth and intuitive scrolling behavior. ScrollControllerManagement: We instantiate aScrollControllerto manage the scroll position of theListViewprogrammatically. By animating the scroll position in response to arrow key events, we ensure a responsive and fluid scrolling experience for users.
class Example4 extends StatelessWidget {
  const Example4({super.key});
  @override
  Widget build(BuildContext context) {
    return const Scaffold(
      body: SafeArea(
          child: Padding(
        padding: EdgeInsets.only(left: 10, top: 10),
        child: ScrollableList(
          children: [
            Text(
              "Heading 1",
              style: TextStyle(fontSize: 26, fontWeight: FontWeight.w800),
            ),
            SizedBox(
              height: 20,
            ),
            Item(),
            SizedBox(
              height: 50,
            ),
            Text(
              "Heading 2",
              style: TextStyle(fontSize: 26, fontWeight: FontWeight.w800),
            ),
            SizedBox(
              height: 20,
            ),
            Item(),
            SizedBox(
              height: 50,
            ),
            Text(
              "Heading 3",
              style: TextStyle(fontSize: 26, fontWeight: FontWeight.w800),
            ),
            SizedBox(
              height: 20,
            ),
            Item(),
          ],
        ),
      )),
    );
  }
}

class Item extends StatelessWidget {
  const Item({super.key});

  @override
  Widget build(BuildContext context) {
    return UnconstrainedBox(
      alignment: Alignment.centerLeft,
      child: Container(
        height: 250,
        width: 400,
        padding: const EdgeInsets.all(8),
        decoration: BoxDecoration(
            color: Colors.grey[200], borderRadius: BorderRadius.circular(10)),
        child: ScrollableList(
          children: List.generate(
              50,
              (index) => ListTile(
                    contentPadding: EdgeInsets.zero,
                    leading: CircleAvatar(
                      backgroundColor:
                          Colors.accents[index % Colors.accents.length],
                      child: Text(index.toString()),
                    ),
                    title: Text("some random text at $index"),
                  )),
        ),
      ),
    );
  }
}

class ScrollableList extends StatefulWidget {
  final List<Widget> children;
  final Axis? scrollAxis;

  const ScrollableList({super.key, this.children = const [], this.scrollAxis});

  @override
  State<ScrollableList> createState() => _ScrollableList1State();
}

class _ScrollableList1State extends State<ScrollableList> {
  late FocusNode _focusNode;
  late ScrollController _controller;
  @override
  void initState() {
    _focusNode = FocusNode();
    _controller = ScrollController();
    super.initState();
  }

  @override
  void dispose() {
    _focusNode.dispose();
    _controller.dispose();
    super.dispose();
  }

  bool _checkIfOutOfRange() => _controller.position.outOfRange;
  void _handleDownPress() {
    if (_checkIfOutOfRange()) {
      return;
    }
    _controller.animateTo(_controller.offset + 50,
        duration: const Duration(milliseconds: 500), curve: Curves.linear);
  }

  void _handleUpPress() {
    if (_controller.offset == 0) {
      return;
    }
    _controller.animateTo(_controller.offset - 50,
        duration: const Duration(milliseconds: 500), curve: Curves.linear);
  }

  @override
  Widget build(BuildContext context) {
    return GestureDetector(
      onTap: () {
        _focusNode.requestFocus();
        setState(() {});
      },
      child: FocusableActionDetector(
        focusNode: _focusNode,
        shortcuts: {
          LogicalKeySet(LogicalKeyboardKey.arrowUp): ScrollUpIntent(),
          LogicalKeySet(LogicalKeyboardKey.arrowDown): ScrollDownIntent(),
          LogicalKeySet(LogicalKeyboardKey.arrowLeft): ScrollLeftIntent(),
          LogicalKeySet(LogicalKeyboardKey.arrowRight): ScrollRightIntent(),
        },
        actions: {
          ScrollUpIntent: CallbackAction<ScrollUpIntent>(
            onInvoke: (intent) {
              _handleUpPress();
              return;
            },
          ),
          ScrollDownIntent: CallbackAction<ScrollDownIntent>(
            onInvoke: (intent) {
              _handleDownPress();
              return;
            },
          ),
          ScrollRightIntent: CallbackAction<ScrollRightIntent>(
            onInvoke: (intent) {
              _handleDownPress();
              return;
            },
          ),
          ScrollLeftIntent: CallbackAction<ScrollLeftIntent>(
            onInvoke: (intent) {
              _handleUpPress();
              return;
            },
          ),
        },
        child: ListView.builder(
            controller: _controller,
            scrollDirection: widget.scrollAxis ?? Axis.vertical,
            itemCount: widget.children.length,
            itemBuilder: (context, index) {
              return widget.children[index];
            }),
      ),
    );
  }
}

class ScrollUpIntent extends Intent {}

class ScrollDownIntent extends Intent {}

class ScrollLeftIntent extends Intent {}

class ScrollRightIntent extends Intent {}

Conclusion
This article discussed different methods for arrow key scrolling in Flutter web apps, a common dev challenge. Techniques include using ListView properties, GestureDetector, FocusScope, KeyboardListener, and FocusableActionDetector widgets. These enhance navigation and interaction, provide smooth scrolling experiences, and improve accessibility. Flutter offers tools to adjust scrolling and keyboard interactions to meet varied user needs.