Reading Data Using USB in Flutter


Hey, everyone! Recently, I got a chance to work with USB Serial Device Connection in Flutter.
To be honest, there is not much information, articles or references about how to read, write and work around USB in Flutter. But do not be worried - we got you covered. Today, we will be talking about how we can connect to a USB device through a package named [flutter_libserialport](<https://pub.dev/packages/flutter_libserialport>).
By the end of this blog post, you will know how to send and receive data through a serial port using Flutter. Let's dive in!
Serial Port for Flutter
flutter_libserialport is a simple wrapper around the [libserialport](<https://pub.dev/packages/libserialport>) Dart package, utilizing Flutter's build system to build and deploy the libserialport C-library under the hood. This package does not provide any additional API, but merely helps to make the libserialport Dart package work "out of the box" without the need of manually building and deploying the libserialport C-library.
Supported platforms:
- Linux
- macOS
- Windows
- Android
Understanding USB COM
A USB COM Port connection refers to the establishment of a communication link between a computer and a peripheral device, such as a barcode scanner or serial device, using the USB (Universal Serial Bus) interface. COM, short for Communication, denotes a serial communication port traditionally used in computing. The USB COM Port connection enables bidirectional data exchange, allowing the computer to send commands and receive data from the connected device. This standardized approach simplifies connectivity, providing a versatile and widely supported method for interfacing with various hardware components, enhancing interoperability and ease of use in diverse applications.
Getting Started
First, we need to create a new project in Flutter. For this, run the following command in your terminal:
💡 Unlike the default behavior of flutter create, which creates a project with sample code and assets, using --empty flag ensures that no sample code or assets are included. This allows you to start with a clean slate and build your project from scratch.
Adding the Dependency
To add the flutter_libserialport package in your project, run the following command:
Identifying Available Ports
Now that we have all the basic needs covered, the first thing we need to do is to identify the available ports connected to our system.
To do that, we will declare a list of strings that will receive the names of the available ports.
On running this code, you should see a list of the available ports.
Connecting to the USB and Opening Connection
We got the list of all the available ports. Now, we need to identify our own USB device and establish a connection.
We will need to create a serial port object. Let us call it myPort. This object requires the name of the port we got from our list of available ports.
The above code will create an object referenced to 'your_port_address'.
After creating the object, it is best to use a try-catch block to handle any serial port errors. If an error occurs while reading or writing to/from the port, we simply print it to the console.
Now we can open the port for communication. The openReadWrite method enables opening the port for both reading and writing.
Setting Config for the Port
In serial communication, configuring the settings of the serial port is crucial because it ensures that both the sender and receiver agree on how data will be transmitted and interpreted. Here are a few reasons why configuring the serial port is necessary:
- Baud Rate: The baud rate determines the speed at which data is transmitted over the serial port. It needs to be consistent between the communicating devices; otherwise, they will not be able to understand each other's data.
- Data Bits, Stop Bits, and Parity: These settings define the format of the data being transmitted. Both the sender and receiver need to agree on these parameters to correctly interpret the data.
- Flow Control: Flow control mechanisms like RTS/CTS (Ready To Send/Clear To Send) are essential for managing data flow between the sender and receiver, especially when one device is faster than the other. Without proper flow control, data loss or corruption may occur.
- Hardware Control Signals: Some settings, such as DTR (Data Terminal Ready) and DSR (Data Set Ready), control the state of the serial port's hardware lines. These signals can be used for various purposes, such as indicating the readiness of the device or controlling external hardware.
Likewise, we can set config for our port. Here is an example:
💡 myPort.config needs to be set only after opening the port.
You can check whether port is opened successfully or not using myPort.isOpen to ensure the USB port is ready for reading or writing.
Writing to the Port
After successfully opening the port, we can write to it. The write method takes a Uint8List. For example:
Reading from the Port
Now let us implement the functionality to read from the serial port. To achieve this goal, we need to create a serial port reader object.
This object provides us with a stream, which we can listen to, and then print the incoming data. The problem here is that the stream returns unit8List data, thereby necessitating the conversion back to a string.
Here is the code snippet to do this:
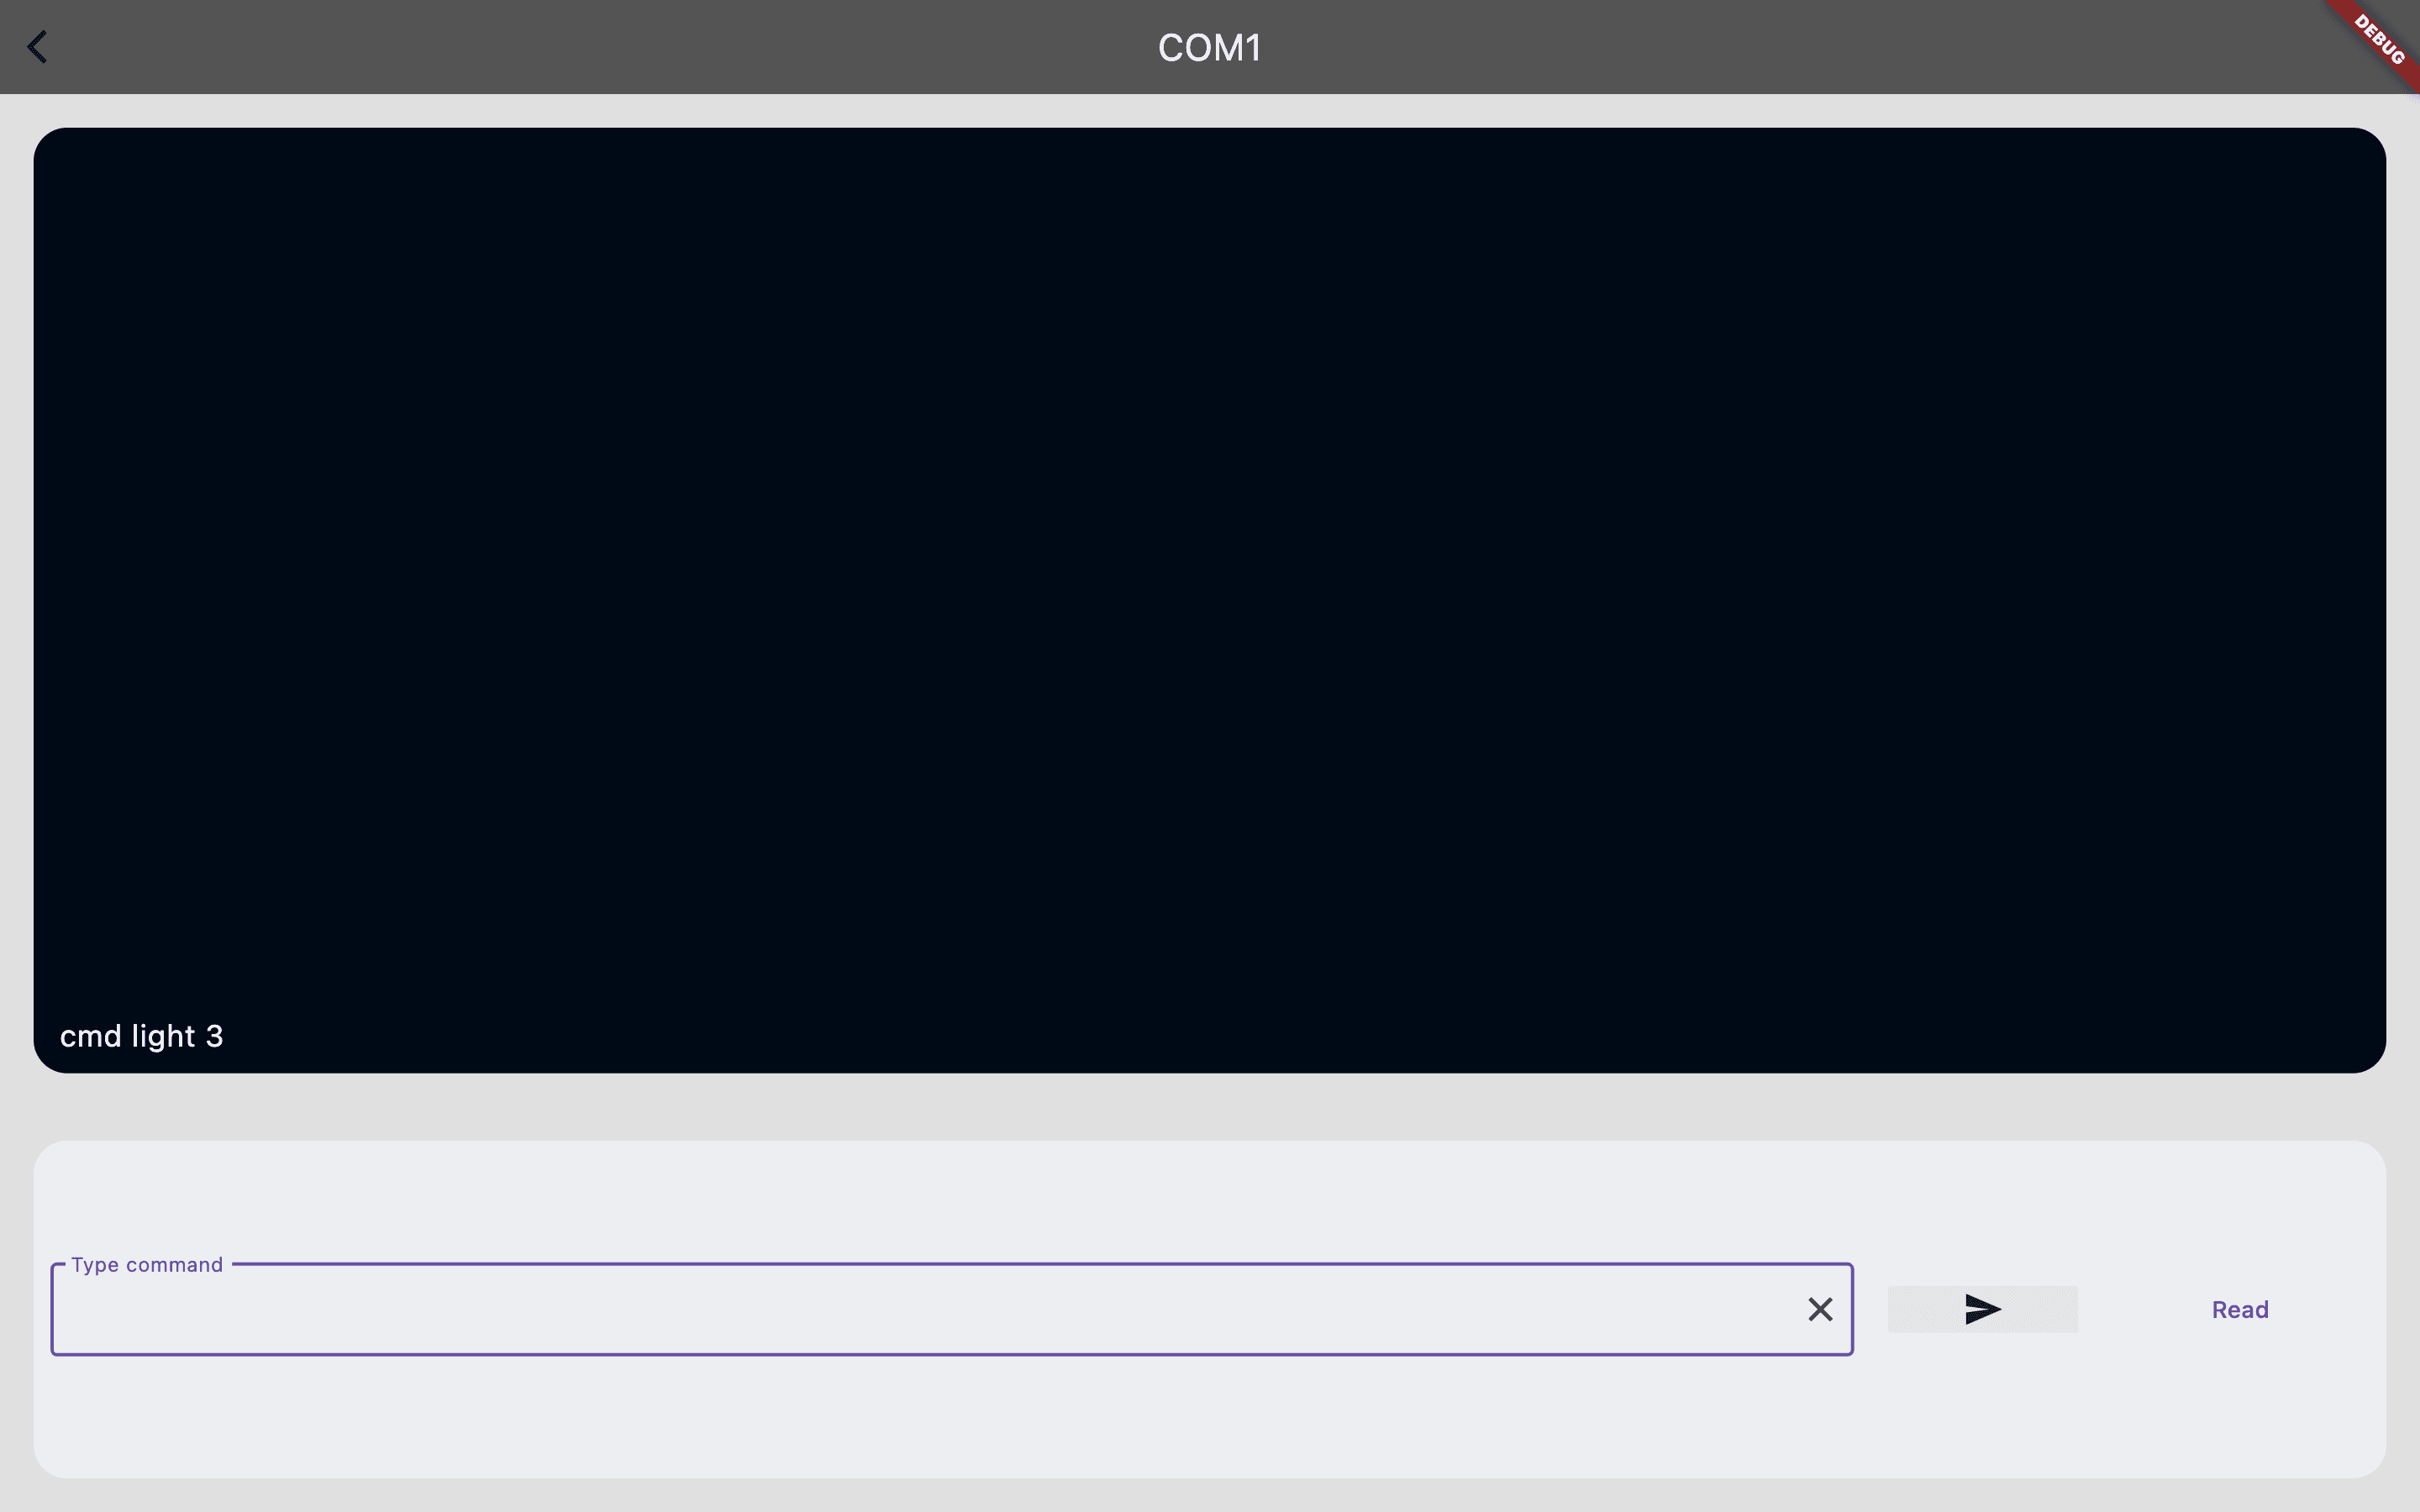
Here we have a created a very simple example for you, to help you understand how we can use these commands in a running Flutter app. One thing to be noted here is that this is just a demo example. It will not particularly work the same way in your system. To make this work out, make sure you have a proper USB-port device and configure it accordingly in your project.
In our case, we have an IOT device that accepts this command cmd light 3 and the LED on the USB-port will light up.
We can read up the information that USB-port has to be offered.
You can go through the code and get a rough idea about how things work here. This is the link to the repo.

Conclusion
In summary, this article provides a comprehensive guide to implementing USB serial device connections in Flutter using the flutter_libserialport package. Despite the limited resources available on this topic, we have covered essential steps from identifying available ports to configuring connections and executing data exchange operations. By following these guidelines, you are now equipped to integrate USB serial communication seamlessly into your Flutter projects across multiple platforms. With error handling and effective data exchange mechanisms in place, you can enhance productivity and explore diverse use cases with confidence.
This is how we can enable USB serial communication in Flutter. I hope this article will help you enhance your productivity and save your time.
Happy coding, and until next time, take care!